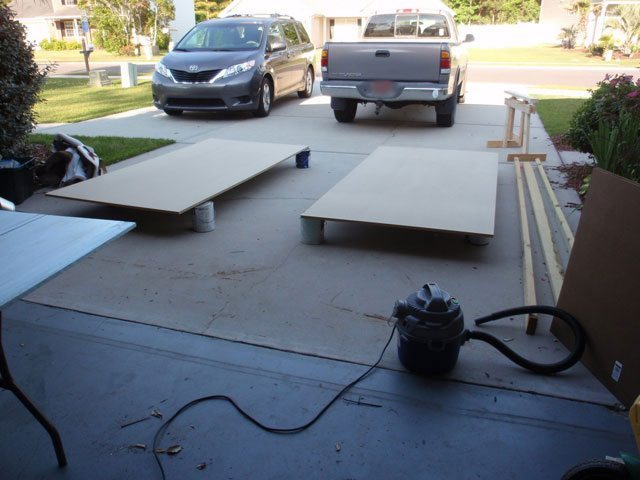
I took my husband to the airport for a business trip, dropped the kids off at their grandparents, and picked up the hardboard and MDF. I’d never worked with MDF before; those suckers are heavy!!! After I cut the hardboard, I stared at the 2 sheets of MDF in the back of the truck. How was I going to get them out? With evening approaching, I did what any serious DIY-er would do. Went to get takeout veggie sushi. And then called my nice neighbor to help me unload the sheets onto paint cans in the driveway.
Catch up here if you missed Part 1.
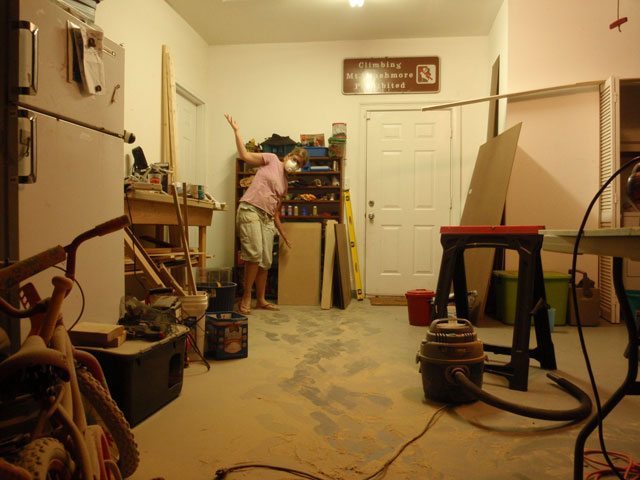
I spent hours cutting the MDF. I loved using the Kreg Rip-Cut until I realized that it was making shorter cuts than what my tape measure marked. I calibrated and recalibrated the Rip-Cut. I’m not even sure which is right, the tape measure or the Rip-Cut. But using my poor decision-making skills, I split the difference, and finished my cuts. I’m exhausted, dirty, ready for a shower and some sleep!
The next day, Sandra gave me a Skype consultation on how to build my base cabinets. I felt very tired, but decided to construct one cabinet before bed. I couldn’t get the cabinet squared, though, so the remainder of the late night involved me going to and then getting back out of bed, trying different ways to square it each time. Not much rest that night! When will I learn to stop working once I’m tired???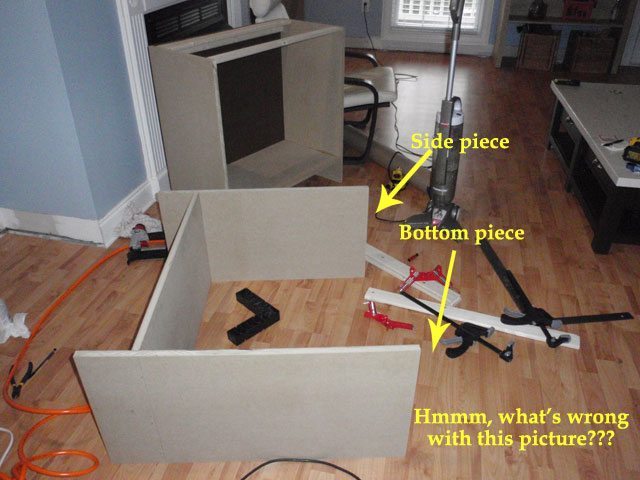
Another day – after taking the kids to their grandparents’ again, and a phone call to Sandra, today I finished constructing all four of my base cabinets. They look pretty good! And I only had one snafu, where I attached two sides together. Whoops!
The last three days have been spent attempting to move two outlets (not as straightforward as it sounds). What I won’t do to save money! I also got my base face frames built.

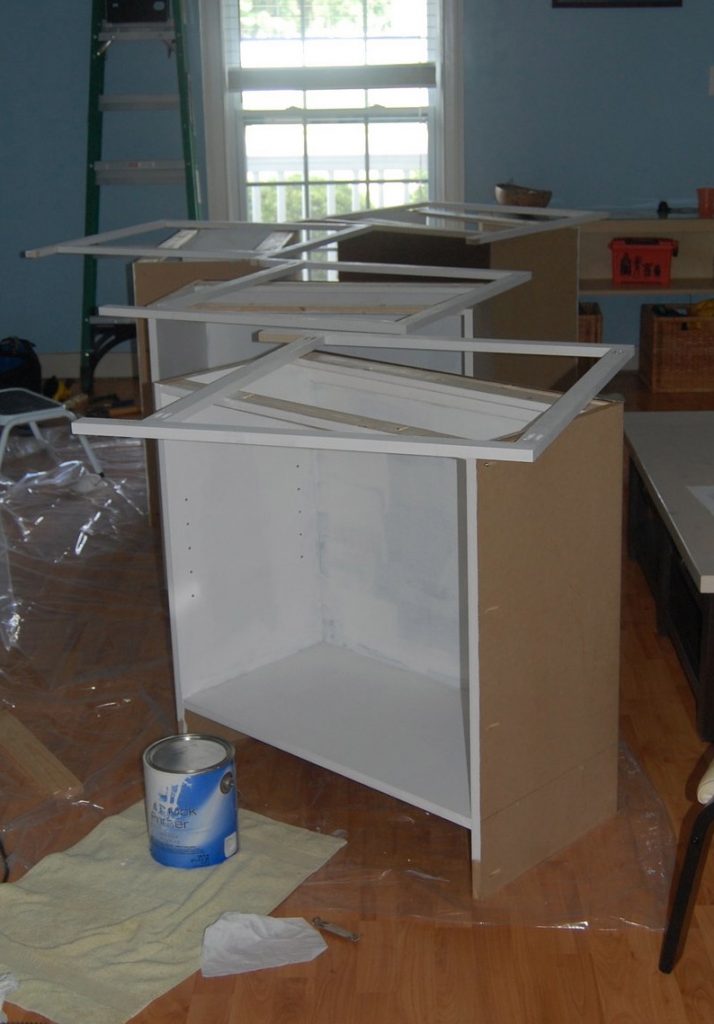
Outlets moved. Shelf holes drilled. Face frames made. Cabinets double-primed. I’ve got to patch the walls from the old outlets, and I really have to get to removing the crown molding …. I’ve been delaying that difficult step. I keep thinking that I set out to build bookshelves and now I’ve had to learn about electricity and drywall. But it will make me a well-rounded DIYer in the end!
 Keep reading:
Chantelle - ThousandSquareFeet says
Ah, yes, working when you are tired. That is usually the time when I make mistakes, be it in sewing or baking or woodworking. And yet I just can’t seem to quit. I am sure it will all work out wonderfully in the end. And you are not the only one to put the wrong pieces together. When I was building my woodshed the other week, I put the front posts on the back side and the back posts on the front side. Had to remove and start again. It happens to all of us! But you figure it out and kept right on! Keep up the good work!
Susan Poll says
Way to go!
Erin's Creative Energy says
I fall victim to working when I am tired too. Can’t wait to see the end result.
Fawn Teresi says
I am so excited to see how this turns out! Great job so far! 🙂 Sometimes it’s so hard to start once you get going… its like ill just get this done… well i got that done so just one more thing… and I always make the most mistakes when I am tired. I still haven’t learned to just go to bed and start again in the morning 🙂
winnie ryan says
Hey Courtney, looking good. Guess I would have suggested leaving the outlets where they were and including them in the shelves so you could have charging stations for your music, etc. set up there. I’m not one to make my bookshelves just books. And you can guess I have plenty of those (and files).
Will look forward to pictures of the place when finished. All that worrying comes from the crap of getting those darn degrees, I think. Put a notebook next to the bed, write it there to pick up the stuff you think about in the morning so you can sleep!
Courtney Burge says
Winnie, I moved the outlets from about 18″ off the floor, upwards. So instead of being behind cabinet doors, they will be located on the bottom bookshelf, which is in top of the cabinets.
Kim Massa says
I love your attitude! Don’t give up, it gets easier as time goes on. you did a great job so far.
Jo @ Let's Face the Music says
Please give us lots of details. I’m very interested in this project. Can’t wait to see your progress. Jo @ Let’s Face the Music
HEATHER COLLINS says
is your fireplace electric?
Sandra says
It’s not my fireplace. It was a client who built that and I don’t know if it was gas or electric.