Applying concrete to my kitchen walls to create a unique backsplash is one of the most rewarding projects I’ve tackled in the Lodge so far. The process doesn’t require a lot of physical exertion and you see the fruits of your labor fairly quickly. With practice, one could start and complete concrete wall project in a day or two. It took me much longer than than that but I plan to do this on multiple more walls so I’m sure I’ll build my skill level to a point where I can finish a wall in less than a week. 🙂
Generally the backsplash goes in AFTER the cabinets and countertops but I knew this was going to be a MESSY project so I opted to experiment with it before I built and installed my cabinets.
I searched the internet for ages to find a vertical concrete overlay product that I could use on my walls. Only a few options seemed right for my entry level skill set and I opted to go with Duraamen Skraffino which is mixed with their primer CP1000 to a very runny consistency and applied in thin coats.
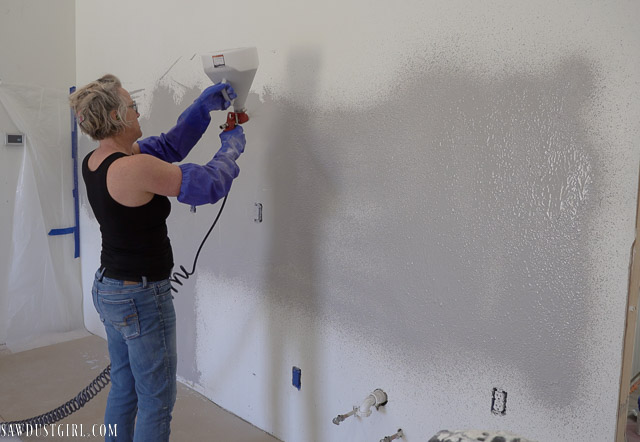
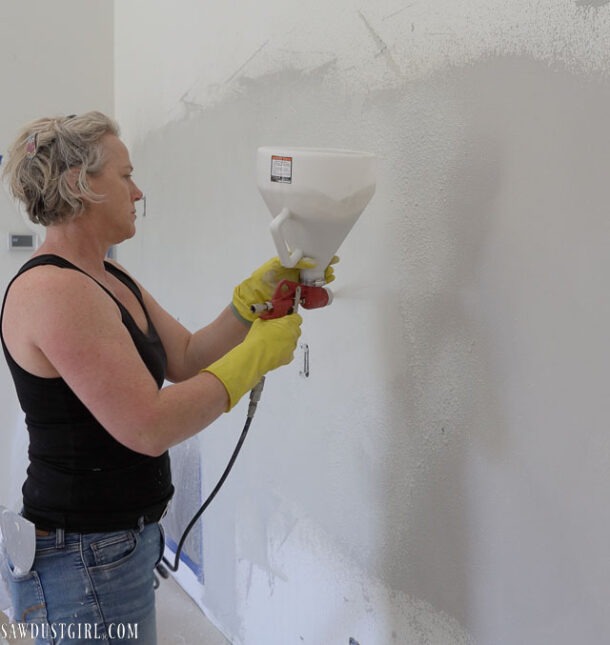
After trying several unsuccessful methods of getting this concrete on the wall, I drove to Harbor Freight and purchased a $35 hopper gun that I could operate with my little air compressor. Winner!
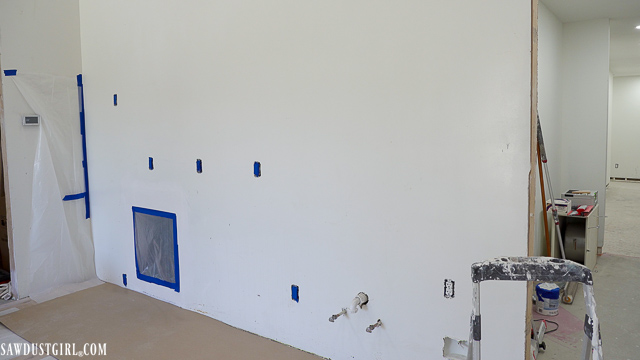
Wall Prep
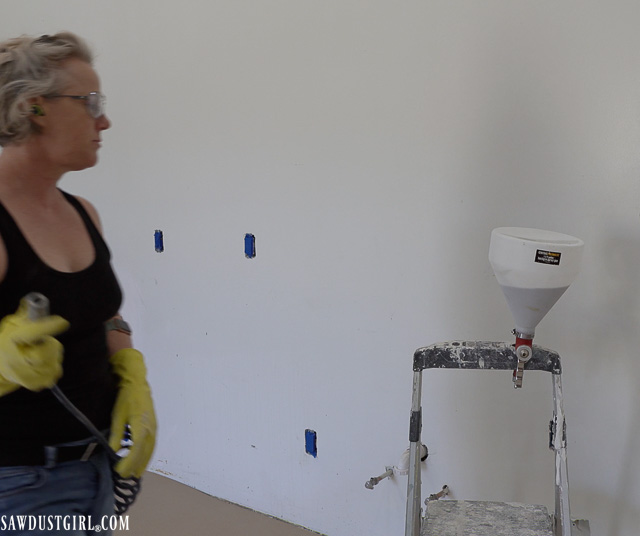
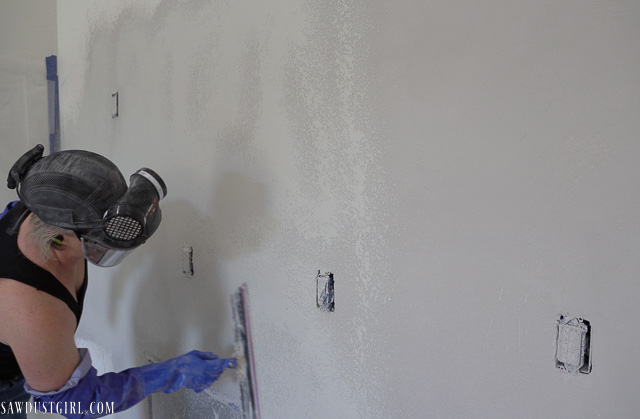
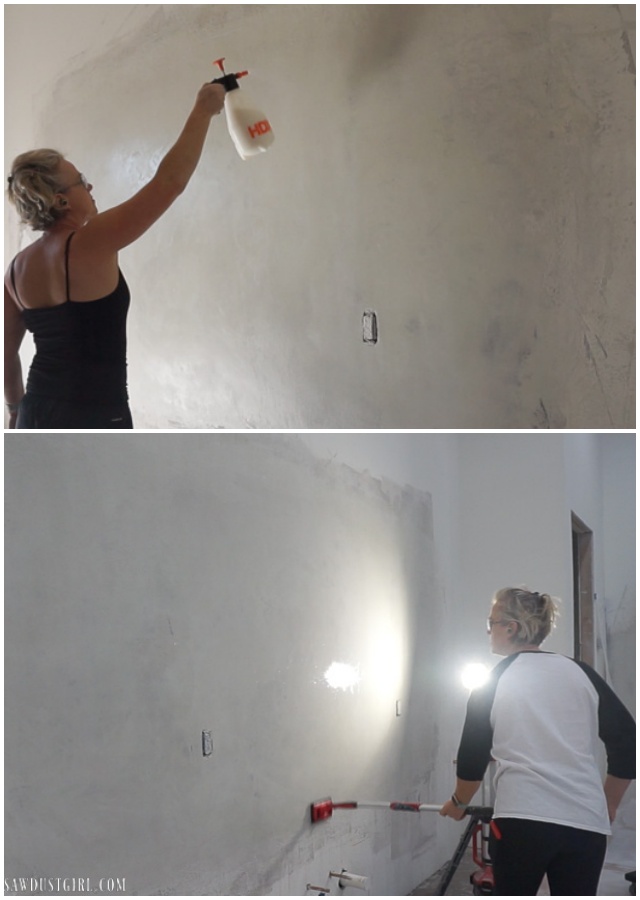
Since I anticipated this would be a really messy process, I covered the floors, adjacent walls and taped all the receptacles and light switches. I SHOULD have covered the drain and water valves because they caught enough overspray and drips to make a real mess that is most likely going to make securing fittings a pain. Oh well.
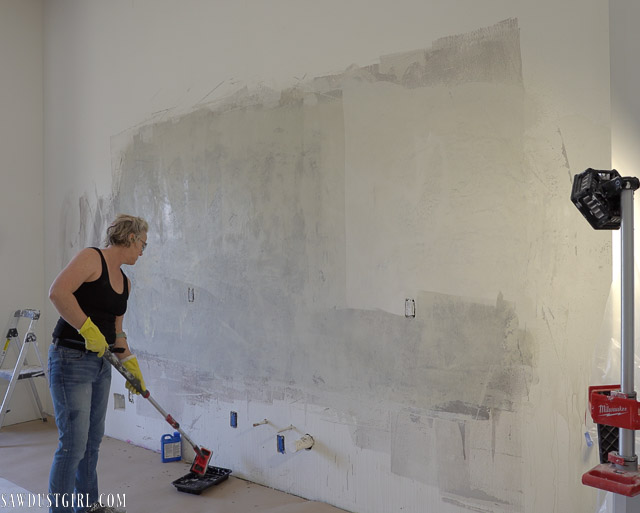
Next, I rolled on two layers of CP1000 to prime the walls.
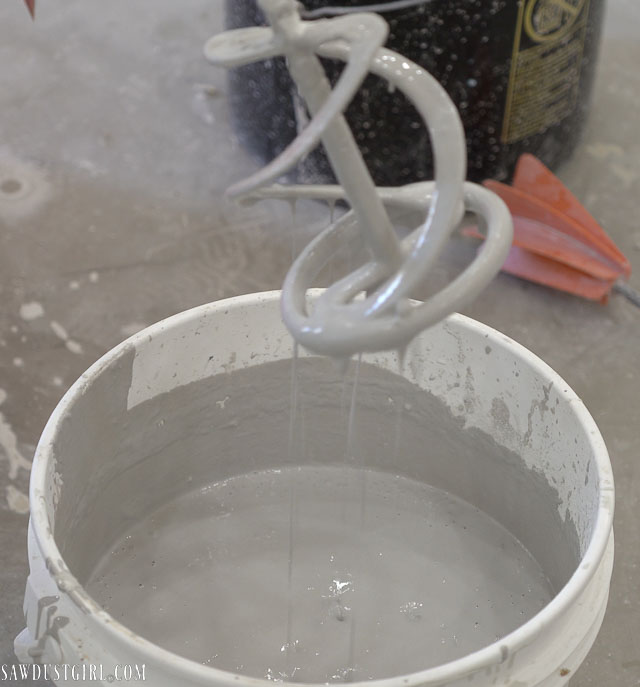
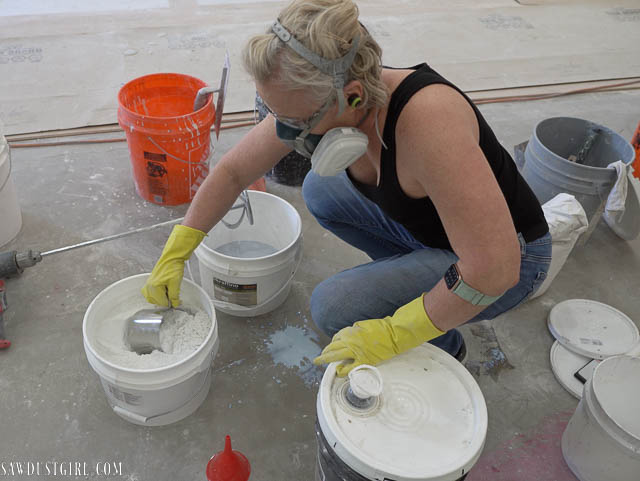
Mixing the Concrete Overlay
Wearing a respirator and gloves, I added some of the CP1000 to a small bucket and then mixed in some charcoal colorant. I never measured my colorant because I wanted each coat of concrete to be a slightly different shade of grey to add depth and texture. Then I added the Skraffino concrete powder to the liquid and mixed it up for several minutes, adding more Skraffino if the mixture was too runny.
Once the mixture was ready, I poured some into the hopper. My little step stool has a hole that holds hammers, hawks, etc. and was perfect for holding the hopper upright while I filled it and later while I smoothed out what concrete had just been sprayed on the wall.
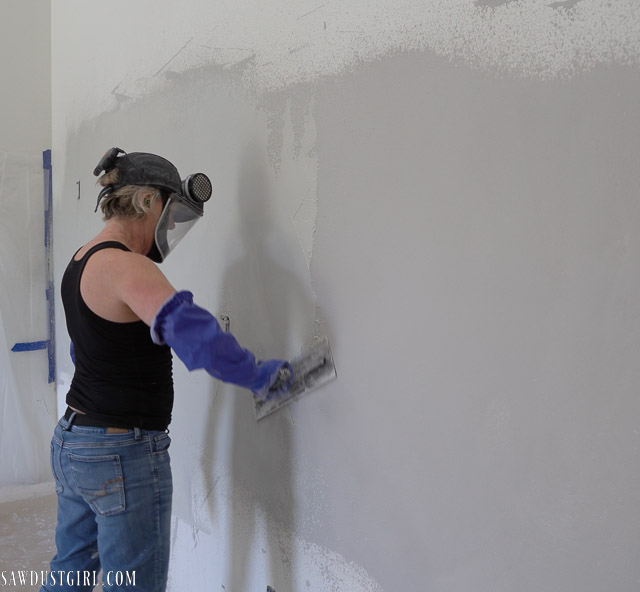
Applying Concrete to the Wall
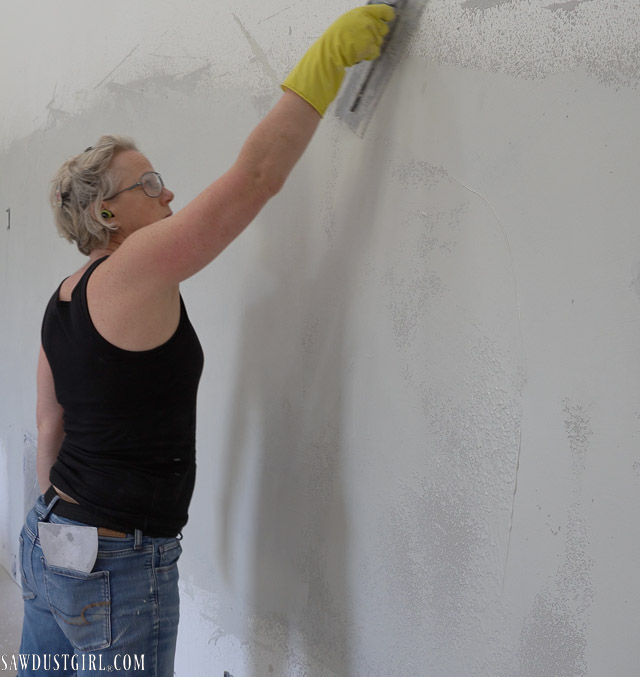
This process is pretty similar to skim coating. (Only applying the concrete to the wall with a paint roller was one of my unsuccessful attempts.) I sprayed the walls with Skraffino with the hopper and then smoothed it out with a magic trowel.
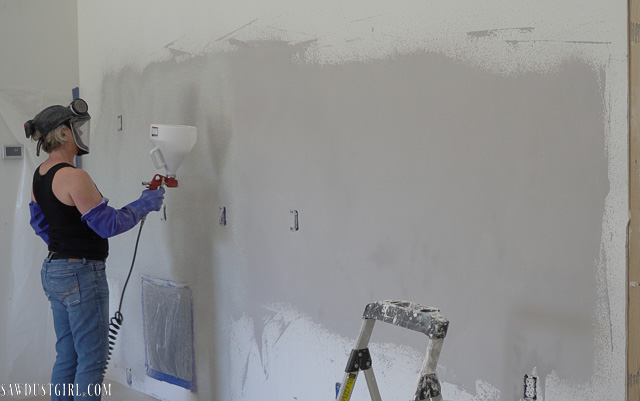
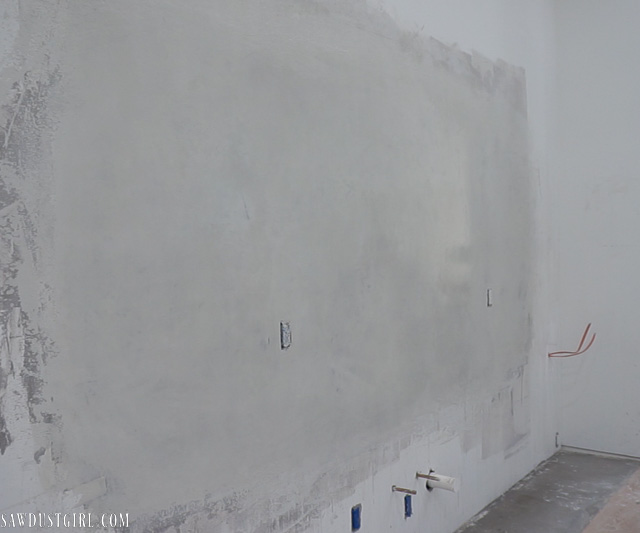
After the first coat is dry you apply another one. The main reason I chose Skraffino is it seems to be pretty foolproof. It can be thinned out with more CP1000 if it starts getting too thick. If a section on the wall is drying out, you just spray on some more of the wet mixture and keep working it until you like what you see. I could seal up the bucket of mixture and come back the next day, add more CP1000 and apply another coat. A couple times, I left it for several days and came back to a concrete brick in the shape of my bucket. Obviously there is a limit to Skraffino’s extended work time but it’s nothing like 15 minutes you get with some feather finish concrete products.
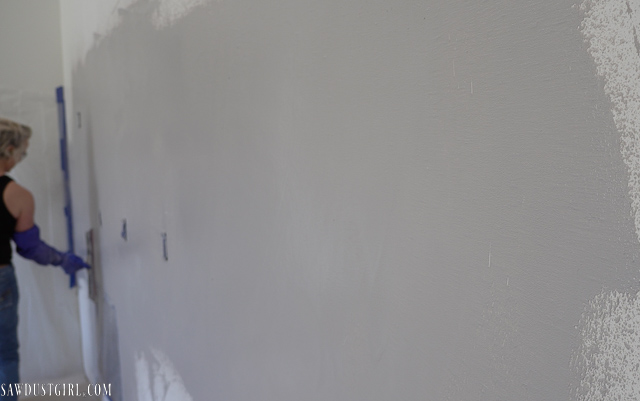
My first coat of Skraffino was “regular” but subsequent coats were “fine” and “super fine” with less sand. I preferred the super fine because it was much smoother. The coarser grades have larger sand that can catch in the trowel and leave a scrape line in the finish.
I played around with creating texturing and depth. Every coat is a slightly different shade so there’s a lot of color variation. I sprayed the mixture on thinner in some areas so it would leave pockets of the previous coat showing through. It’s an artistic process and you can keep applying more and more concrete over the previous coats to change the look until you’re happy with it.
Sealing
Once I was happy with the look and feel of my backsplash I sealed it. Finding the right sealer was more difficult than finding the right overlay product. I am very confused as to why companies create 1 thousand different variations of sealers. It seams 4 or 5 would suffice and allow them to focus on creating GOOD instructional information to aid consumers in selecting and using one of those products. Just a thought.
I ordered one sealer from Duraamen but they recommend for best results to follow that with two additional sealer products. I bought several other sealer options from various other places and experimented with them. I started out with a penetrating sealer/enhancer and then coated that with the sealer I purchased from Duraamen.
I love the way the wall feels, I’m fine with how it looks and most of it will get covered up by cabinets so I’m totally ok with what will be the end result. And this was a good way to experiment with the process so now I can tackle future concrete walls with more confidence.
And speaking of kitchen cabinets, I went totally out of my comfort zone in this kitchen. Can you believe I’m not building Shaker cabinets and painting them white? I know!
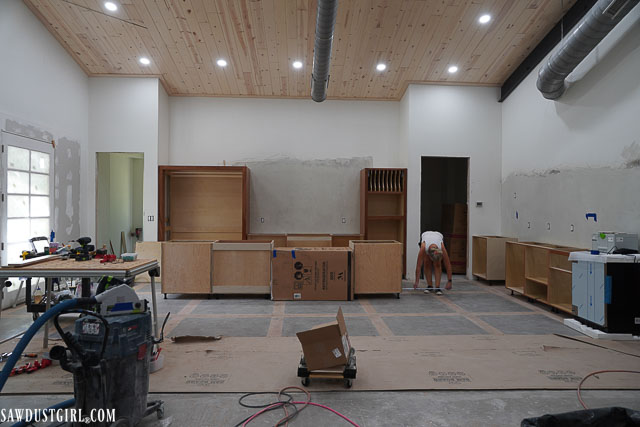
The Kitchen is almost done, actually. The countertops are being cast and I have a few trim details to finish but that’s just about it. That’s exciting!
Barbara H. says
Oh my, what a daunting project, at least to me. Glad you ended up in a good place and that you are happy with it.
Catherine says
Wonderful! Great job!
Caroline says
I’m so excited to see the finished project.
Michelle Eubanks says
I just found your site! I can’t wait to see the finished results on this project. I know it will be fantastic. I will keep checking in to see the outcome and in the meantime, thanks so much for your inspiration!