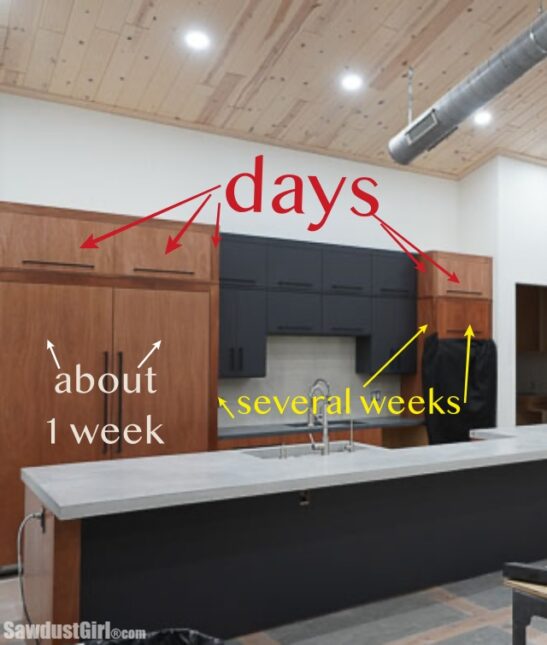
One skill required in renovating is choreography. Organizing the completion of multiple projects in phases so I can order labor and products at the right time, keeps me on my toes! I have to create a weekly “to-do list” to stay on track of what absolutely needs to get finished before the next “Sub” appointment I have scheduled. (And when I say “Sub” I’m referring to anything I need to hire out.) Here’s what those phased projects have been over the last few weeks/months.
- Build and install kitchen base cabinets (See last post)
- Have countertops templated
- (fabrication will be months out. Countertops have to be installed before refrigerator and freezer columns)
- Finish installing floors in living room so piano can be set through door before countertops block that door.
- Install doors, doorway trim (mud, sand, prime, paint drywall) that will butt up to countertop (once they are installed it will take way more work)
- Once countertops are installed, schedule refrigerator, freezer, and range installation
- Finish cabinets, doors, drawers, island, trim…
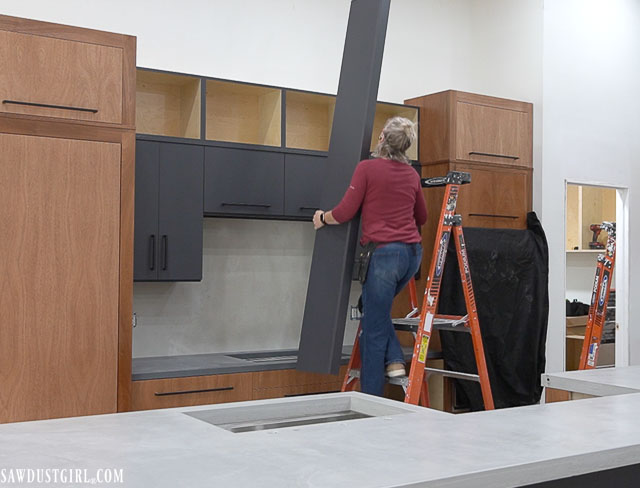
- Build “Hood Ceiling”
Living Room Floors
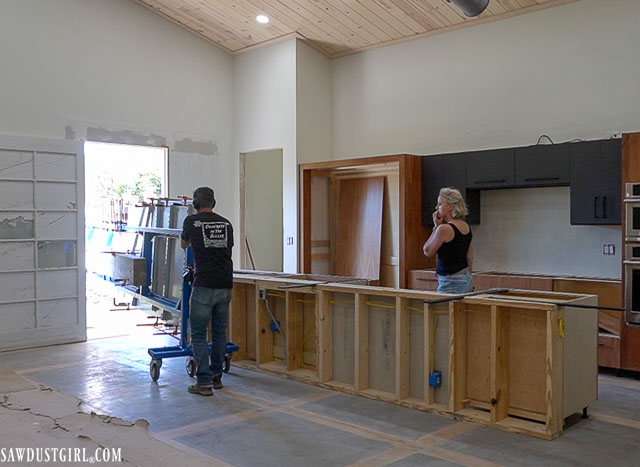
We’re doing a combination of wood and concrete in the Lodge. The wood is glue down, engineered wood which is way easier to install with more hands. I installed the pantry floors alone. The next day, Wes and I tackled the living room together. First we had to take down scaffolding, move a lot of crap, and clean floors so we only got about 8 rows of planks glued down.
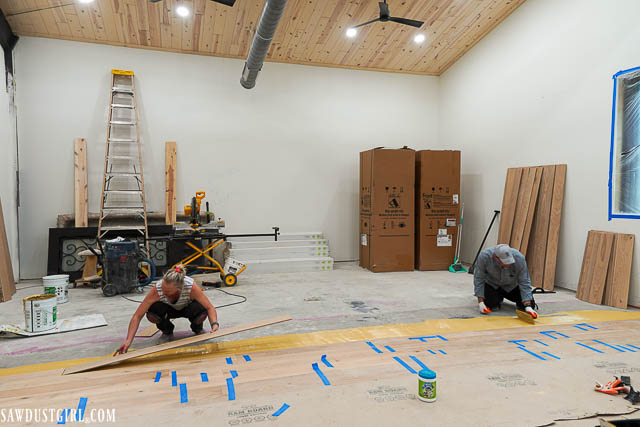

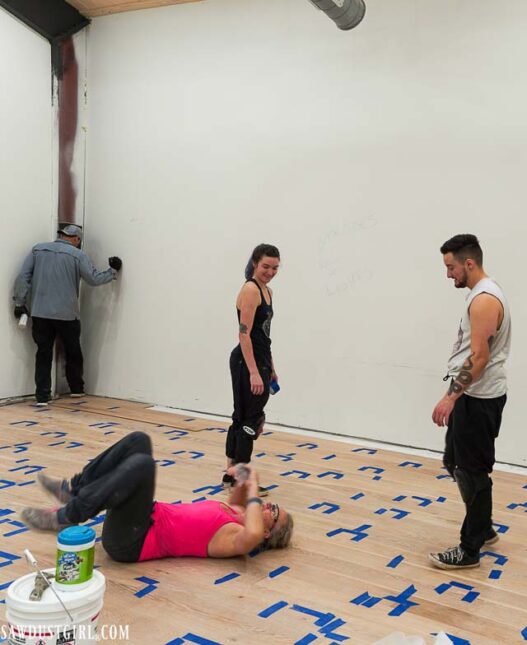
The next day we had two extra helpers and it was so MUCH easier with the extra hands. I’ve been mentoring Traci and Dominic for a few months. They come out and work with me one (sometimes two) days a week. They have been incredibly helpful and really good for my moral to have on board! With the four of us, we finished the floor way faster than expected. Wes troweled on glue while I laid out rows (well in front of the glue line). Dominic and Traci would then finagle the planks in place and secure them with tape. IN case you’re wondering, three days of kneeling and bending over is hard on the back.
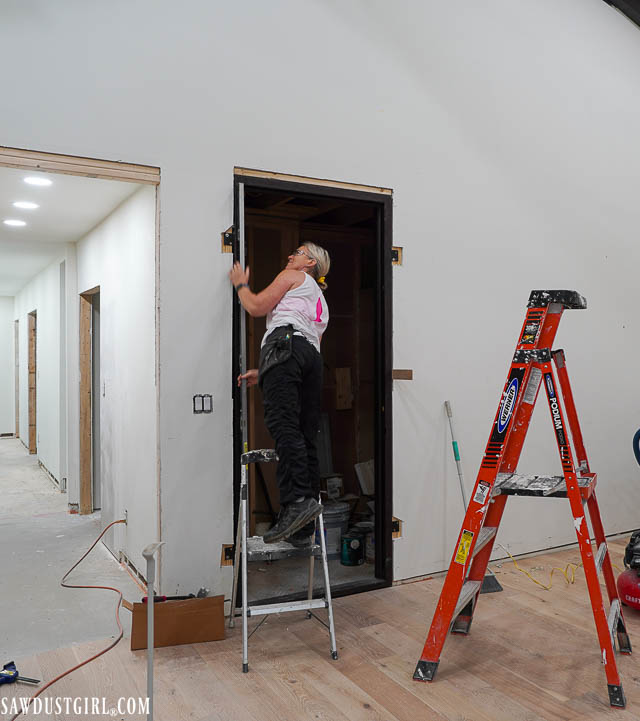
500 Pound Door
A very large, very heavy, iron door is a thing I splurged on way back when I was purchasing all the doors for the lodge. I can not remember if that was months ago or 2 years ago. Julie and I walked into the door and window store and it was set up, right in front, beckoning to me. Julie and I, basically having twin brains, looked at each other and one of us said, “wine cellar door”. It is so heavy I couldn’t even lift the frame into place by myself. I tried! But I had to wait for Wes to get home from work to help me.
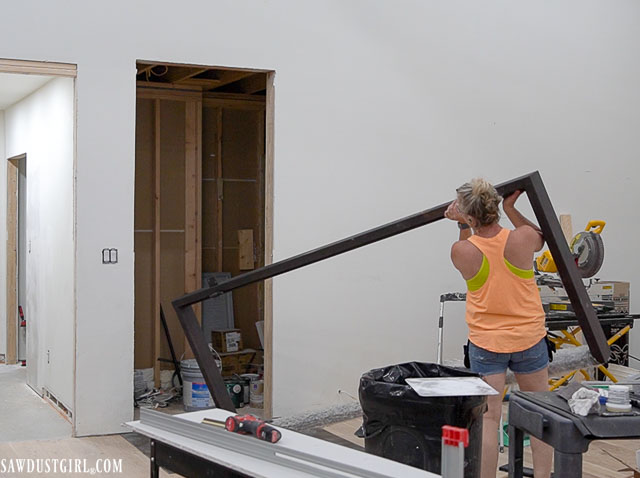
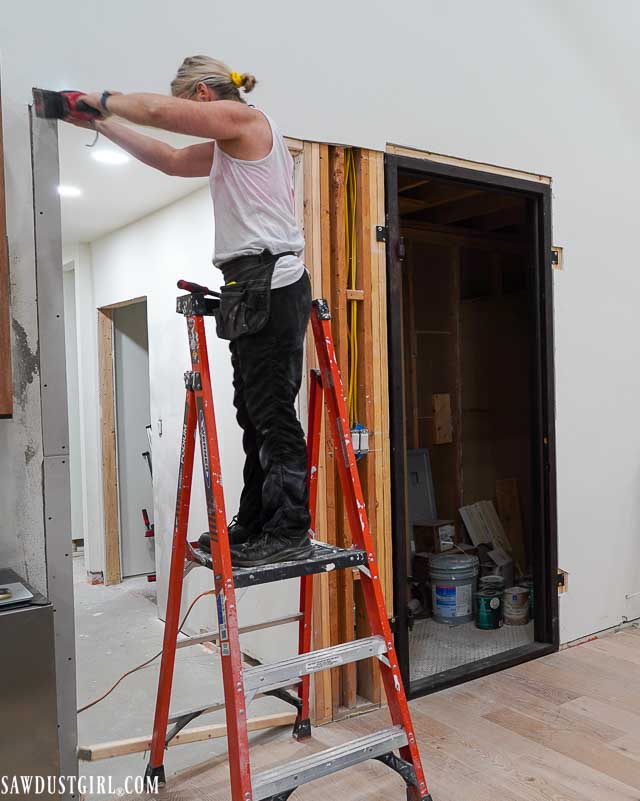
The wall on the left side of the door wasn’t perfectly plumb so I pulled off that section of drywall to shim out the wall. The door was way too heavy to hang without even more help so I secured the frame and then patched the drywall. The whole reason I even bothered with the door was because I had to “finish” the doorway into the living room/ kitchen from the hallway because the countertop will terminate very close to that doorway. It made sense to patch, skim, prime and paint that whole area of drywall at once and be done with it. (HA! — just wait for it.)
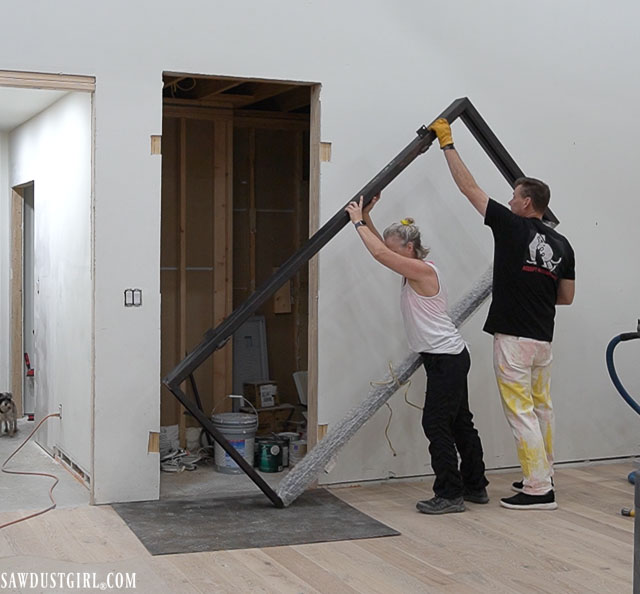
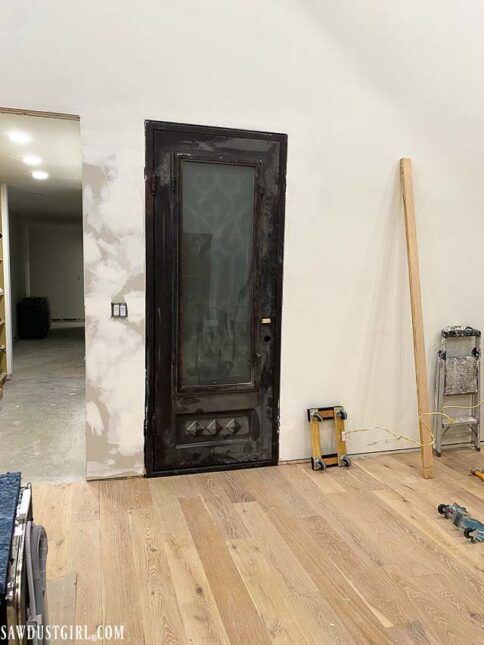
Only after getting two additional, strong friends to help us struggle through lifting that 500’ish pound door onto the hinges did I realize that — the side of the door that is visible while in the living room is not the super cool side of the door that I want visible! I didn’t even bother wiping off all the dust to give it a chance. Wes and our friends that helped lift it, both said it looks great and I should move on. That is not what’s going to happen -but I’ll deal with it later since this door is not actually on my current to-do list.
Countertops
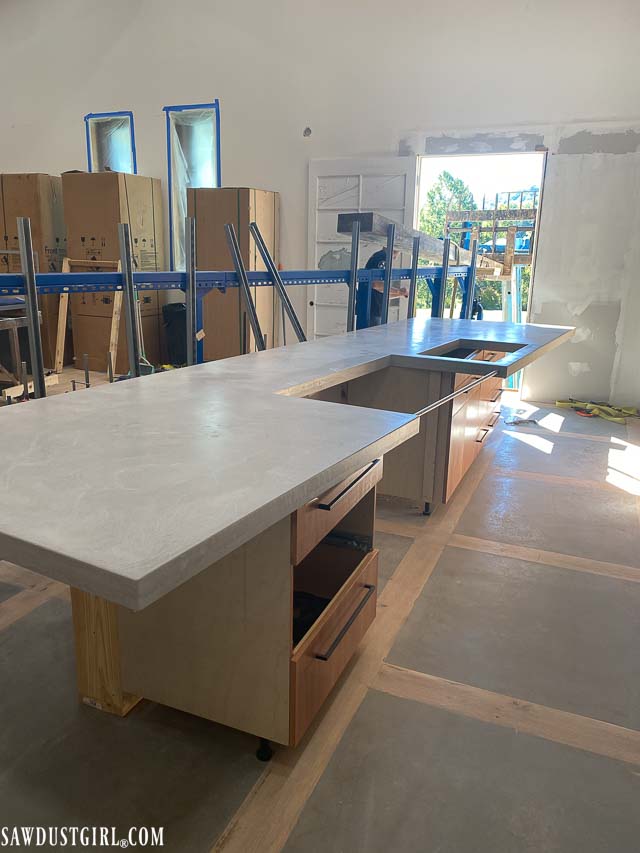
I knew I wanted concrete countertops in the Lodge and I wanted someone else fabricating them while I worked on other things. Julie and I have done a few overlay concrete countertops and they have always taken way longer than we think they will (as does everything) so this was something Wes and I decided to spend money on. The amazing Dusty Baker (Dusty-Crete) out of Nashville agreed to take on this job. It’s a 4 1/2 hour drive, the installation was going to be sketchy, and my island is a bit huge for a single slab! So, it sounded like a real challenge which is, I think what Dusty liked about it!
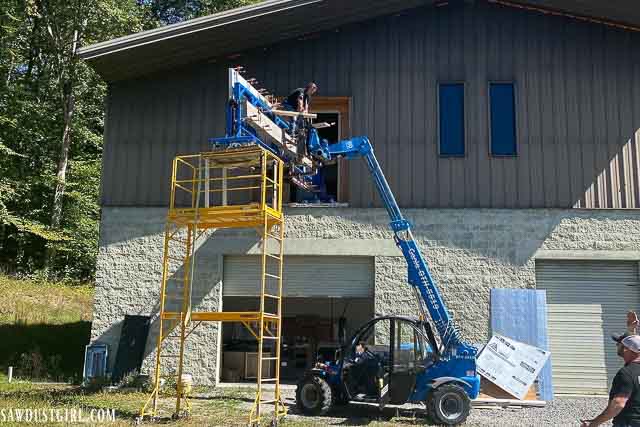
Dusty brought a helper and the countertops survived the long drive. Next they had to survive the SUPER SKETCH lull lift, shift and push through my second story entrance. I was scared the entire time!
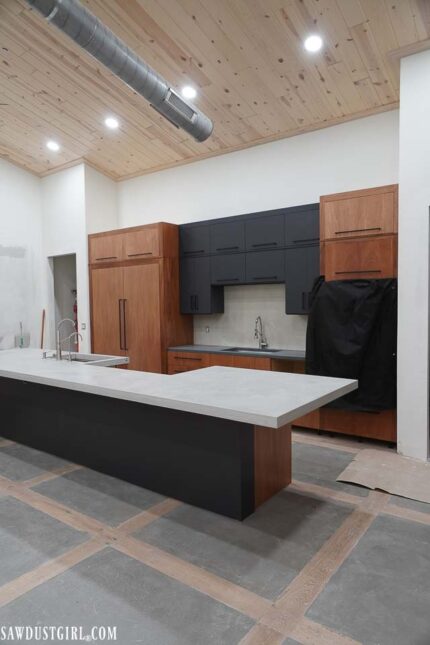
The people and the countertops survived and Wes and I both LOVE the countertops!
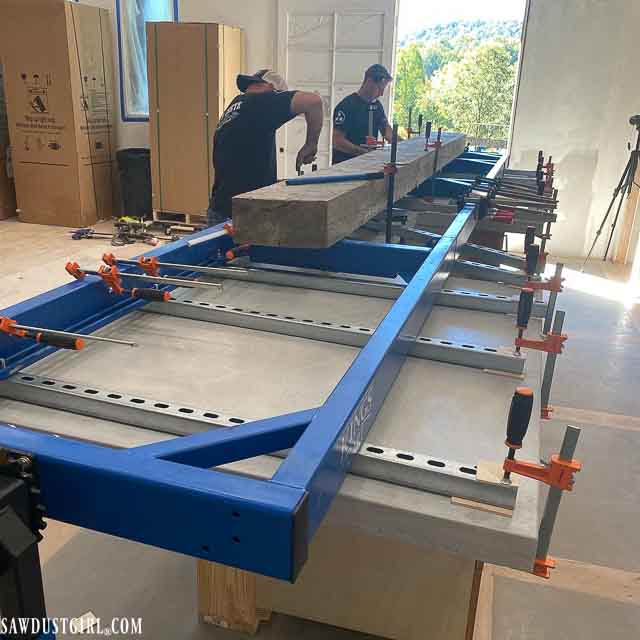
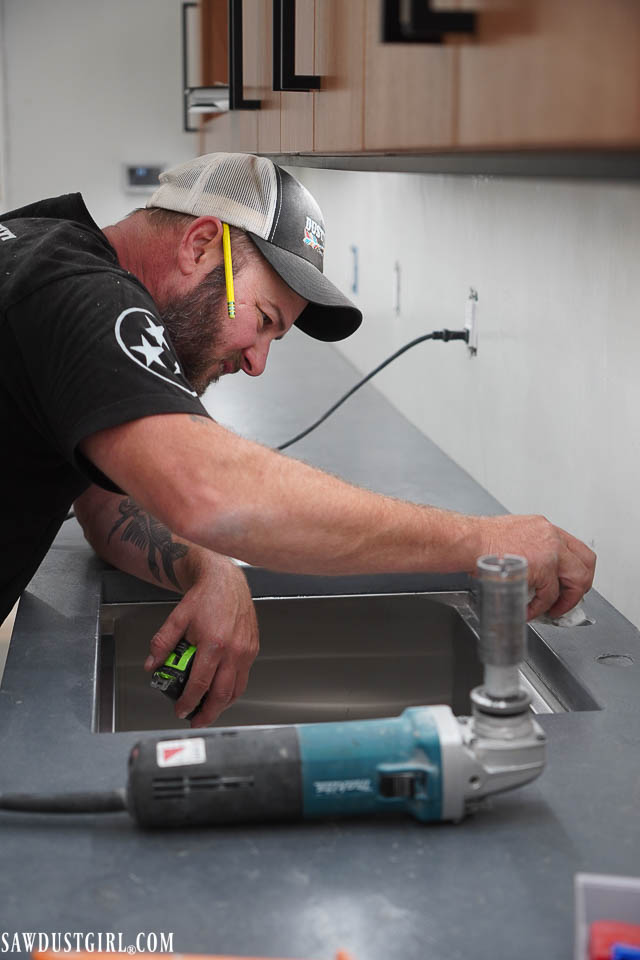
Dusty set the sinks and cut the faucet holes. Then, as all appreciated the beauty of the product and breathed a sigh of relief that it was done, Dusty swore he would never take a job requiring him to do anything that insane again!

P.S. We decided NOT to attempt to move the piano through this door in a similar manner and will wait until the future deck is built to figure out how to get that up and in.
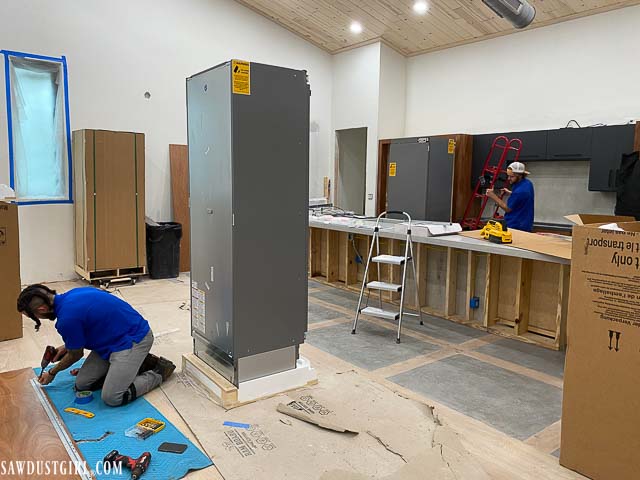
Appliances
With the countertops installed we finally got the refrigeration columns installed. I had that scheduled earlier but Dusty suggested we hold off until after he got the countertops installed. While still empty, we could push the right side of that custom cabinet inward and give the countertop room to tilt into place without scraping the mahogany panel. Yes please!
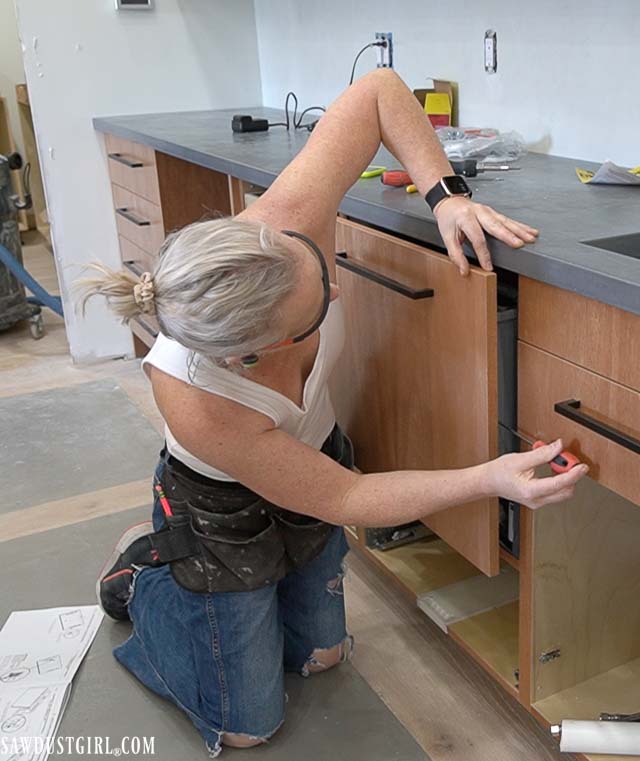
Terry got most of the faucets and gadgets installed and I got one of the dishwashers installed.
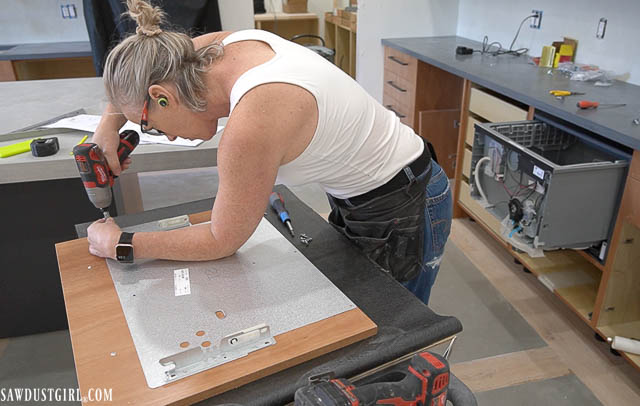
We didn’t get all the plumbing fixtures installed because one faucet was faulty, the finish on two soap dispensers didn’t match the faucets, and I purchased water filters that required adapters that I needed to order. However I do have one usable sink with all working faucets, dispensers and disposal button!
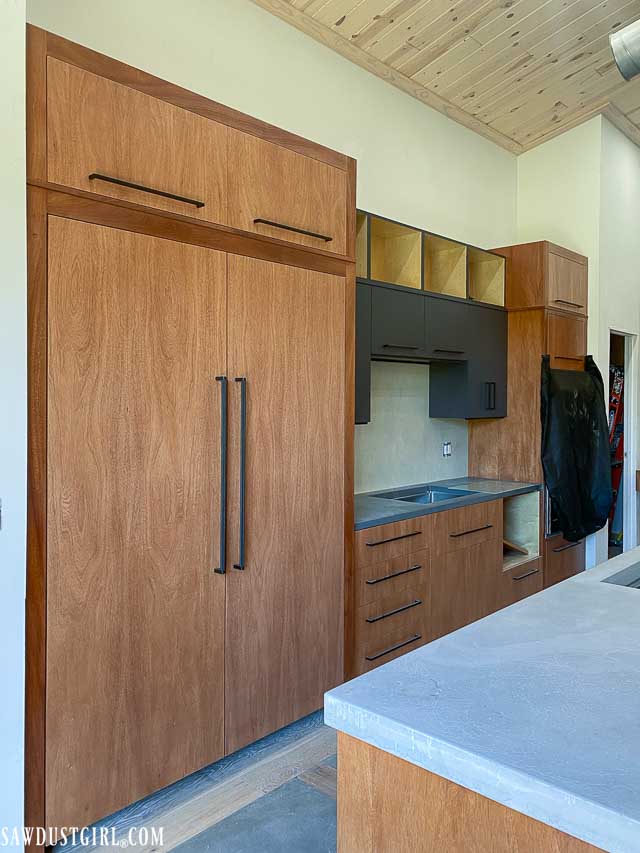
Cabinets
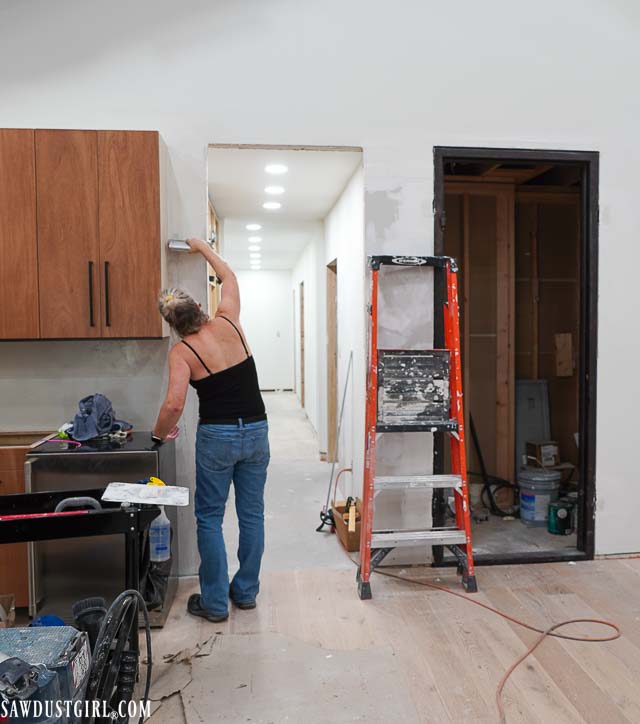
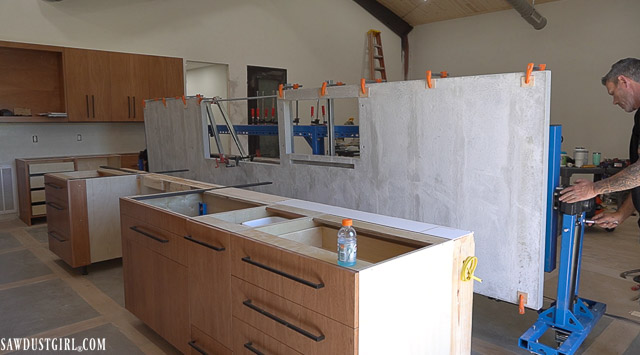
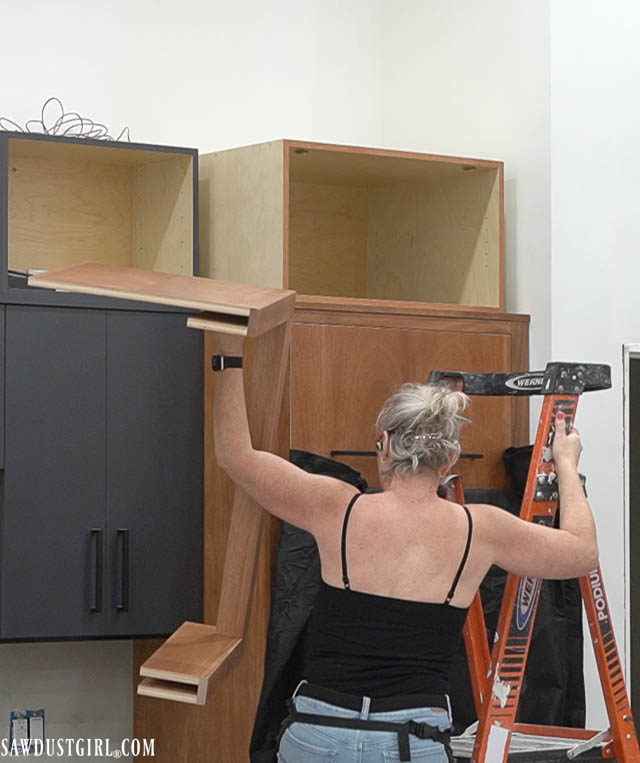
I built the cabinets up to this height and then had a planned to build a valance type thing that would house task lighting for the sink area. I ordered several lighting options to try out. My electrician hooked up and created a sampling of each option. I decided I didn’t want any lighting projecting down from that high overhead because it created shadows from the cabinets. I ended up having him install channel strips on the bottom of each cabinet section. Without lights IN the valance thingy, it wouldn’t make sense to have one so I had to come up with a new plan to build UP because the proportions of this section of cabinets is wrong. I’ve been referring to them as the squatty cabinets.

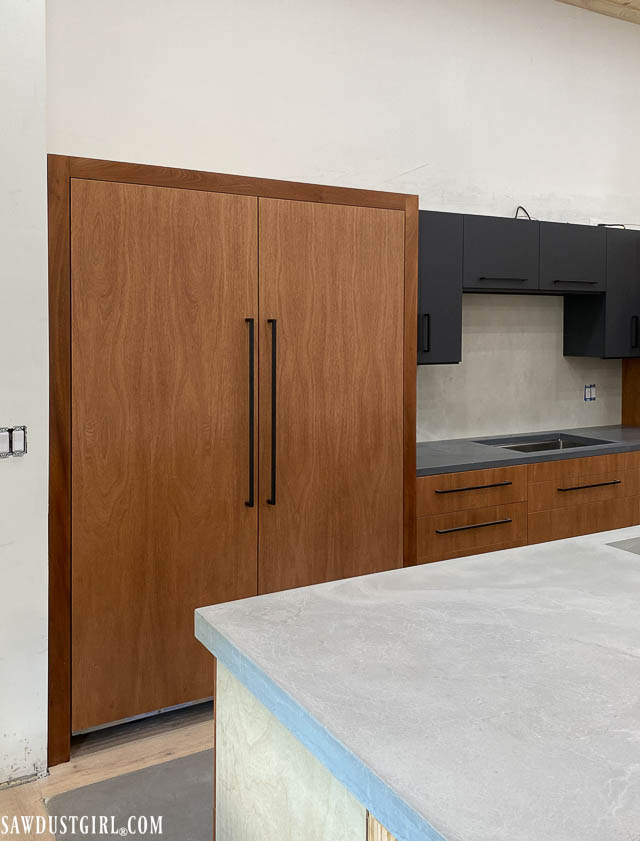
I built and finished everything before installing them. This included the upper cabinets and the island trim.
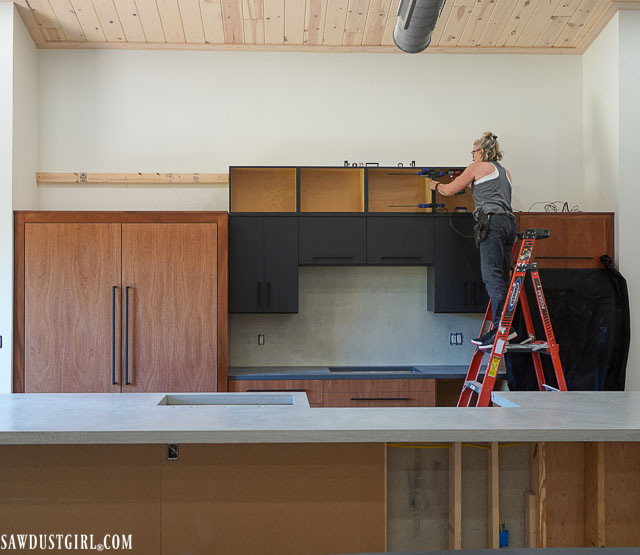


Over time, the mahogany panels will even out more as the new panels have more exposure to light.
On my current to-do list is:
- finish skimming, priming and painting that drywall around doors/doorways
- build Hood Ceiling (waiting on parts)
- schedule hood installation
- toekicks (cut, finish, install)
- build pantry cabinets (halfway done)
I’m focusing on completing the kitchen and pantry. Then I’ll focus on the master suite and laundry room. When I’m done with those, HOPEFULLY the deck addition will be underway and I’ll be able to finish the living room area. There are several things that I really don’t want to decide until after the deck is built. Right now, everything is just a plan on paper and I anticipate the reality of the deck will allow me to see/feel completely new possibilities. We all know how much I change my mind. I’m trying to be patient and wait rather than redoing things I just did. (Many times. cough. Maryville Pantry)
Jay Bates says
Gorgeous work. I like the framed refrigerator section. The two-color theme looks excellent as well. This is going to be a beautiful space.
Sandra says
Thanks Jay! We’re getting very eager to move in…but hoping the deck and elevator are in soon because it’s going to be a major pain to bring groceries through my workshop and up all those stairs! 🙂
Guerrina says
What a back-breaking AMAZING job! Love all of it! I’m a bit confused and obviously waaay behind! Is The Lodge the building that was going to be for DIY Seminars and now going to be your main home? or is this all renovation to the original home?
Sandra says
My plans have evolved a number of times over the last two years and I decided not to do any more “here’s the plan” posts while they kept changing.
Yes, when I refer to the Lodge, I’m talking about the upper half of that huge building. The lower half is all workshop space and where I plan to teach any classes. The upper space was always going to be a residential area and Wes and I were going to move up there while we renovated the small house on the property.
Our plan now is to use the Lodge as our main residence and rent out the small house. We still have 3 guest suites in the lodge though. With Covid being an ongoing thing, I’ll probably only have small pods visit at one time so it will work.
Right now I’m just so busy making this building a livable space I’m not thinking much about classes. Though, it is always in the back of my mind. The last two years have really thrown a lot of wrenches in the original plans. I’m still kind of waiting for the next one to hit. LOL That fear is fading slowly and I’m feeling more hopeful. Thanks for sticking with me!
Jencey says
Incredible ❤️🧡💛💚💙💜🤎
Caroline says
Ahh! It looks so good. I always look forward to seeing the progress posts you are doing for the lodge.
Sandra says
Thanks so much! It’s very outside my typical style that I still look at it every day when I enter the space to make sure I really do like it. LOL
Ange says
Love everything. The counter top install would have had me so stressed out .
Sandra says
Sooooo stressful! Glad that is over and Wes and I are really glad we didn’t try to move the piano in first! Once the deck is in it will be much easier.
Sharon C says
Love the cabinetry and the black mixed wih the wood tones. Simply stunning.
Sandra says
Thank you Sharon! I think I’m going to really like the space once all the things are done. It is SO different from all the other houses I’ve renovated and we’ve lived in. Look at us, being adventurous! lol