Previously I shared a post about how to paint MDF and get smooth edges. I wanted share a tutorial for painting plywood too. If you build with plywood with the intention of staining or clear-coating it, you would use edge banding. However, when painting plywood, edge banding is not necessary. You can get a beautiful paint finish on plywood by using these simple tricks.
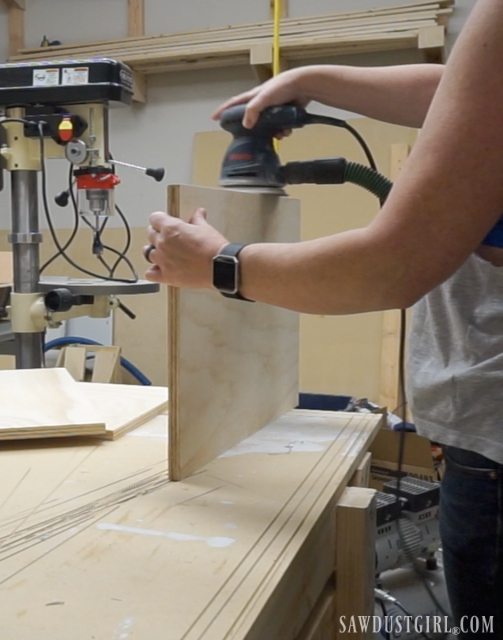
Sand
After cutting your plywood pieces, the first step is to sand with 120 grit sandpaper. Go over the whole plywood surface, but pay special attention to the edges. Keep your sander flat so you’re not rounding the corners.
Prime
Next, prime all sides of the plywood. I generally paint “two edges” and “one side” at one time. After that has dried, I paint the other two edges and the other side. Having a couple dry edges gives me some way to turn or move the plywood as I’m priming.
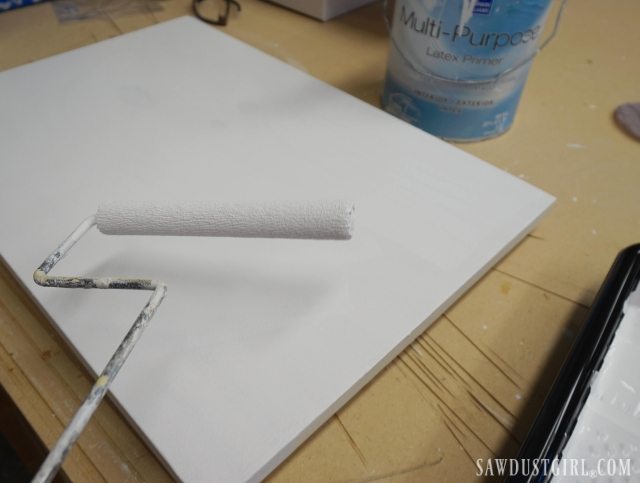
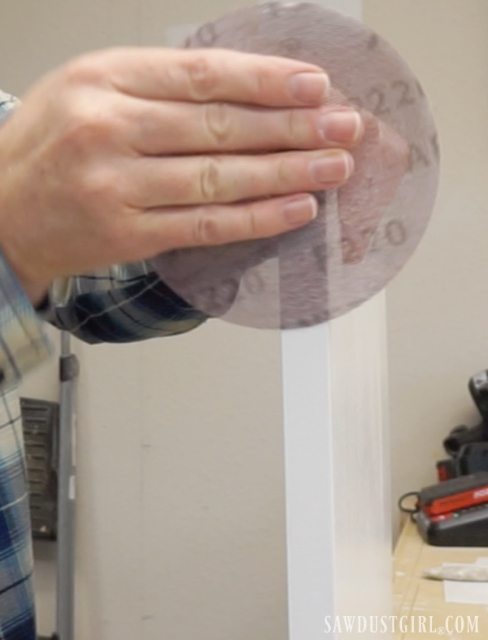
I usually use a water borne primer (and paint) because I do not like cleaning up with chemicals. Water borne finishes raise the wood grain. That is why wood feels bumpy or gritty after painting. A quick once over with a 220 grit sanding sponge will smooth out the large surfaces.
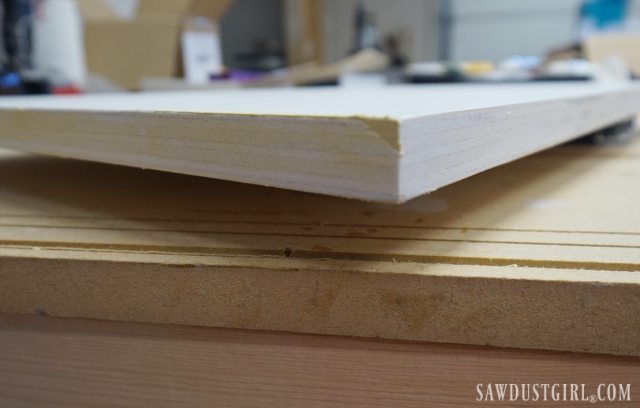
Some plywood will produce smooth edges when cut. If that is the case, the edges can simply be lightly sanded along with the top and bottom surfaces to knock down the raised grain. If your plywood edges are pitted, using some wood filler will do the trick.

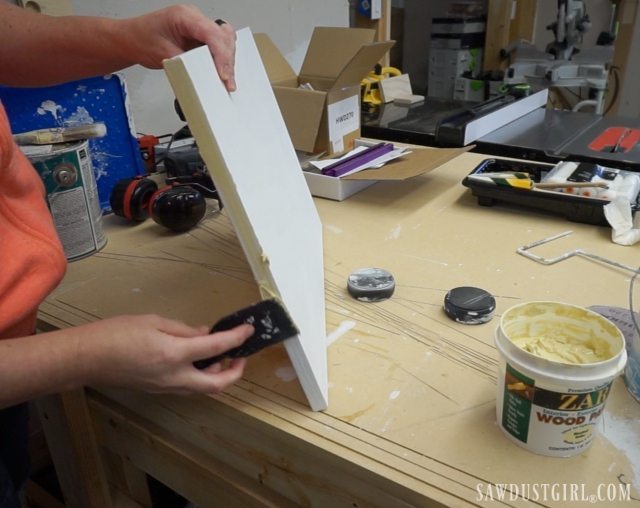
Wood Filler
Use a plastic putty knife to smooth wood filler along all of the plywood edges. My favorite wood patch is still ZAR. I use a damp cloth to wipe the wood before applying ZAR. Smear it on, then scrape off the excess.
Sand and Fill Again
After the wood filler dries, a light sanding should be all you need to come out with smooth plywood edges. If you have any areas that need extra wood patch, apply more, let dry and sand again. The sandings should not require any elbow grease. Just a light touch to smooth out the wood filler and any raised grain. If you have any saw marks, gouges or dents, those areas will need extra attention. Maybe a more aggressive sanding or more wood filler.
I also like to run over the corners with a sanding block at this stage. Not to round them, just to remove their sharpness. I’ve scraped my knuckles on sharp corners enough times that now I always knock down all corners on wood that will be exposed in the finished piece (of whatever I’m building).
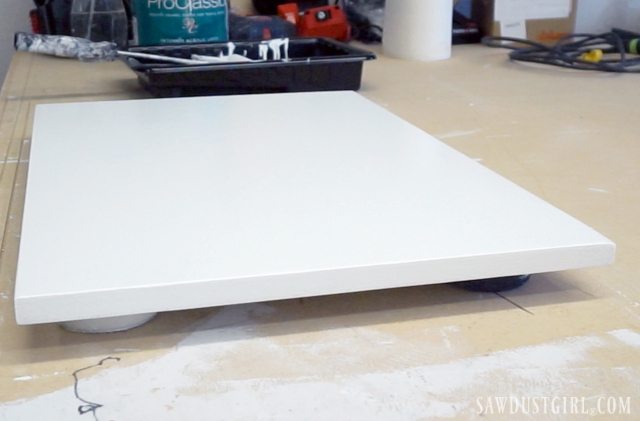
Paint
Once your plywood edges are smooth, wipe off the whole piece with a slightly damp cloth. Then paint away. If I’m painting with a roller, I do my “2 edges and 1 surface” at a time trick.
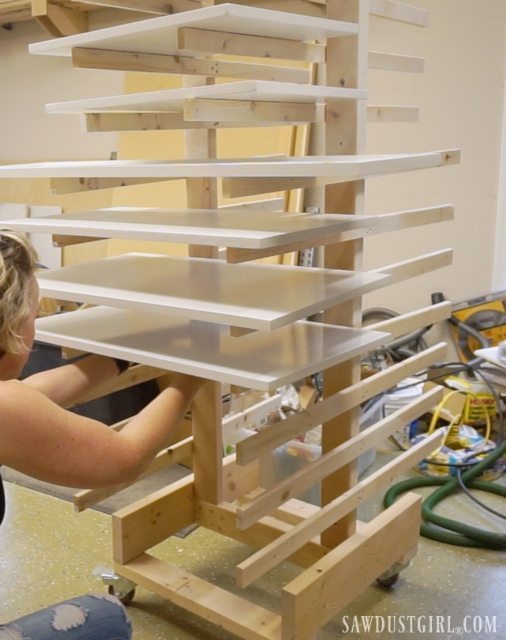
When I’m painting a lot of pieces, I’ll break out my paint sprayer and drying rack.
Finial Touches
No matter my painting method, I often find areas where the paint puddled or dripped. Generally, it’s best to let the paint dry before making your repairs. My favorite trick is to use a single edged razor blade to remove paint drips and lines.
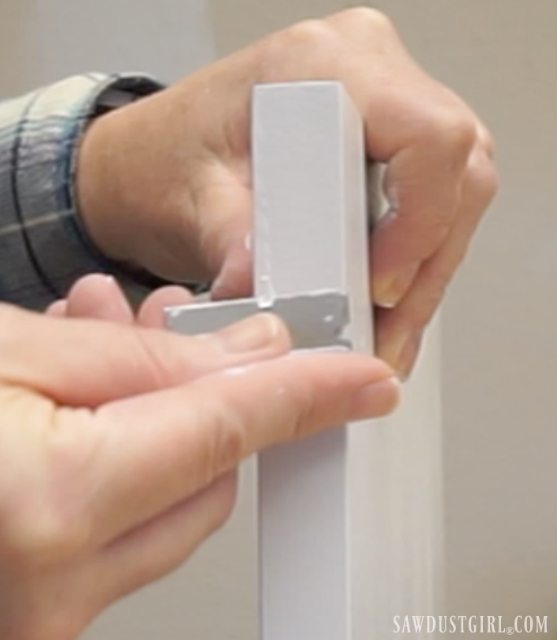
If needed, I hit that area again with a 220 grit sandpaper or sanding sponge (generally whichever I can find within reach). If the paint used had much gloss, this area will also need a little touch up paint. If low sheen, it’s most likely just fine. You just have to examine your work piece and decide what you think it needs.
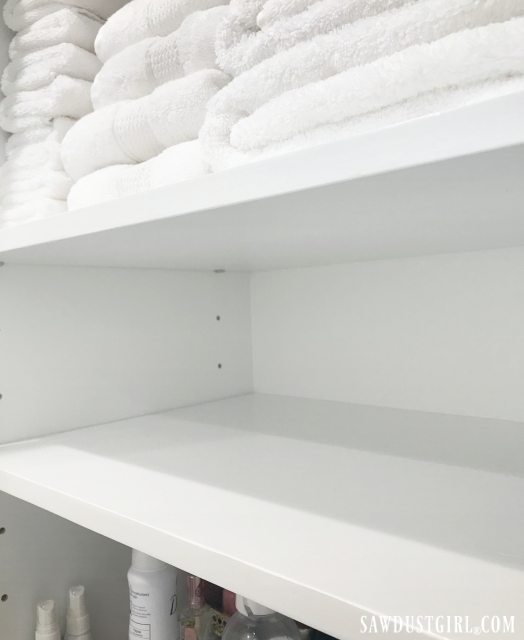
Most of the pieces I build with plywood have a faceframe which cover the edges. Usually the only exposed plywood edges I use are for shelves so if I find a side I’m not as happy with, I put it facing the back of the cabinet.
Whatever the purpose, that’s how I go about painting plywood edges.
Kelly F says
Great tip as usual. I always make my husband put trim on edges. He’ll love this, it will be my job now.
Sandra says
LOL Well, maybe don’t pass these tips on then. 🙂
Darlene says
Just the info I needed as I’m about to create jambs for the windows in the lower level of our house. I need to use plywood because of the depth of the wall. You’ve confirmed what I was planning to do with the edges.
Sandra says
Great. Best of luck with those window jambs!
Guam says
I’ve searched all over the internet for your lovely tip.
You’re the final piece of the puzzle to my frameless cabinet project. I’ve been wondering if it were necessary to edgeband a frameless cabinet when I’m going to paint them.
In the past I tried the reverse and had a terrible experience. Your write up makes complete sense. I wish I found your page sooner!!
Thank you thank you!
Kasia says
This is so perfect! I am doing my first built-in and was in need of a tutorial for how to paint exposed edge plywood. Thank you! One follow-up: does painting with a foam roller achieve the same quality (i.e., smooth) finish as with a sprayer?Any tips/tricks for painting with a roller to get the best finish?
Sandra says
My best tip is to not overwork your paint. Just roll it on and leave it alone. Let it dry. Then go back and look for any blemishes that you can clean up with a razor.
Tracy Cooke says
Excellent tips! We just finished painting some cabinets and one of the drawers had a drippy edge. Now I know the best way to fix it! THX
Sandra says
Awesome. Glad to help!
Wendy Burchik says
Great info, thanks!
ToyMaker says
After sanding try wiping the bare wood with a wet rag (not dripping wet). The water will cause the fibers to swell and you can sand the raised fibers before applying the water based primer. When you are sanding the bare wood make light pencil makes all over the wood and then sand. When the pencil marks are gone your surface is smooth. Do this with each sanding or whenever you change the grit you are using and you will get a smoother surface. Do not make heavy pencil marks because that will make grooves in the wood and be more difficult to remove. You are spot on about using wood filler for the edges of the plywood. If you are using boards, sand the ends with a higher grit than you use on the surface. This will cause the ends to be smoother and the paint will have the same appearance all around.
Sandra says
Great tips. Thanks so much for sharing.
Kirsten says
Hi- what am I doing wrong?! I applied the wood filler to the edges, but I can’t get it to stick! I applied it with my putty knife and it curled right off…. so then I tried using my fingers to smooth it on, but it’s a huge mess. Am I missing something here or is this just a learning curve that I should try to power through? Thanks 🙂
Sandra says
What kind of wood putty are you using? With the ZAR wood putty that I use, you get the wood slightly damp then apply the putty with a plastic putty knife. (I also use my fingers for application.) If you’re using ZAR, try this method. If you’re using another brand, read the instructions or reach out to the company on social media.
Shaun says
I didn’t like the idea of edge banding. I also knew that paint doesn’t work well on the side of plywood by itself. I was thinking wood filler might work and decided to google “Can you paint the side of plywood?” as I was shopping at Home Depot. This article really made the decision to ditch edge banding easy. Thank you!
Sandra says
Very glad it was helpful!
Sydney says
Thanks for the tutorial!
I’m awful at edge drips and puddles. I’ve quit loading my brush so much and try not to drag along the edge. I’m still having the problem but at least not as much. I will use the razor blade (great idea!).
But is there something in the paint technique while painting that you can think of that would decrease the drips and dribbles?
Thanks again. Great job.
Sandra says
Apply and then leave it alone to dry/set. It’s something that is really difficult to do because you want to force the paint to lay flat. If you see brush strokes, you want to smooth them out. However, once the paint starts to dry, if you mess with it you’ll just make it worse. Good paint will flatten and level out pretty well so “put it on and then let it be”. After it dries you can go back and touch up little mistakes quite easily.
Claire says
Would you always paint plywood before constructing the cabinet? Not after?
Sandra says
It depends on whether or not you need to rely on glue for construction. Wood glue bonds the two wood surfaces together so doesn’t work if the surface is coated (with paint or clear finish). If you’re cutting rabbets or dados or using dowels or tenons that are cut after painting, then painting before assembly is a time saver.
Claire says
That’s really helpful, thanks! I think I’m taking waaaaay too long with projects at the moment.
Brian Gierl says
Ever tried painter’s caulk? Easy to work with, paintable, no need to sand it.
Guam says
Yes I have tried painters caulk.
In my experience with painters caulk, the caulk can dry leaving some small pointy and sharp edges, don’t forget to trim them down and touch up those areas. Another thing about caulk is that during the drying process the caulk will shrink or sink into the pits and require additional applications.
Putty works best as the post suggests. A painter once recommended using Bondo. The stuff they use on cars. I’ve tried that technique and the fumes can make you nautious and lingers so make sure the room is well ventilated. His reasoning was that when bondo dries it’s sandable and is prone to shrinking. I’m not an expert but I’ve tried it once and I weren’t real happy with my result.
Isla says
Can you sand the ply then apply wood filler, then sand again, then paint/put your primer down? Or do you need to prime it first before filling the edges with wood filler?
Sandra says
You should play around with it and see what works best for you. There’s generally never just one right way to do anything.