Today I am working on getting the layer of MDF that goes under the oak plywood countertops. I don’t know if the pictures show the work space accurately or not, but I am actually very intimidated by this part of the project. Our countertop is 23 feet long!! This will be seen by everyone and needs to look good. I used MDF for the under countertop part. I rip them all to 24 inches wide and lay them out so I can start marking all of my cuts.
Now I get to cutting.
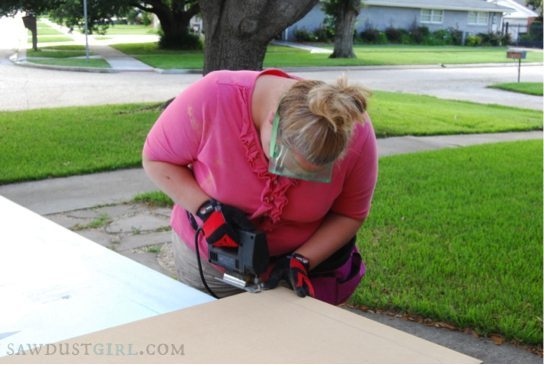
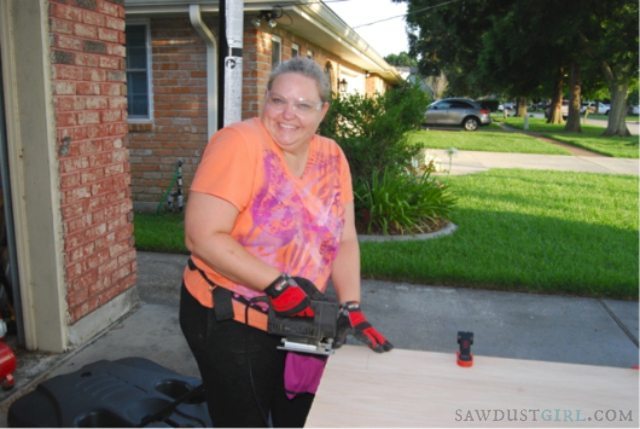
Now, don’t you get all jealous about my pink tool belt. That was my mother’s day gift from my daughter!

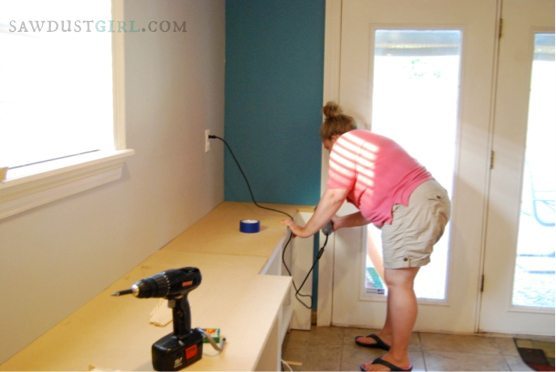
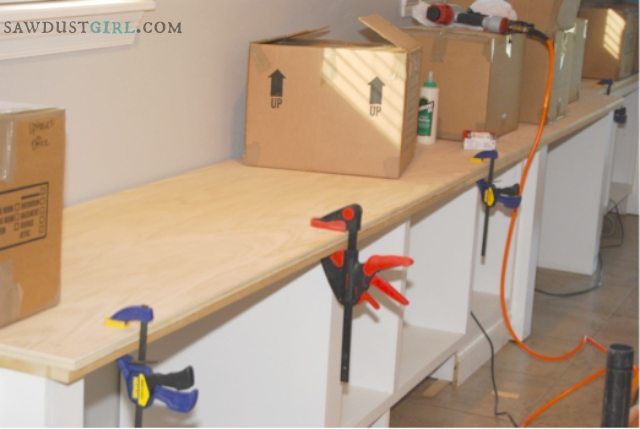
Here I am doing a dry fit of the MDF before I drill it in.
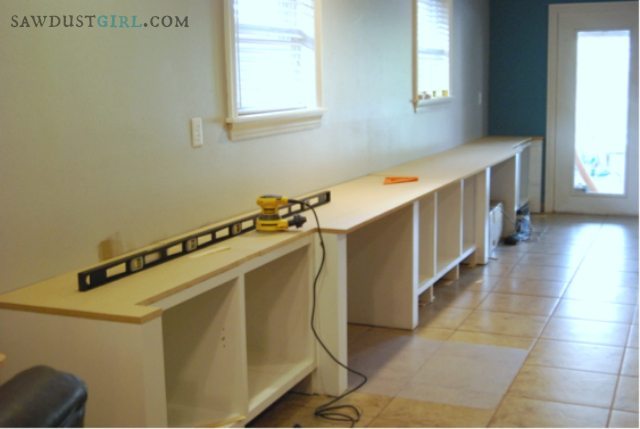
Umm, yeah, instead of modeling my pink tool belt, I should have been paying more attention to my cuts. I had some that were not exactly straight and I had to use a power sander to sand down the MDF to get them correct.
Now that all of the MDF substrate is in, I can start on the actual top that will be seen.
Unfortunately all of the lumber yards in my area only cater to the building industry and are only open 7-4 M-F, so I am unable to get around to them to see my choices of lumber. Instead I went with the big box store and selected a cabinet grade oak plywood, and oak 1X2 for the facing. Same as with the MDF, I rip the plywood into 24 inch width and use my Kreg Rip cut!
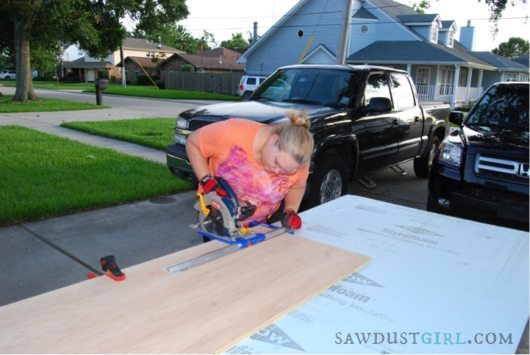
I also make all of my other markings and use the jigsaw for the smaller cuts.
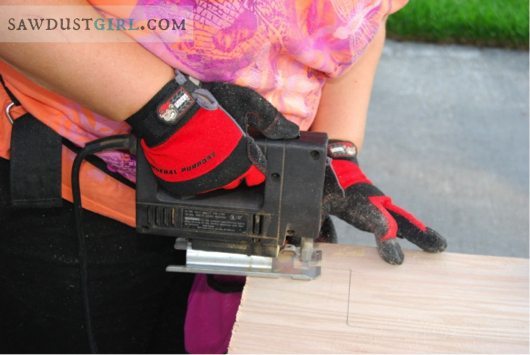
Cutting wood is always fun!
Now that all of the pieces are cut, I use today to glue and nail down the top.

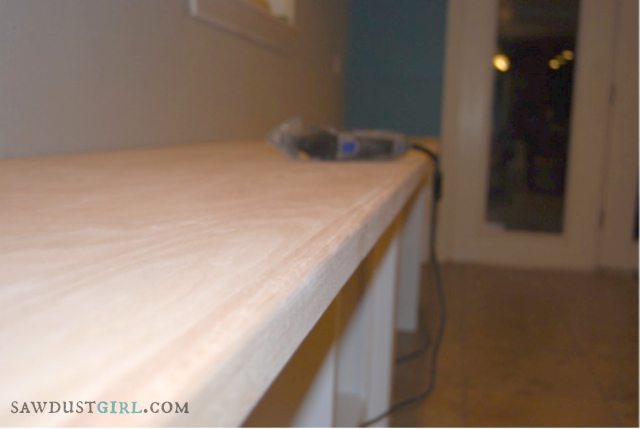
Now that the countertop is down, I move forward with adding the facing edge.
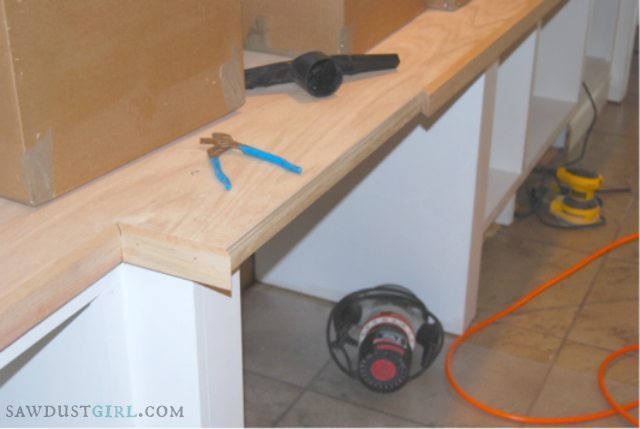
I use a router with a bit and give the facing a curved edge, since I will be working here every day. I wasn’t too thrilled about having a sharp edge on my forearms all day. The router worked like a charm! I love the smooth round edge.
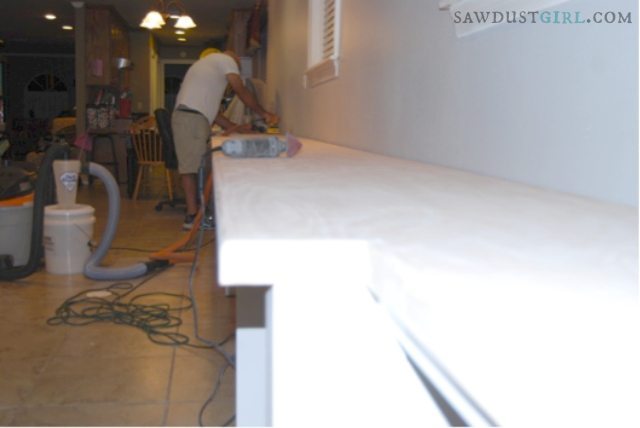
Next my husband sanded the top of the countertop, while I sanded the facing. We used 220 grit to get a super smooth finish.
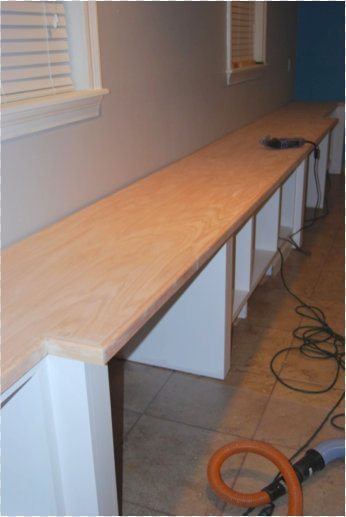
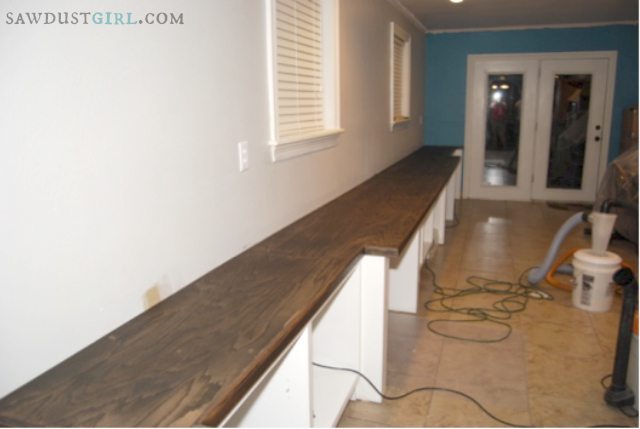
Here it is all ready to be stained.
I really wanted to use Sandra’s method of Waterlox tung oil, however there is no store within a 50 mile radius of us that sells it, therefore I am forced into stain and polyurethane. To prep the wood, I wiped it down with papertowels and then I wiped it down once with mineral spirits.
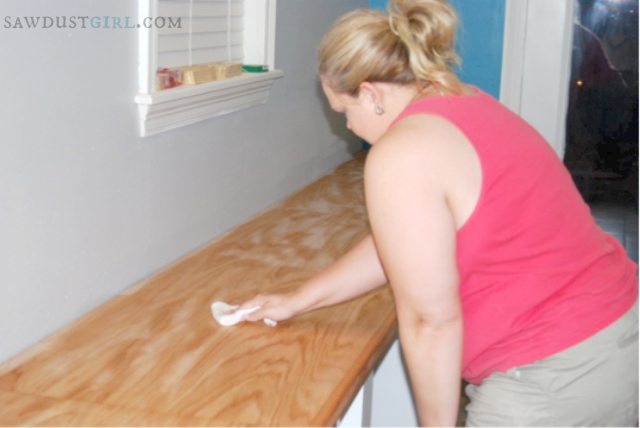
Then the fun begins! I selected an ebony stain. Because this is oak and is a hard wood, I had to let the stain set for 15 minutes and then iwpe it down. I repeated the process the next morning.
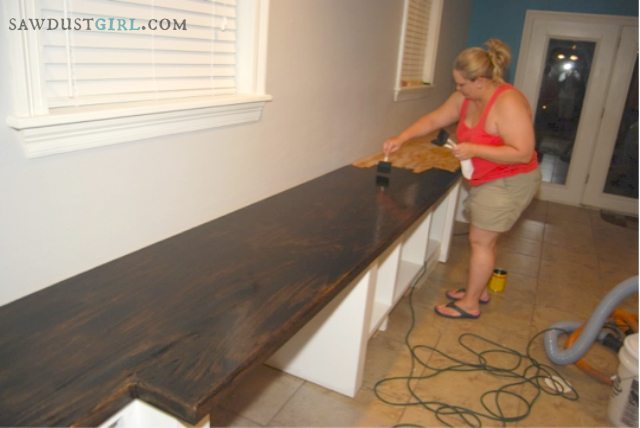
June 29th, 2013
I applied the second coat of stain and then I went swimming and took a nap and enjoyed the rest of my weekend. I can honestly say that I.LOVE.IT!! My countertops turned out better than I could have hoped for. I still need to put three coats of polyurethane on them, but that will have to wait until tomorrow.
Read all of Cara’s posts here: part 1, part 2, part 3, part 4, part 5, part 7. And you can get the free plans for the Cara Collection office furniture built-ins.
Manon says
Great work! Respect!
Marie Roxanne says
Now that is a beautiful color. And I like your poses! You look happy doing this work and keep smiling! It’s contagious.
Cara says
Thanks so much!
Janis says
This looks absolutely beautiful. How did you butt the ends of the plywood together? I know you didn’t have a sheet that is 23′ long, lol. I’m trying to figure out how to do it in one of my own projects.
Cara says
We butted them up together. They were too long to clamp, so while one sheet of plywood was nailed down, I took the other sheet of plywood and leaned in with all my weight and kept the connection tight while my husband nailed it in. Ha, and you are are right we did not have a 23′ long piece, however I strategically placed the joints in the bookcase area where I knew that the majority of the seam would be hidden by my books, etc sitting in the bookcase. It doesn’t bother me to see the seam, since I like the “reclaimed” wood look. I think it adds character. Thanks for the nice comment also!
Janis says
Thanks for replying Cara. I think your project is going to look awesome. What a great workspace!!
Woodswoman says
Great job! I’ve found that Marine spar varnish works great on wood in kitchens. No water marks ever.
Courtney says
It looks beautiful! Very nice touch using the router to round the edge.
kristin says
That is one loooong workspace! Remind us why all the workroom is needed or the plan for all the space–please! I LOVE how you pose for the camera and show it of with a big smile. Great work!
Cara says
Hi there, well, the reason for the long work space is three fold. One, I telecommute almost everyday, so I needed an office space, and second, when we moved into this house, we downsized and I lost my craft room so I am working that into this area, and third, the room is very long and very narrow. It was an awkward long space, so we are basically combining the space into a den/craft room/home office. Remember though, almost 10 feet of space will be used by the bookcases, so I won’t have all 23 feet as desk top. I wish though!
kristin says
Got it–And how fun it will be to get to the organization/decor part too! Great use of space. We all need our craft space. My husband had to buy me a new printer for my etsy shop and although it ranked high he failed to see how large it was! I have no room left in my craft room for it! We can put it downstairs but I am sure you’ll agree having it right there in the same space is the best. Thanks for the reply:)
fawn teresi says
Looks great so far!!! This is going to be an awesome workspace when you are done!
Tina B says
AMAZING! Nice job! And I covet your pink tool belt…I want one! 🙂
Brittany says
lovely. So what kind of space is this? Trying to decide if this sort of thing would hold up in a bathroom.
Cara says
This is a back den area. I’m sure if you used the right finishes, it would be fine for a bathroom. Sandra could probably answer that question better than me though.
Ronda Batchelor says
Looking sooooo good!!!
Susan Poll says
It looks.fantastic!!!
Cara says
Thank you!
Bobbi says
It looks GREAT! But . . . YIKES . . . don’t ever were gloves when using power tools, very unsafe.
Jenn says
You look like such a proud DIY’er, and rightfully so! I can’t wait to see your finished work space.
Cara says
thank you! I can tell you that I am enjoying every inch of it 🙂
Ayisha says
Things are really looking good Cara. I can’t wait for your reveal.
Chantelle - ThousandSquareFeet says
I absolutely adore dark stained counters. We have them in both our kids bathroom and our homeschool room and dark concrete counters in our kitchen. I also love how you can make such gorgeous counters out of plywood!! It is going to look super lovely!
kristin says
Stunning!!!
Bryan says
I found your blog just in time for my next project…Great job! 23 feet is huge:) One question…how did you deal with the seams when joining each section of the oak plywood for the countertop?
Pam says
LOVE what you’ve done! You are an inspiration!
I’m building in a tv recessed niche and had not idea what to use for the countertop. Thank you for all your good information!