April 27th, 2013
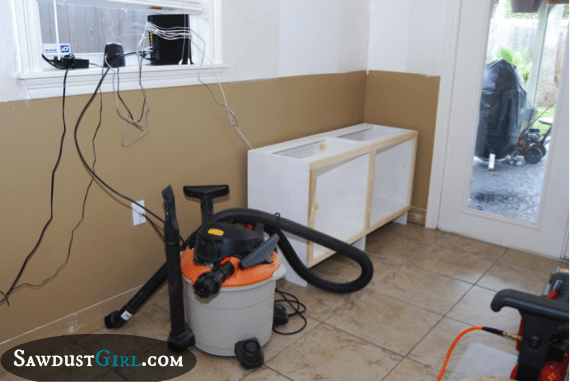
Today got off to a great start. We covered the floor and prepared to start priming all of the cabinets.
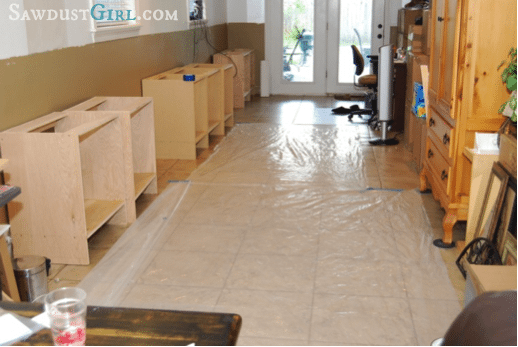
The priming went smoothly, but it was a bit tiring on the ol’arm. I have to admit, after being so scared of using the big tools; I kind of missed it today. The painting was not as gratifying as creating the bases, but it has to be done!
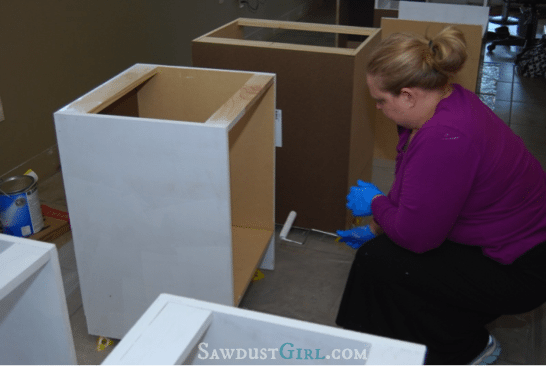
Once all of the cabinet bases have their first coat of primer, I take a much needed brake in the pool.
Tick Tock, tick tock, tick tock…literally a picture of paint drying.
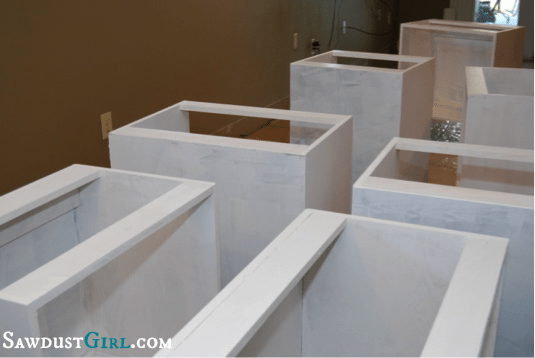
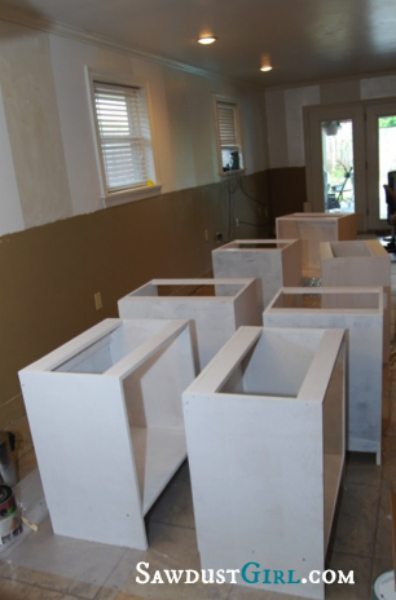
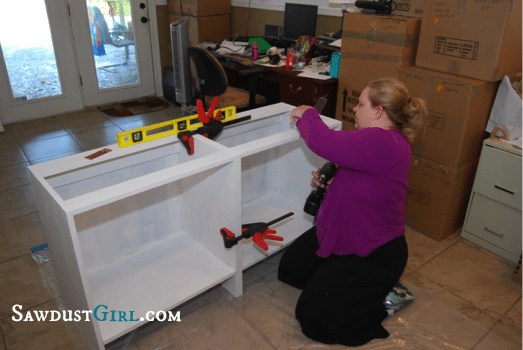
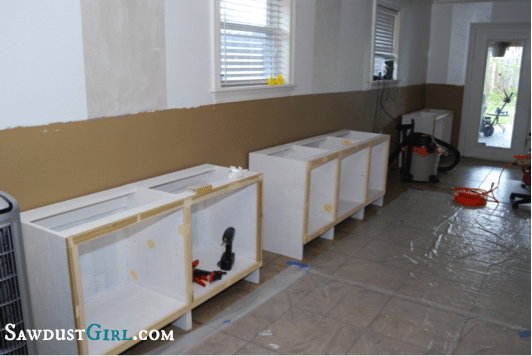
One wardrobe change back into work clothes, and the assurance that the primer is dried, I start screwing the bases together in order to get proper measurements for the face frames. This took a little longer than I thought it would. Getting everything flush and level, took both me and my husband. I’m so glad he was there to help me!
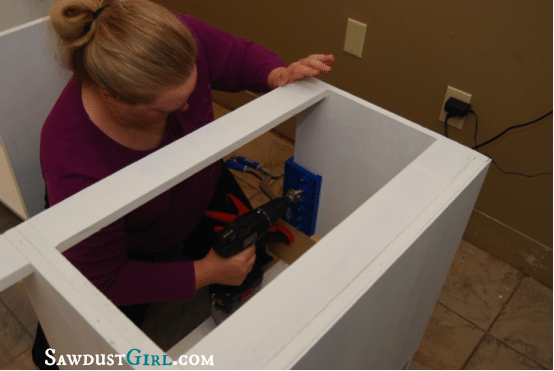
After attaching the bases to each other, I used my Kreg Shelf Pin Jig, and a block of MDF to drill the hole for the shelf pins. Since I only need about 3 holes in these bottom bases, it really was an easy job.
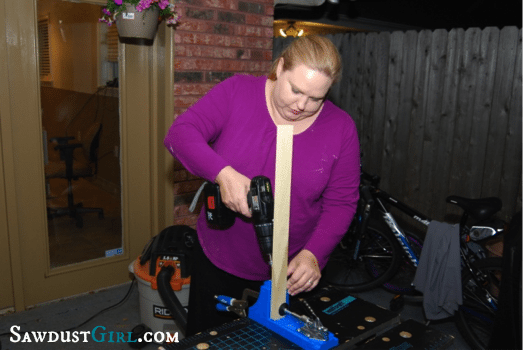
So, as you can tell, it is now dark, and like I said, connecting the bases took me longer than I thought it would, but I was determined to get through the “to-do” list assigned to me by Sandra, so I continued on to make the face frames. I used the Kreg Jig to drill holes in the face frame material.
Well, I didn’t get as far as I had wanted to, but I did get one face frame put together and attached. I have one more cut and ready to be assembled, and I will need to cut the face frame out for the middle section.
May 2, 2013
Ok, over the past couple of days, I have managed to finish building and attaching all 3 face frames for my 3 sets of cabinet bases. I haven’t quiet caught up on my to-do list, but I am close. My husband was kind enough and used wood filler to fill in where we nailed in the face frame, so now I just need to find time to prime it before the weekend!
May 3rd, 2012
Today the face frames got their first coat of paint and we sanded down all of the cabinets. Unfortunately, I don’t have a picture to document that. Oh well, I swear it is done!
May 4, 2013
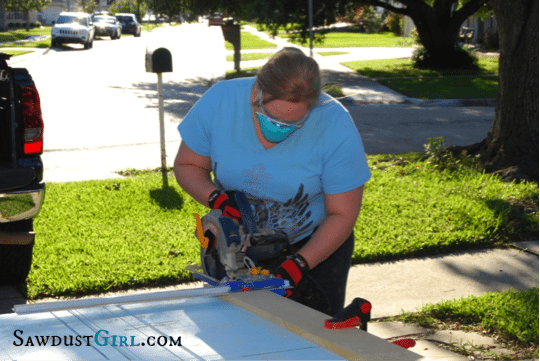
Today we had some family commitments…Ok, so we went to an amusement park, but family commitment sounded so much more like something we “had” to do, rather than the wild crazy fun we were having! Oh well, sometimes you have to get out there and just be crazy. Anyways, due to our very important commitment, we didn’t get started on our building until 4 in the afternoon. So, our assignment for this weekend was to build 6 legs for the cabinet bases. Given my time constraints, my goal for today was just to get everything cut so we could build tomorrow.
May 5, 2013
And we are back on track….
Today we knocked out the six legs fairly quickly. I consider it a good day when I only have to bug consult with Sandra once during the day! After building the legs, we needed to sand all of them smooth, but I only got one done. The rest will have to wait for me to do during the week. Unfortunately, I have a dinner to make, laundry to do, and homework to round up, so sanding gets bumped to low priority. Plus, I have to go out of town this week for work, so I am hoping the sanding fairy, aka my husband, will have pity on me and sand these bad boys for me. Oh, who am I kidding? He’s probably counting down the minutes until I leave so he can have full control over the project and play with all of the tools we’ve been buying!

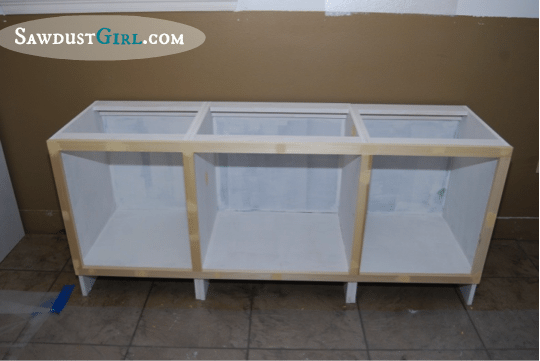
Here are the legs sitting next to each cabinet base. I know is sounds totally crazy, but my husband and I stand in there and discuss the building of the cabinets, how it is all coming together so well, how we can’t wait until it is all done , and how we are going to transform our house with these new skills we have learned.
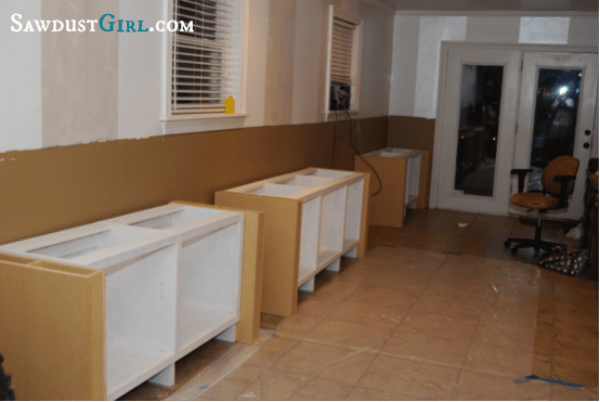
There is this peaceful silence where we both drift into our daydream of an organized, fully functioning house…then the kiddo screams, “is dinner ready”? And we are both startled back to reality and off we go again to do the things that make up our life.
Read all of Cara’s posts here: part 1, part 3, part 4, part 5, part 6, part 7. And you can get the free plans for the Cara Collection office furniture built-ins.
Leave a Reply