• Home
  • About
    • Personal Posts
  • Privacy
  • Shop
    • My Account
    • Checkout
    • Email
    • Facebook
    • Instagram
    • Pinterest
    • Twitter
    • YouTube
Sawdust Girl®

Sawdust Girl®

Renovation, cabinet building and woodworking plans and tutorials. Build like a Girl®

  • My Home
    • Clinton TN House
      • Clinton TN House in Progress
    • Maryville TN House
      • Maryville TN House Tour – Completed Rooms
      • Maryville TN House in Progress
        • Basement
        • Basement Storage Closet
        • Bedroom Office
        • Craft Room
        • Dining Room
        • Entry
        • Garage
        • Guest Bedroom
        • Hallway
        • Jack and Jill Bathroom
        • Kitchen
        • Kitchen Entry
        • Laundry Room
        • Library
        • Living Room
        • Loft
        • Madison’s Room
        • Master Bedroom
        • Master Closet
        • Pantry
        • Porch
        • Powder Room
        • Wes’ Office
    • Illinois House
    • Calderwood Cottage
  • My Workshop
    • Clinton Workshop
  • Build & Breakfast
  • Cabinet Making 101
    • Cabinets
    • Doors
    • Drawers
  • Projects and Plans
    • Countertops
    • Beds
    • Benches
    • Bookshelves
    • Desks
    • Gift Ideas
    • Holiday
      • Christmas
      • Halloween
    • Home Accessories
    • Kids
    • Kitchen Cabinets
    • Lockers
    • Nightstands
    • Organization accessories
    • Recipes
    • Sewing
    • Tables
    • Vanities
    • Wardrobes
    • Woodworking
      • Wood Finishing
    • Workshop
    • Workshop Storage and Organization
  • Remodeling 101
    • Baseboard and Trim
    • crown molding
    • Demolition
    • Door and Window Casings
    • Door Installation
    • Drywall
    • Electrical work
    • Flooring
    • Home Maintenance
    • Painting
    • Plumbing
    • Resources
    • Safety
    • Tile
    • Wall and Ceiling Treatments
  • Sawdust Squad
  • The Sawdust Diaries
    • Andrea
    • Ava D.
    • Beckie F.
    • Cara C.
    • Courtney B
    • Fawn T.
    • Jenn D.
    • Kelly C.
    • Kristy K.
    • Lara T.
    • Malisa B.
    • Marnie D.
    • Robin C.
    • Val F.
  • Tools
    • Products
    • Tool Reviews & Overviews
    • Inspiration & Ideas

How to Make a Router Circle Jig

All Posts, Projects and Plans, Sawdust Squad, Woodworking

Hey, it’s Shara here from Woodshop Diaries. Happy New Year! With it being the start of a new year, I know that organization is top priority and money is probably a little tight (or is that just me?). So, the last thing you want to do is go out and buy another fancy, expensive jig to help you make cool stuff in the shop, right?

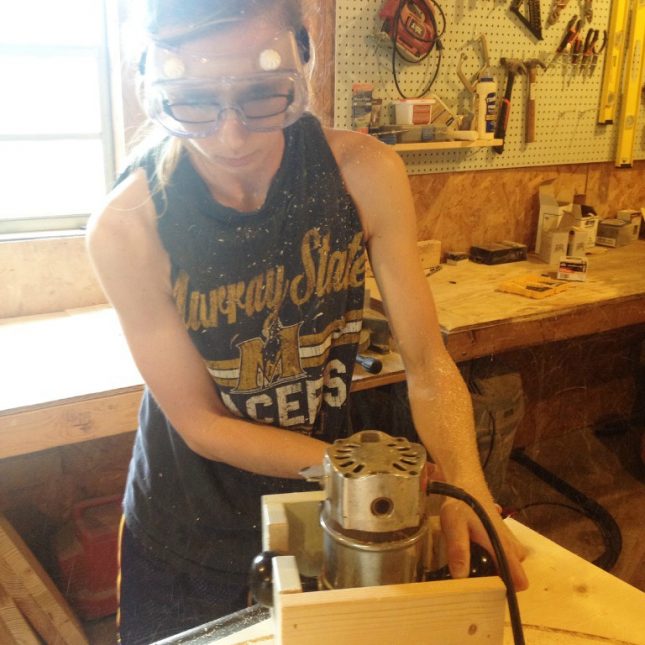
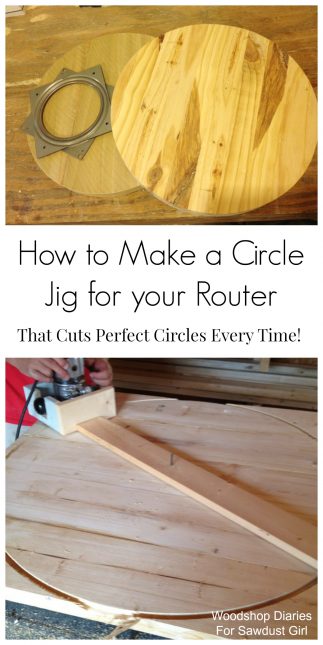
So, this month, Sandra’s Mentorship Squad is showing you how to make some really awesome (and cheap!) homemade woodworking jigs! And I’m kicking us off with the homemade circle jig. I made mine to work with a router, but you could also modify it to fit a jig saw if you wanted. Here I am in my super cool safety goggles putting my jig to work. Don’t laugh.

How to Make a Router Circle Jig


Materials List

You will need:

  • Router or jig saw you want to use your jig with
  • 1×3 scraps (or a 1x3x8 board)
  • Wood Glue
  • 1 1/4″ wood screws
  • Nail Gun (optional)
  • Drill
  • Miter Saw
  • Measuring Tape

Step 1: Build a Router “Box”

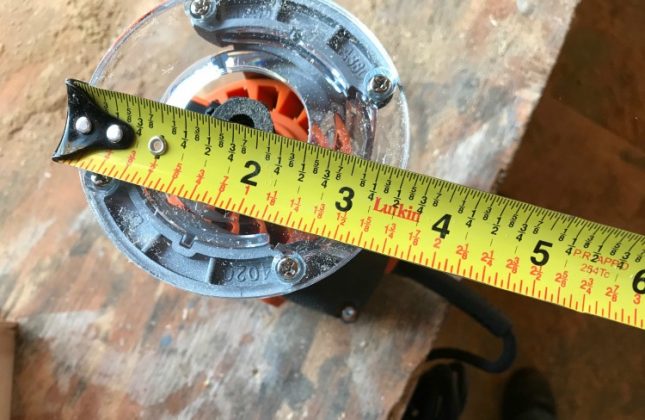
Now, I know that routers are not all the same size. As much as I want to make this a “one size fits all” tutorial, you will have to do a little math of your own based on your particular router. First, measure the diameter of the protective plate on your router. Side note: the jig in the picture above is for my old router, but the tutorial will show my new router.

How to Make a Router Circle Jig

Cut two pieces of 1×3 this length. Then, add 1 1/2″ to that length and cut two more that size. This should form a box that fits perfectly around your router plate. Test the fit, but don’t attach it yet.

If you have a router with the knobs on the side, mark where they hit the boards and use a jig saw to cut notches. I had to do this for my old router.

How to Make a Router Circle Jig

Step 2: Attach the “Box” to the “Arm”

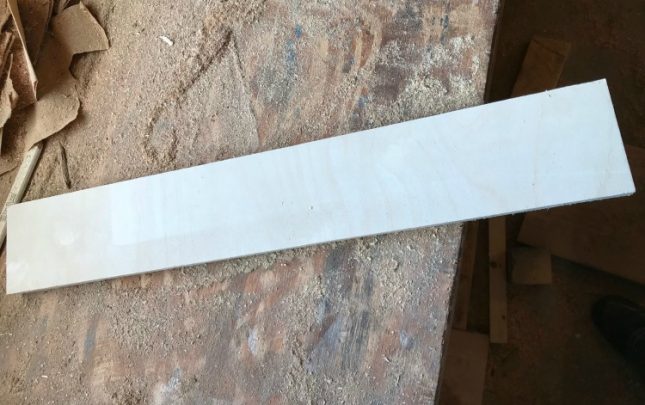
Use a scrap piece of 1x material–I used plywood, but you could also use 1×3 or 1×4 material–as your jig “arm.” Cut it to be about half of the maximum diameter you think you will cut your circles. For example, if you think you’ll never cut a circle larger than 36″ diameter, then make this arm piece about 18″ long.

How to Make a Router Circle Jig

Mark the center of one end of the arm and the center of one of your pieces of your box. Glue and screw them together with 1 1/4″ wood screws making sure to line up the center lines like shown.

How to Make a Router Circle Jig

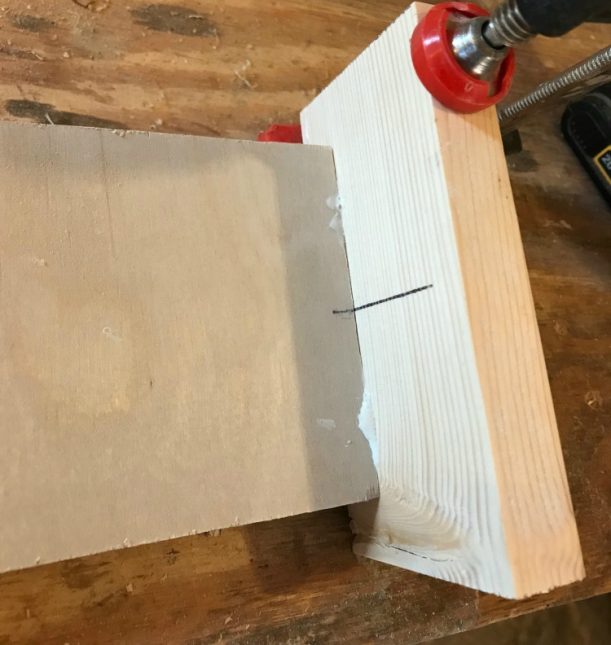
Ignore the clamp here. I didn’t predrill (don’t be like me) so my wood split, and I had to glue it back. So, take my word for it–predrill these holes!

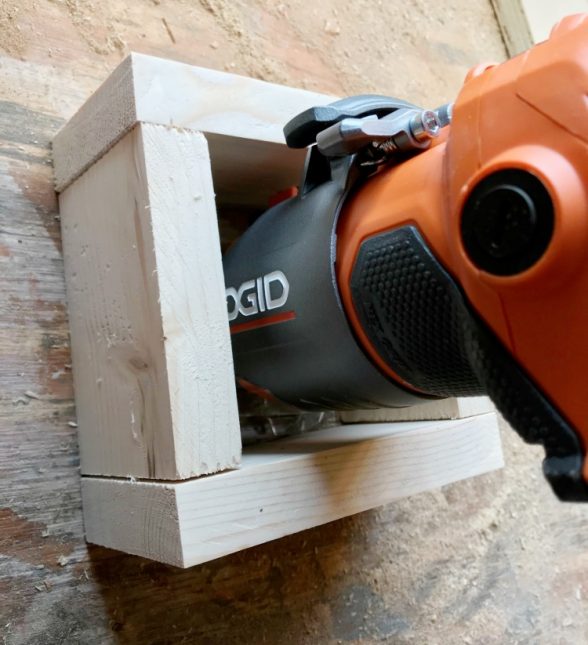
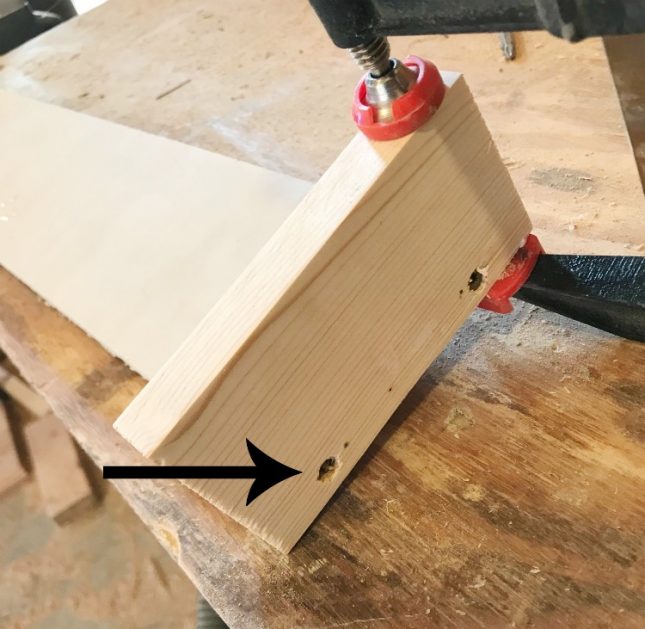
Now, glue and either screw or use a nail gun to attach the rest of the box together like shown.

How to Make a Router Circle Jig

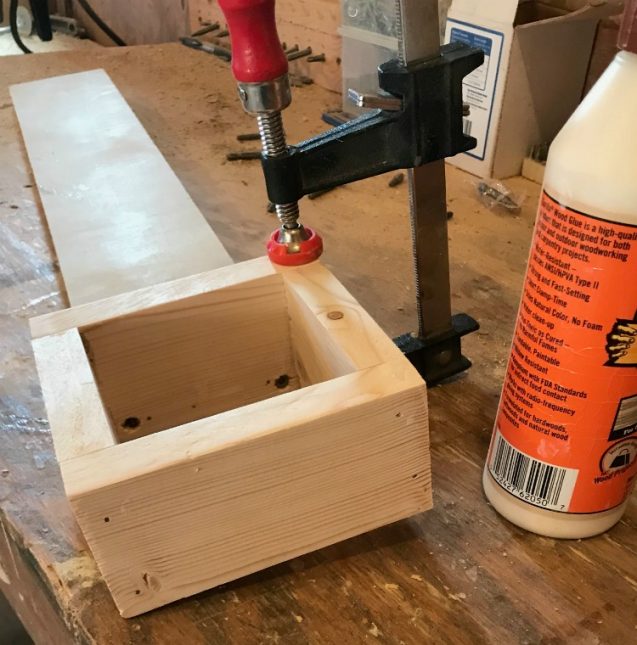
Double check that your router will fit into the box.  Adjust as necessary if it doesn’t fit.

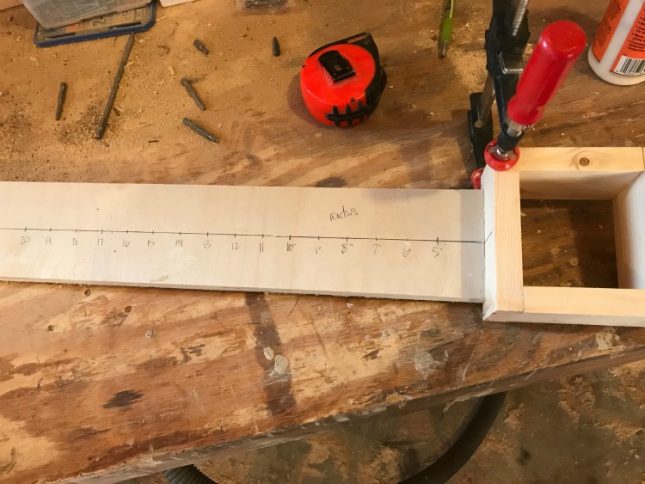
Step 3: Mark Your Arm

This step is optional, but helpful. You can locate and mark tick marks for specific size circles if you wish. Keep in mind, these marks are for radius measurements.

Take half of the diameter of the router plate and add 3/4″. Now, for every inch you measure from the outside of the box, add this to it and that’s your approximate radius. Keep in mind that that measures from the center of the router bit, so you’d have to account for the bit size when you get ready to cut.

How to Make a Router Circle Jig

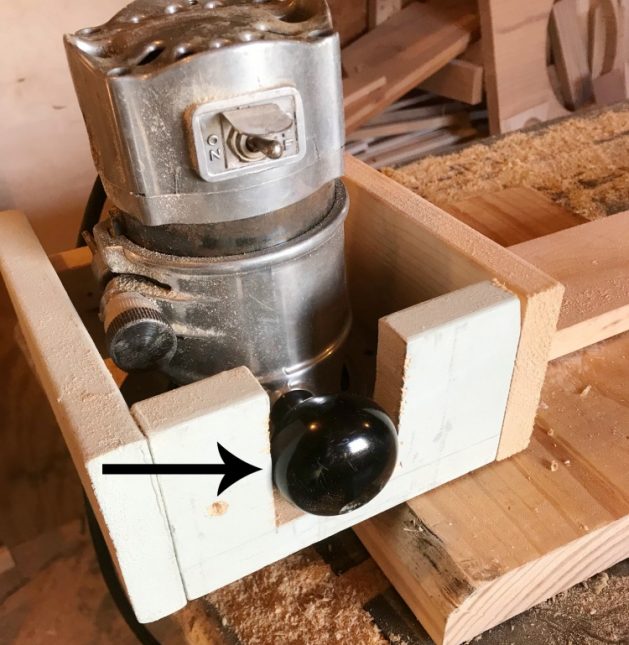
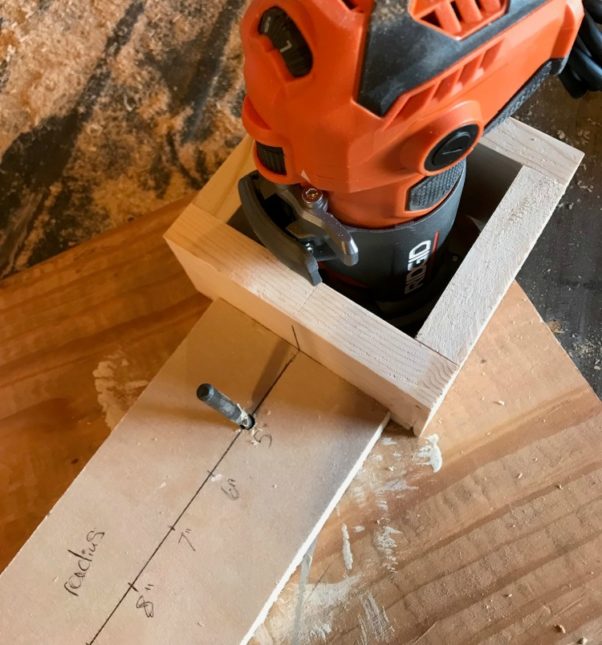
When you get ready to use the jig, insert a straight bit (I recommend a 1/4″ straight bit) in the router and use a drill bit to drill into the arm where you want your circle radius to be. Drill through the arm and drill into–but not through–the piece you are cutting. Now the jig can pivot around the drill bit to cut the circle.

How to Make a Router Circle Jig

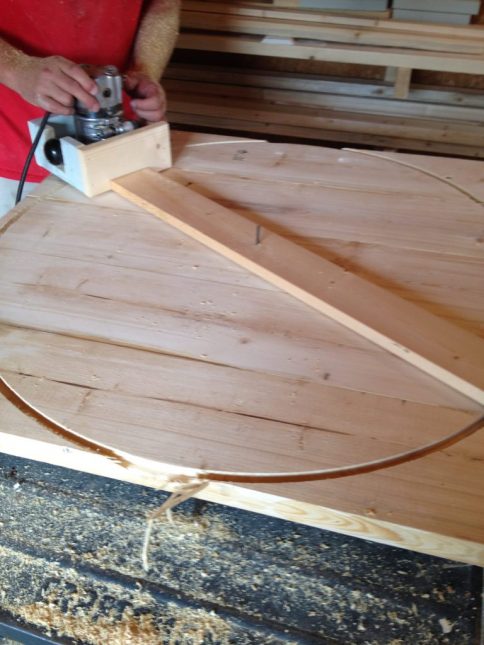
Here is an example using my old router and homemade circle jig. See how the router just pivots around the bit to make the circle?

How to Make a Router Circle Jig

If you are cutting thick material, I recommend making a few passes, and adjusting the router bit to cut more material each time.

I’ve used this type of homemade circle jig on several projects, and it’s worked great! And, since it’s made from scraps, it’s practically free!

How to Make a Router Circle Jig

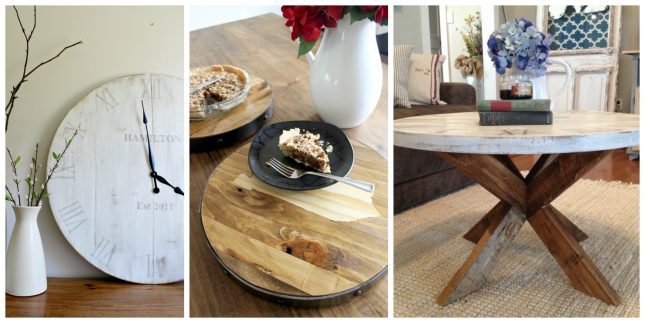
You can check out how I used it on my DIY large personalized wall clock, DIY personalized lazy susans, and DIY round coffee table.

How to Make a Router Circle Jig

Until next time, happy building!

January 17, 2021 · 6 Comments

« Craft Room Design Ideas
The Lodge – part 3 »

Comments

  1. Val says

    January 19, 2018 at 3:58 am

    Brilliant idea, thank you!

    Reply
  2. Kate Hollingsworth says

    January 21, 2018 at 6:11 am

    Such a great tutorial Shara! I can think of so many ways to use big wooden circles now I know how to make them – thankyou! xx

    Reply
  3. viki says

    January 23, 2018 at 10:02 pm

    great idea!

    Reply
  4. Malik says

    January 29, 2018 at 12:53 pm

    this was an interesting tutorial honestly..but your life can be much more easier with teds woodworking plan you can build anything you want out of wood..an amazing 16000 wood to work with just great.
    check it out https://tinyurl.com/ya6tts98

    Reply
  5. Terry says

    July 8, 2019 at 7:03 pm

    Cool idea, using the box to hold the router–simple, easy-to-use, method.

    Reply
    • Sandra says

      July 9, 2019 at 7:42 pm

      Thanks Terry!

      Reply

Leave a Reply Cancel reply

Your email address will not be published. Required fields are marked *

Categories

New Post email notification signup

You Subscribed!

Legal Stuff

Terms of Use

Privacy Policy

Disclosure

Recent Posts

  • Lodge Update – Floors, Cabinets, Countertops, and Appliances
  • Lodge Kitchen Cabinet Progress
  • Halloween Mad Gab – Halloween Party Ideas
  • Concrete Backsplash or Vertical Wall Treatment
  • Building and Installing a Giant Faux Beam on the Ceiling

Disclaimer:

Although it is my intention to provide accurate plans and clear instructions, not all plans have been tried and tested. Using plans or information found on SawdustGirl.com indicates that you agree with the Terms of Use policy and will accept full responsibility for the process and outcome of any project you attempt. All plans are for private use only. Plans and information published on SawdustGirl.com may not be reproduced, republished or distributed in any manner without written permission from Sandra Powell, Sawdust Girl. Actual projects built using Sawdust Girl plans may be published on your own site without instructions or "tutorial" as long as you provide a link to my original post with full post title or "SawdustGirl.com" as link title.

Copyright © 2022 · anchored theme by <a target="_blank"