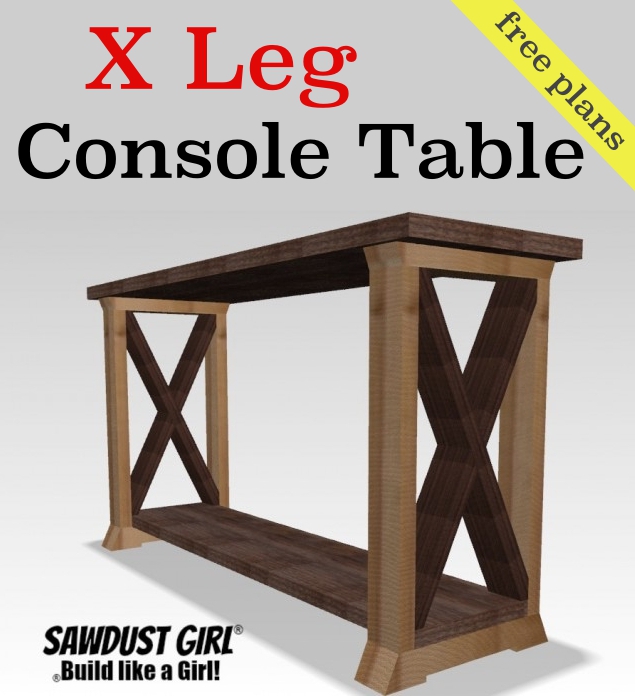
This BoX Leg Console Table is a variation of my two-toned console table. This one with a large X in the box legs. The X’s are a fun addition and are easy to add when you use the technique used in my X leg bench. You could also ad an additional shelf in the middle like in my Three Shelf Console Table. There are so many different ways you can change up this one simple plan!
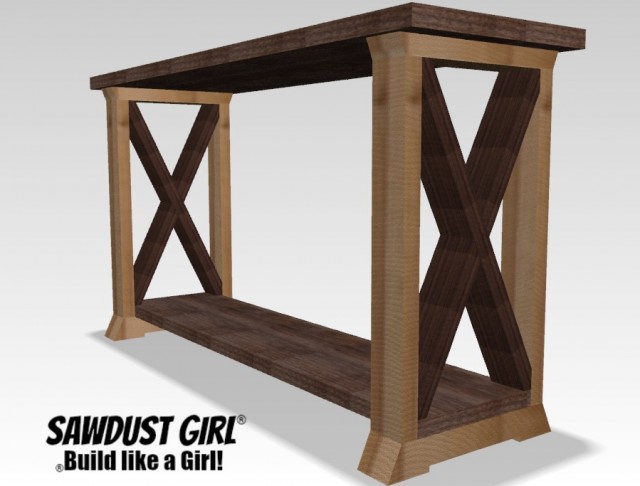
BoX Leg Console Table
Materials
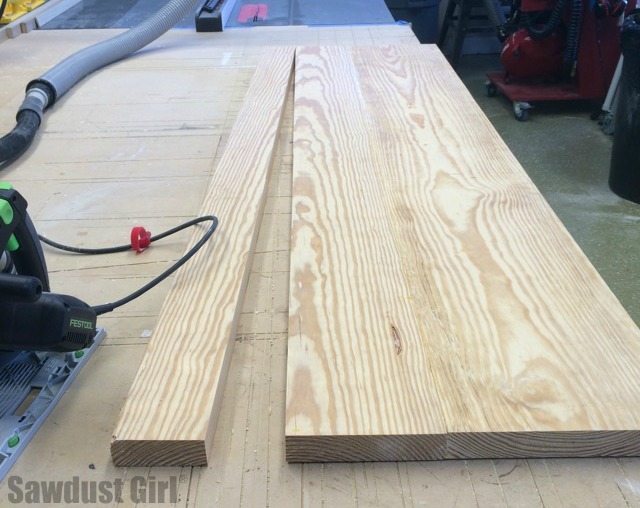
Lumber needed for table top and shelf:
- Join several pieces of 2x lumber to achieve desired width
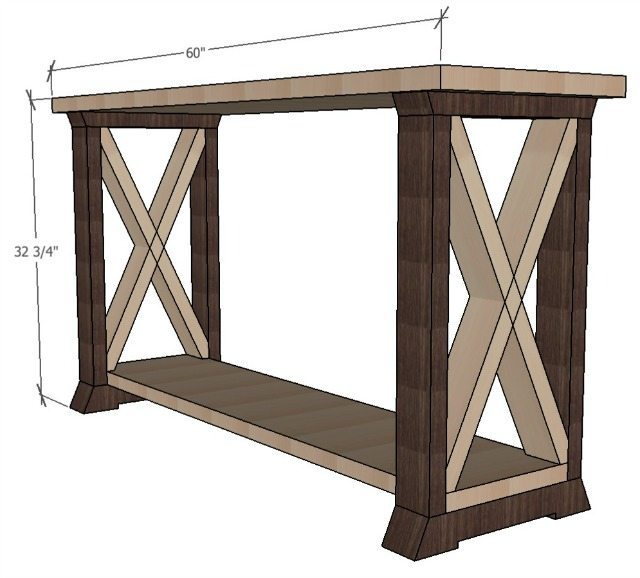
(or greater than desired and then cut down to size) for table top and lower shelf. - Top is 18″ wide
- Lower shelf is 12″ (the leg opening is 12 7/16″ wide shelf should be less to allow for wood movement).
- In this drawing, the lower shelf ends with the legs but the top can overhang by a couple inches in each end. Of course you can modify the length of each to make your table fit your space.
2×4 Lumber lengths needed for legs:
- two – 16 5/8″
- four – 18″
- four – 27″
2×4 Lumber lengths for X’s:
- four – 29″
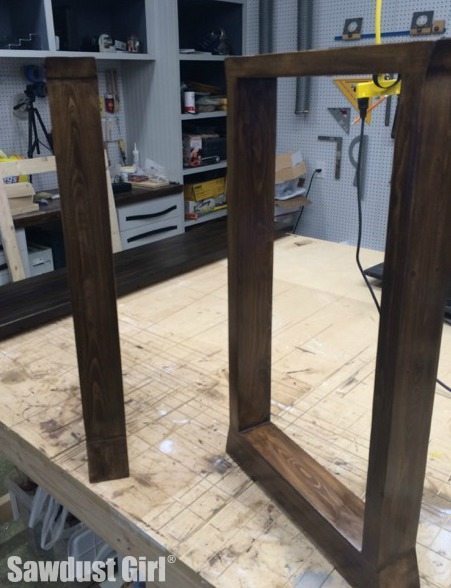
Basic Table Leg
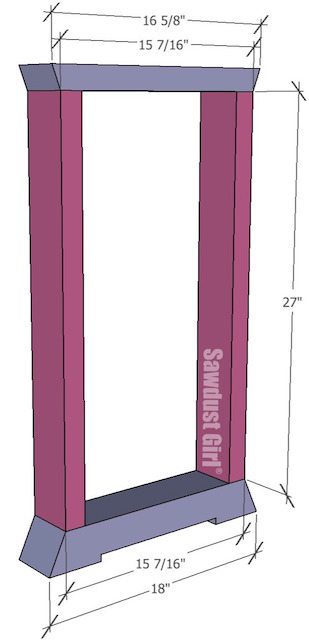
Printable PDF – Leg dimensions
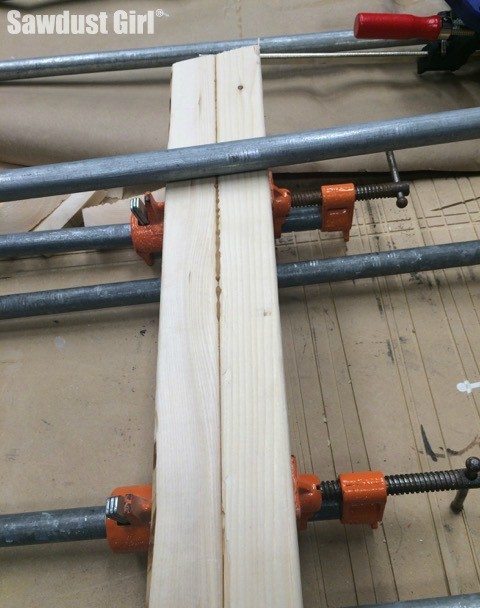
Step 1 – create leg bottom
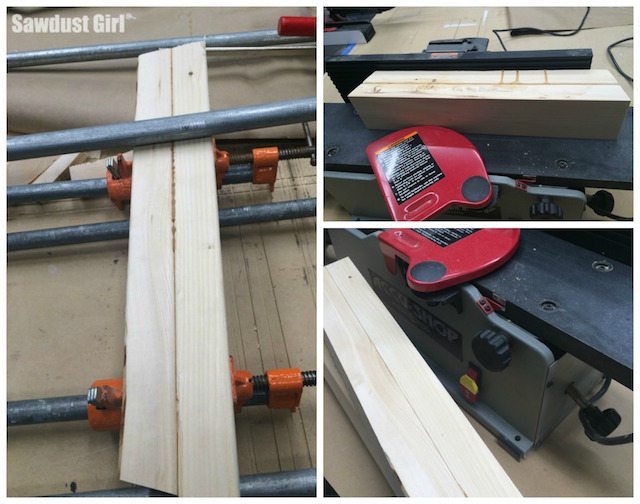
- Use wood glue and clamps to join two 18″ long 2×4’s to create leg bottom.
- Create TWO 18″ long leg bottoms
Optional Step
- If you have a jointer and thickness planer, joint and plane all your leg pieces to the same thickness at this point. The jointer makes quick work of that glue squeeze out.
- If you don’t have these tools, scrape away and sand off all traces of glue that squeeze out during clamping. Glue will not take stain and can really throw a wrench in your painstaking finish efforts.
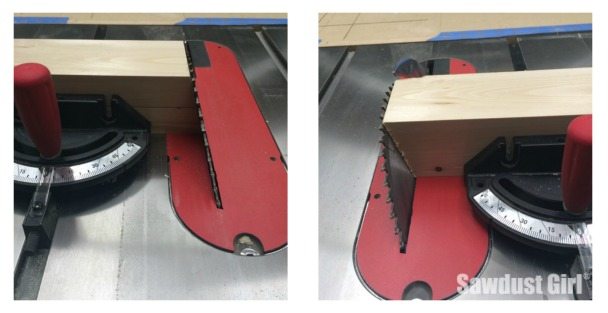
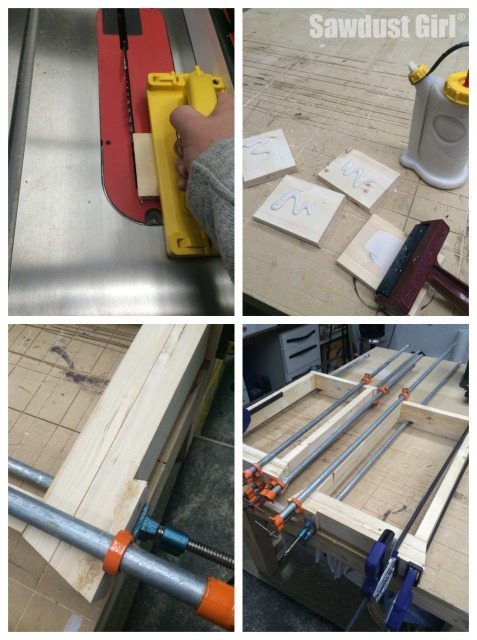
- Cut the ends of the leg tops (16 5/8″ long 2×4’s) and leg bottoms that you just created at a 15˚ angle.
- You can do this on a miter saw or table saw or with a straight edge guide and a circular saw.
- If you do not cut 15˚ angles, trim the leg bottoms to the same length as the top.
Step 2 – dry fit
- Before you start gluing, joining or fastening your table legs together, set all your parts together and make sure they fit, are the proper width and height.
- You definitely want to discover any brain fart mistakes (I have those all the time – don’t feel bad) BEFORE you start glueing up!
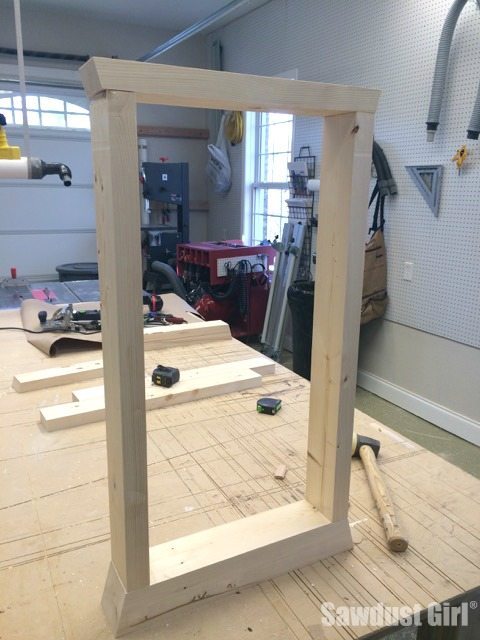
Step 3 – Assemble Legs
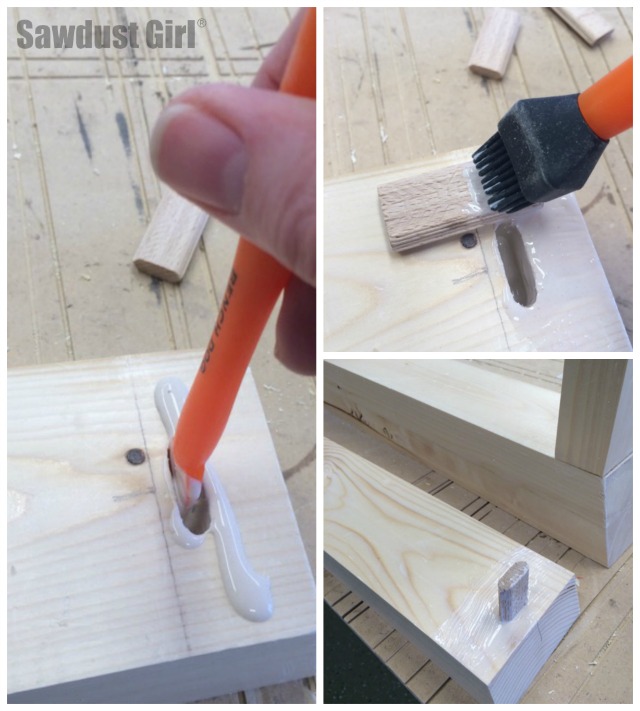
- Decide what type of joinery you will be using.
- Pocket hole screws are an easy option if you have a pocket hole jig. (check out my reviews if you are considering purchasing one)
- If you use a pocket hole jig, make sure you use plugs before you finish you piece. Your piece will more professional if there are no visible pocket holes.
- Dowels are are an easy method and don’t require more than a simple dowel centering pin, proper drill bit and wood dowel. You can get a Dowel Kit for about $5.
- I’m using mortise and tenon joinery. I have a Festool Domino, a pricey but amazingly easy to use and accurate tool.
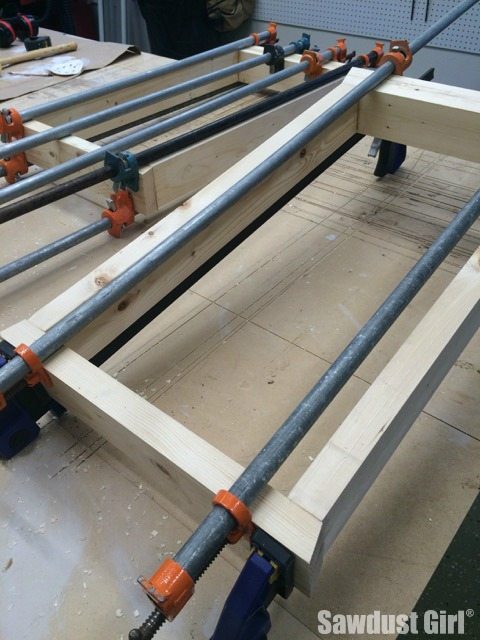
Whatever your method, use wood glue and assemble those legs.
Use assembly squares or corner clamps to make sure your legs are square during assembly.
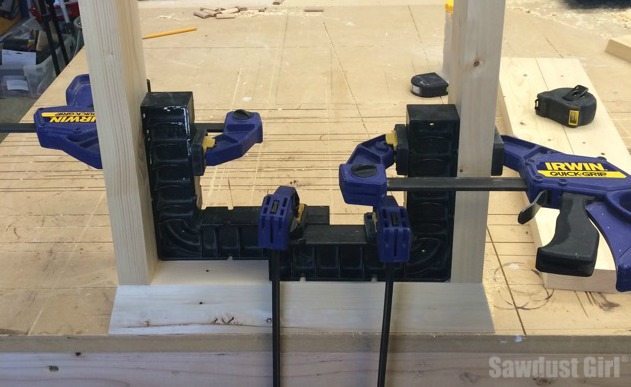
Use clamps to hold everything in place while the glue sets up.
Optional Step
- I added small pieces of wood to the bottom of my legs. Just for added visual interest.
- Cut four pieces of 1×4 pine 4″ wide
- Cut each side of these on a 15˚ angle
- Glue and clamp these to the bottom of your legs
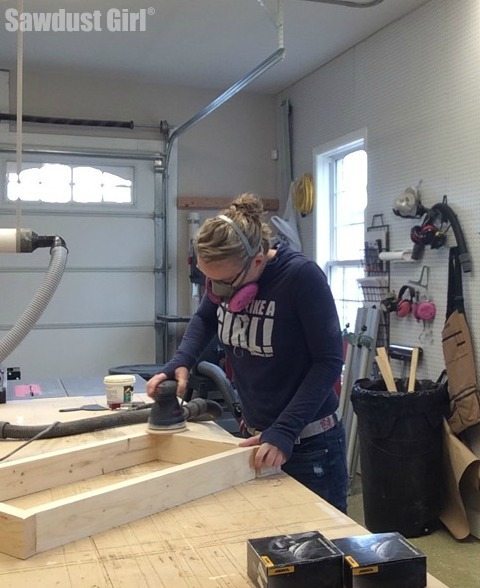
Step 4 – Sand and finish legs
Create bottom shelf
- Join wood together using glue and clamps
- OR trim some reclaimed lumber down to size to create your 12″ wide lower shelf.
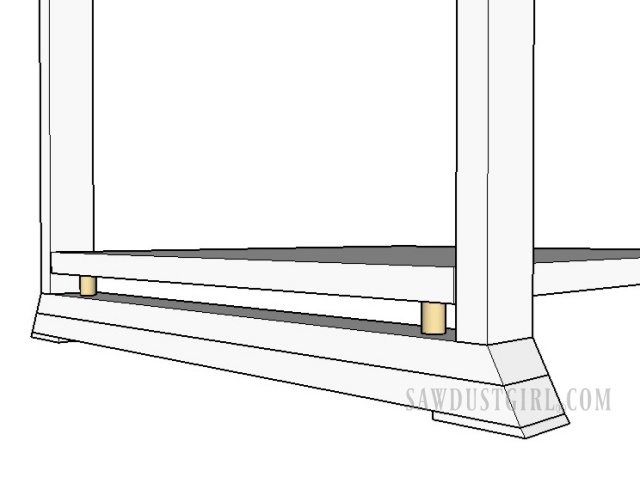
Attach lower shelf to legs
The length of the shelf can be adjusted to meet your needs.
- Dowels or loose tenons would be a great option here.
- See this post on working with Dowels
- Or screw up through the bottom of the leg parts into the bottom shelf with wood screws.
- Make sure your screws are not too long. Don’t want the screw coming up through the otp.
Create X’s
The X will be added on top of the lower shelf so you need to make sure the lower shelf is in place before you measure and cut you X’s.
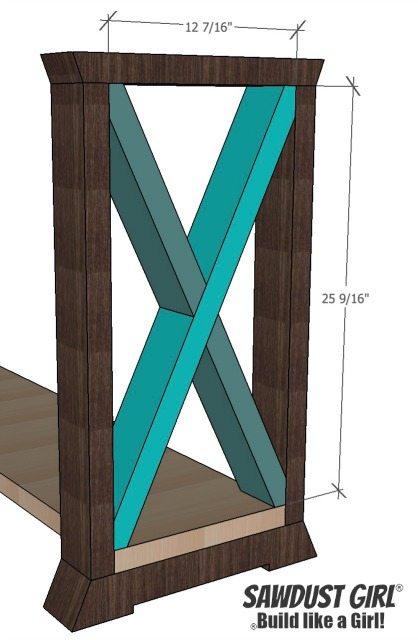
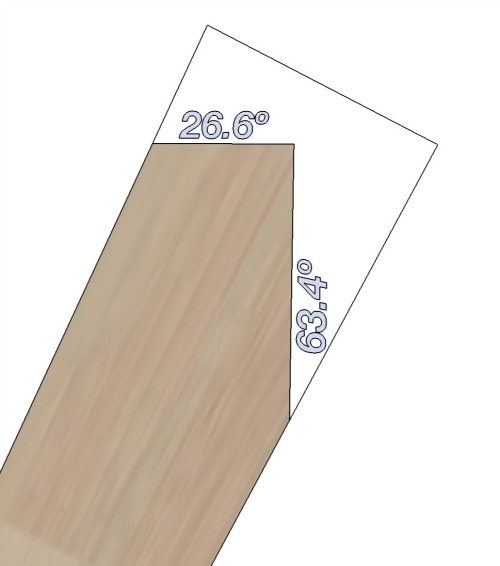
The exact height and width of your table legs will effect the angles on your X pieces. To get angles that will fit your console table perfectly, it’s best to measure and get the perfect angles for the space you end up with. The ends of your X pieces will look something like this.
The best way to fit your X to your table leg is to hold each piece in place and mark where it intersects with the table leg.
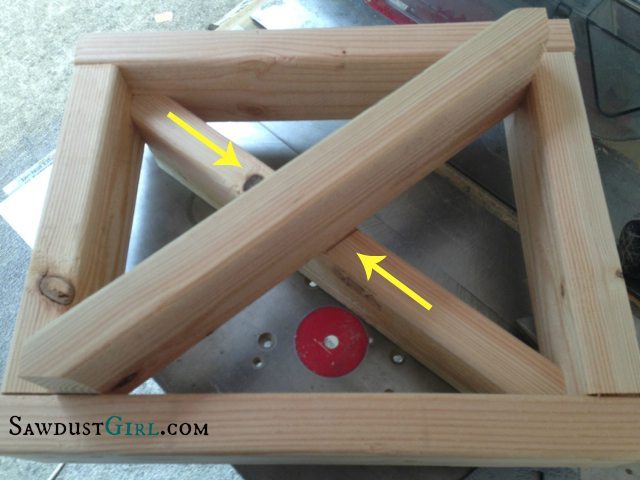
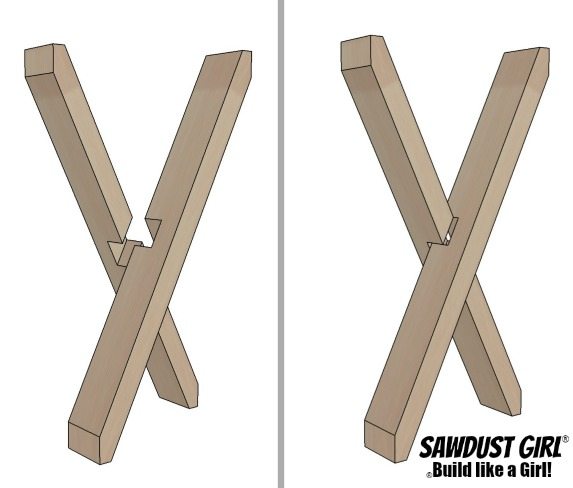
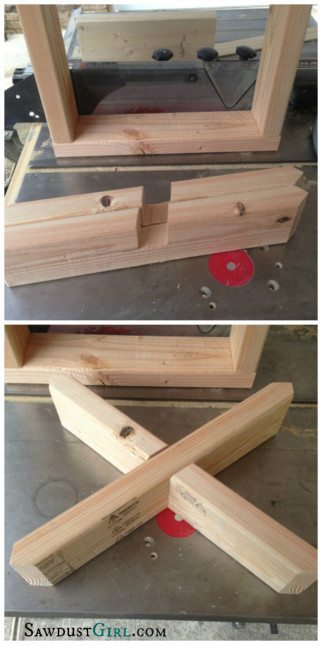
Where the boards in the X intersect, mark them but only cut halfway through. (I show you how to do that in this post)Then you can slide them together and you have an X with out any visible fasteners.
Dry fit then finish X’s
- Dryfit your X’s to make sure they fit.
- Paint, stain or clear coat your X’s. It will be easier to do this before you attach.
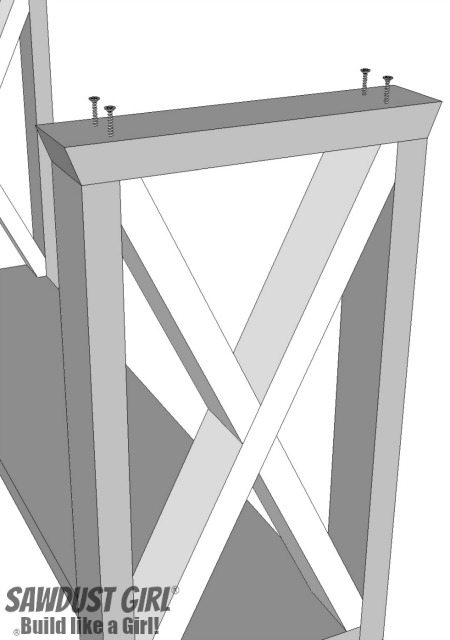
Attach X’s to your box leg console table legs
- Since you haven’t attached the top yet, you can drive screws directly down from the top into the boards that form the X.
- To hold the bottom of the X boards in place, use brad nails so you don’t have much of a hole to patch.
Step 5 – Build Finish and Attach table-top.
- Join several pieces of 2x lumber to achieve desired width (or greater than desired and then cut down to size) for table top and lower shelf.
- Attach the top to the legs. A small block of wood attached to the top inside of each leg will give you a good access point to attach the table top. Make sure you allow for wood movement of the top slab.
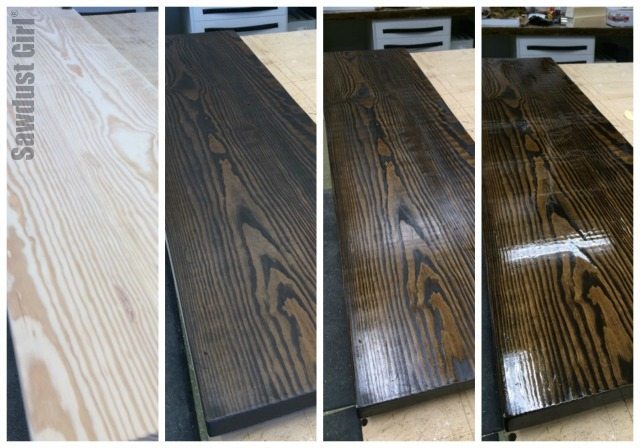
Sand and finish your box leg console table to your hearts content. This is a concoction of a bunch of stain colors darkened with ZAR Black Onyx and then 3 coats of tung oil.
Enjoy your BoX Leg Console Table!
Heidi riedel says
I’m not understanding how u made the legs like the bottom legs like that??
Sandra says
Heidi, This post was focusing on adding X’s to a basic table that I linked to but I actually put all the directions in this post so all the information is here.
Brian says
Love your page, keep it up.
Heather Hitchcock says
How long is the bottom shelf?
Sandra says
That is up to you. Mine bottom shelf is 4″ shorter than the top. My top overhangs the legs by 2″ per side.
Bill says
Measuring for the Xs as shown doesn’t account for the clearance needed for the thickness of the bottom shelf
Kieth Biasillo says
I really like this design and using it to build a custom dry sink/counter for my cabin. My only question is after all was said and done, why no pictures of an actual finished product? Would have like to see how you fared with the X intersections in real life… drawings can’t show actual results. In any case, I searched for designs on Pinterest and thats where I found this one. The only change I plan to make other than actual dimensions is adding a middle shelf… after all there is only so much space in a cabin… thanks again for the wonderfully simple yet perfect design idea.
Neels says
Could you please let me know where you got the plastic 90 degree blocks which you used to clamp the legs
Sandra says
There is a link in the post where I show the corner clamps.
Neels says
Thanks. I didn’t read it all. Silly me
Neels says
Awesome plans. Made it, huge success!!! Next project is the console table.
Thanks
Ragan says
How did you cut “half way” through your X boards?
Sandra says
Thanks for bringing to my attention that I didn’t make it clear where to go for that information. I have a link at the beginning of the post and have now added it in the “X” section. I show the process in detail in this post https://sawdustgirl.com/2013/07/16/20-x-leg-bench/.
Derek says
When did you cut the 15 degree cut for the bottom? After you glued the 18” pieces together? Thanks making this this week!
Sandra says
Step 1 – “optional step” — so right away. 🙂
Brandi J says
How do I make a 5 ft long by 19 in wide by 33 in tall without the X in the legs and I want just straight legs. Also what size on the bottom shelf? As you can probably tell this is my FIRST DIY table.
Sandra says
Adding the X’s is completely optional so leaving those out will make this an easier first project table! You’ll have to make adjustments to the sizing of the parts to create the table size that you want. Figuring out how to plan a project is really important part of building. Modifying existing plans is a good way to start.
Marcie Duley says
Do you have a start to finish .pdf for this project? I like to print and take out to my garage when I build something rather than the computer. And all of the ads are in the way!
Thanks!
Sandra says
Sorry I don’t.