I used a Circuit Breaker Finder for the first time while working on my kitchen entry makeover and IT WAS AWESOME! The days of running up and down the stairs 20 times, turning off one breaker at a time and checking to see if it was the right one — are over!
This post is sponsored by Zircon. All projects, work, ideas and opinions are 100% my own.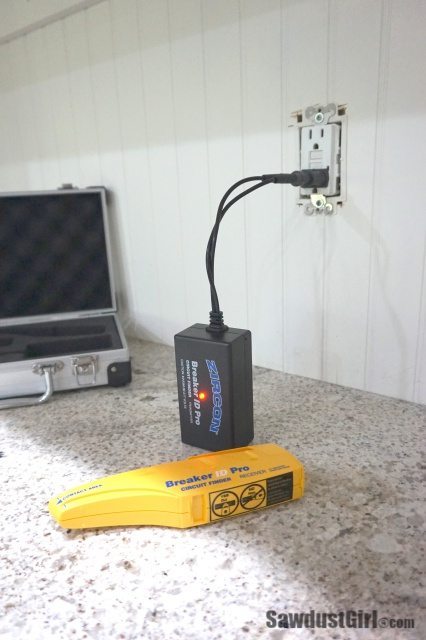
When I started building the Hutch in the kitchen entry, I decided I needed an electrical outlet in that space. Luckily, there was an outlet in the kitchen, on the opposite side of the hutch side-wall. I could tap into that and bring power over into a new junction box for the hutch.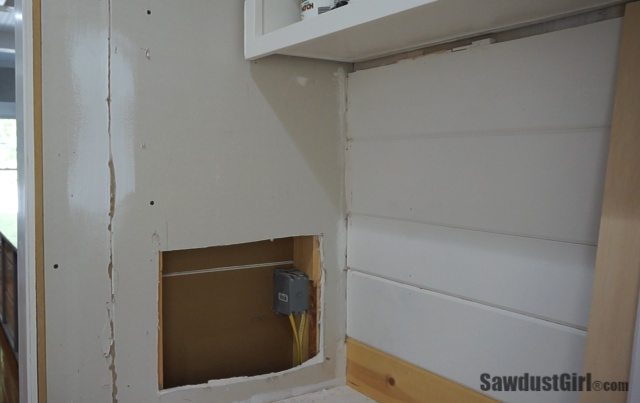
Using a Circuit Breaker Finder
The first step in doing that is shutting off the power to the existing receptacle.
In the past, in order to turn off a breaker when I was alone, I had to resort to the “20 times up and down the stairs” option. If anyone else happened to be around, I had them on the cell phone waiting to tell me when the lights turn off as I go through the breakers, one by one.
The breakers are labeled, but our house is wired weirdly. Half the time you still have no idea which breaker is the one you want. There isn’t enough room in the little labeling space to write: Coffee station GFCI, back bedroom closet light AND light in the tiny closet under the stairs in the basement. OK, it’s not quite THAT random but it is quite nonsensical!
Which brings me to the circuit breaker finder! I’ve partnered with Zircon this year and I use my stud finder ALL THE TIME. It’s such a great, helpful tool — I wanted to see what other products Zircon has to offer. When I saw the Breaker ID Pro – Circuit Breaker Finder Kit, I just knew it was going to change my life!
The kit includes several attachments which allow you to connect to a power source: receptacle plug in, wire clips and light socket. Plug in the appropriate attachment to the power source you want to shut off and then scan the breaker box with the receiver (the yellow wand thingy). It indicates exactly which breaker is connected to that power source!
I plugged the transmitter in to the kitchen receptacle that I wanted to shut off. The transmitter shows a red light when the circuit is hot (has power running through it).
Scan the Circuit Breaker Box
I used the receiver to scan the breaker box.
Scan the whole circuit breaker box twice, slowly moving the receiver over every breaker in the box. The first time, it blinks the green light on several of the breakers. It’s calibrating.
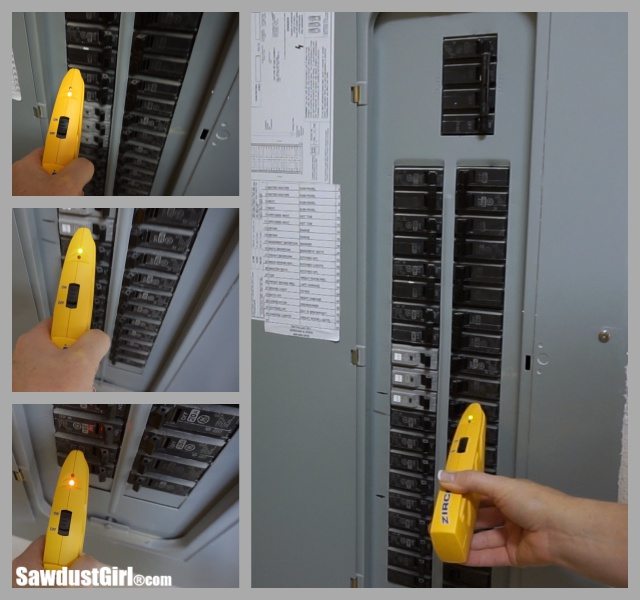
On the second pass, the receiver turns green on only one breaker. That’s the one you turn off. 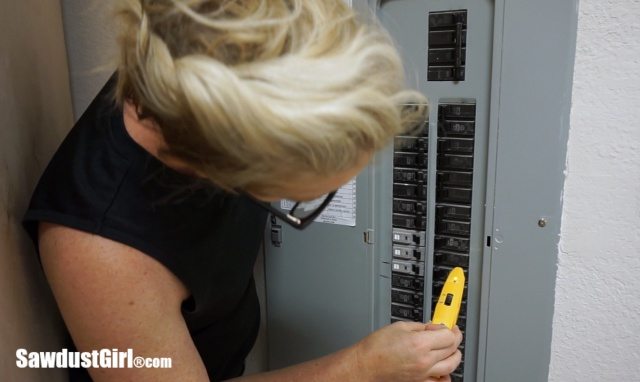
Then you look at the label and laugh because it says, “laundry room light and dog house warmer”. (JK but it didn’t say anything that would tell me that’s the one I should have chosen if I’d been trying to rely on that labeling.)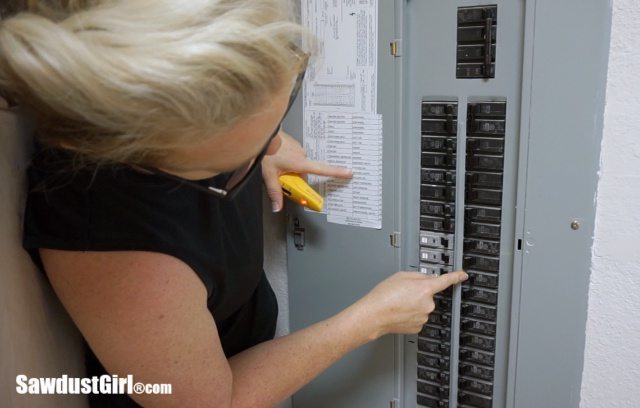
Back upstairs, I check the transmitter and the light is off. One try and I, all by myself, shut off the correct breaker!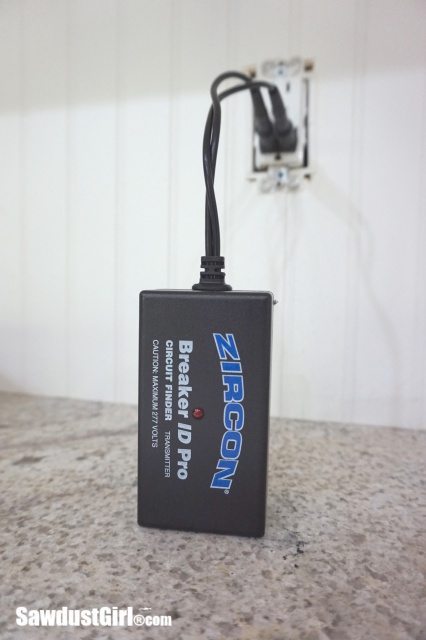
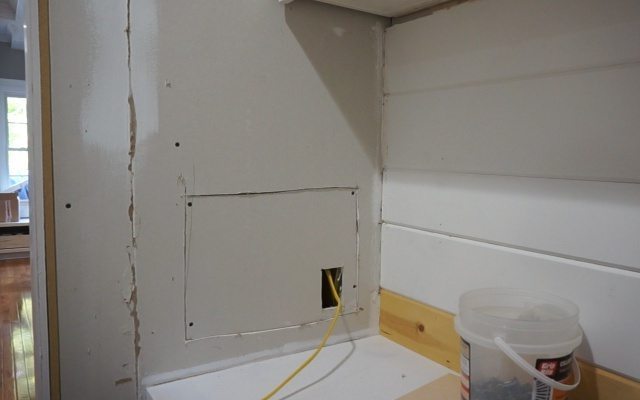
I feed some new Romex into the existing junction box so I can tap into that power source when I’m ready to wire up my new outlet. 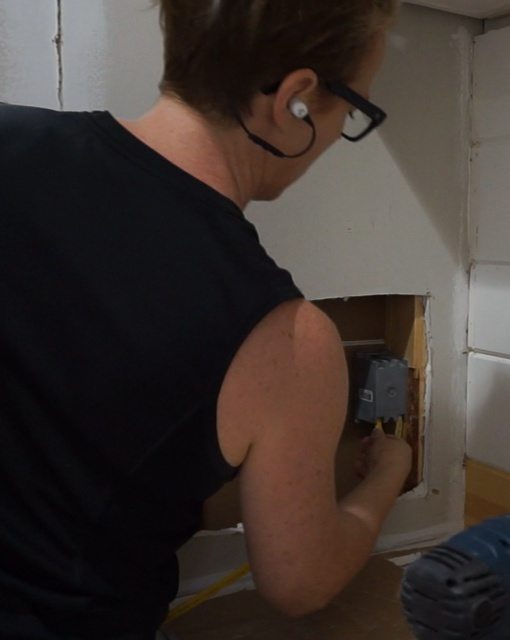
The power I turned off controlled our coffee station so I moved that into the Pantry. I’m sure I thought I could build the hutch and have the outlet installed in the same one day that this makeover was intended to happen in. But the snowball had already started rolling and additional projects were accumulating and the power ended up staying off for about 2 weeks.
Speaking of this project growing, I decided that in addition to a power outlet, I should go ahead and add under cabinet lights too.
Under-Cabinet Lights
I ordered these lights LED under-cabinet lights. They can be plugged in or hardwired through a transformer. I don’t want a visible cord OR a plug permanently taking up one of the spaces in the receptacle I’m adding.
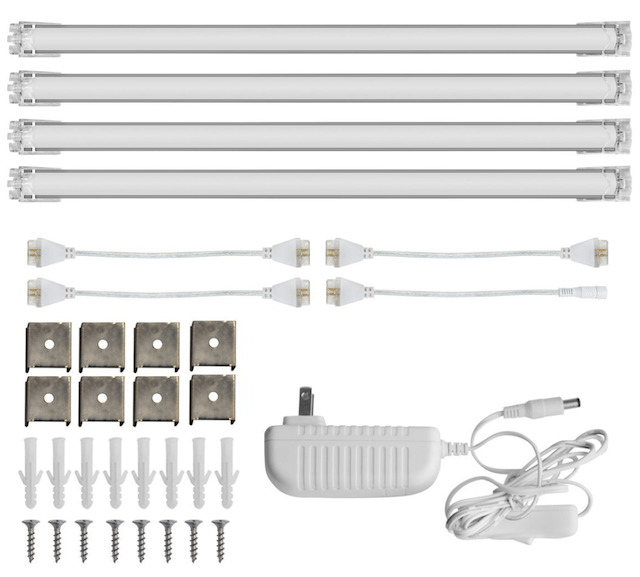
So I also ordered this Meanwell UL 24V 60W transformer.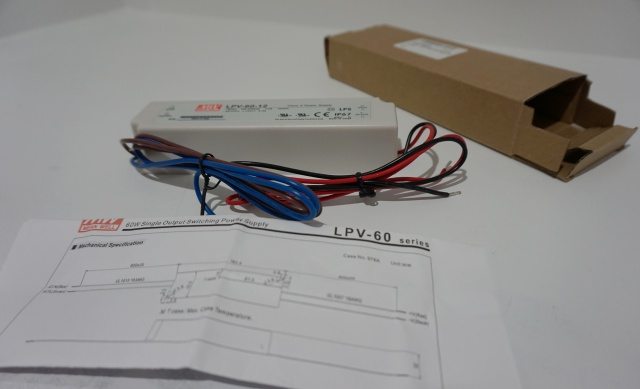
And then I called my electrician and begged him to come hook it all up because I had too many other things going on by that day of my ONE day makeover.
Luckily I have an awesome electrician that made it happen within a few days of my cry for help!
In addition to hooking everything up, he had to cut a larger hole in the side of my hutch because I wanted the under-cabinet lights to be hardwired and controlled with a switch. No biggie. He even cleaned up all the dust afterwards. 
He was able to put the transformer in the back of one of my tilt-out cabinets.
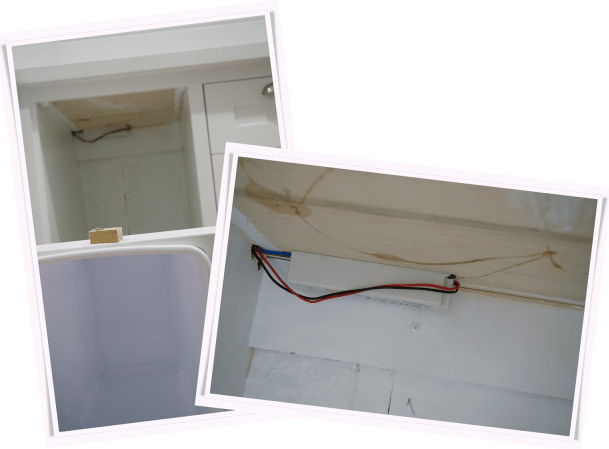
And the lights I ordered fit perfectly behind the overhang of the faceframe for the upper cabinets.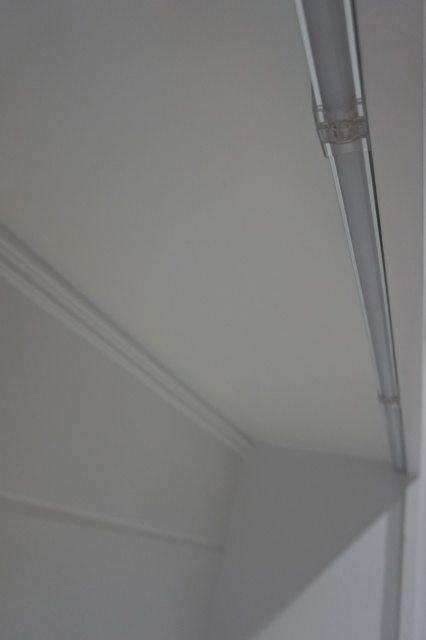
You don’t even see the actual lights unless you sit on the floor.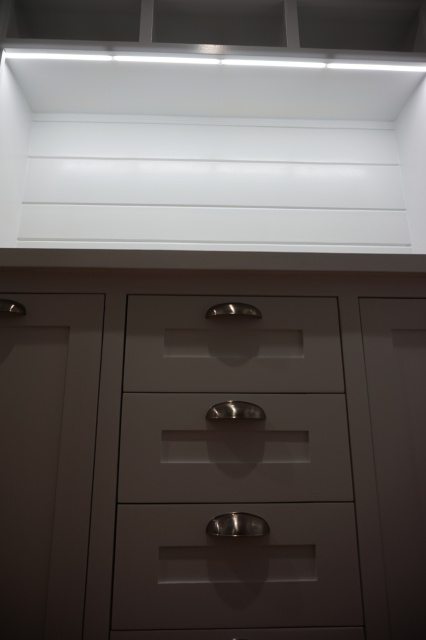
Then I finally got the power turned back on to the coffee station! But I didn’t put away my Zircon Breaker ID Pro- Circuit Breaker Finder Kit because I had more use of it in this hallway that has now taken over my life!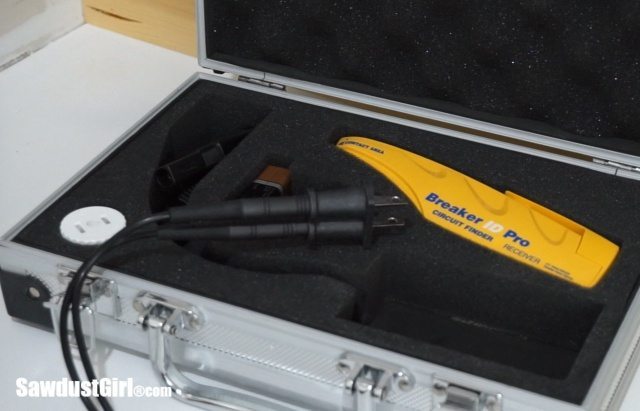
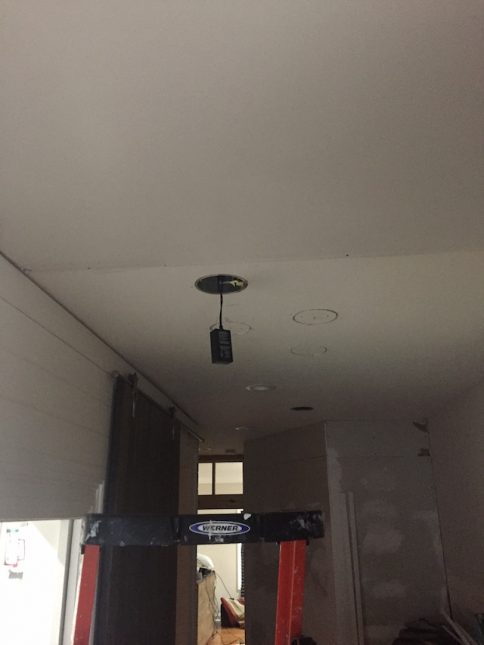
It came in very handy when it came time to relocate my can lights too!
At some point, when I have some spare time, I need to use my circuit breaker finder and discover ALL the things that each breaker controls. Then re-label everything, in both breaker boxes (yes, I have two!) so it makes more sense.
But that ain’t gonna’ happen any time soon! You know, me having any spare time on my hands…’cause I have about 524 more “one day makeovers” to complete before I finish this house!
But I’ll get there!
This post is sponsored by Zircon. All projects, work, ideas and opinions are 100% my own.
JAA says
Sandra, you are an inspiration . I love ALL your projects. You’ve mentioned a few times that you use a laser level. Can you please tell me which one?
Sandra says
It’s a Bosch brand laser level but the ones that are coming out now are better so I wouldn’t recommend the specific one I bought earlier this year. Mine has a red laser which is harder to see than the new green lasers!
Mike says
Here is a tip. Rather than try and label each breaker in the circuit box, they usually are already labeled with a number (if they aren’t, then it easy to number them). So as you discover which breaker is connected to a particular switch or outlet, write on the inside of the cover plate or on a hidden part of the switch or outlet the number of the breaker it is attached to. Then you know which breaker to turn off and you don’t have to squeeze the labels into the small space on the breaker box.
trr says
That’s a great idea! I keep a document on my computer with a list of each corresponding breaker. That works unless the power is out!
Sandra says
Great tip. I definitely need to write them all down as I discover them.
Vickie H. says
Great job here! And this little Zircon tool is going on my Christmas wish list now…..this is my kinda “jewelry”!
Sandra says
LOL Mine too! (I like clothes and jewelry too though. haha)
Maura says
How have I made it through my adult life so far without this???
We freshened up a small bedroom recently, including new sockets and switches (have you ever had sockets that actually spit out whatever you are plugging in? Argh) and the outlets were on FOUR different circuits. The light was in a fifth. *sends curses back through time to 1978*
Sandra says
Wow that’s crazy! I thought the same thing about this tool when I used it during my kitchen entry makeover. Life Changer! Seems dramatic but when your life is construction…