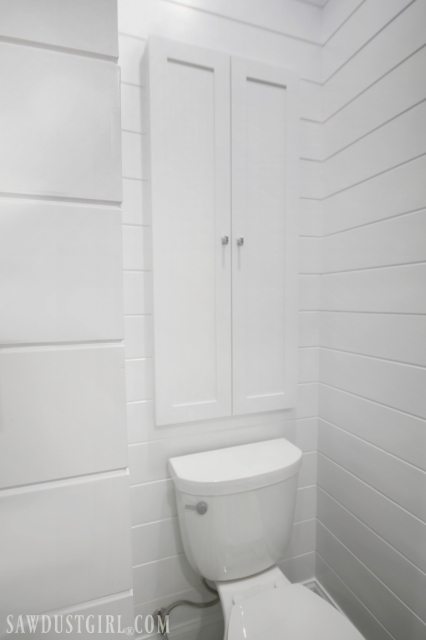
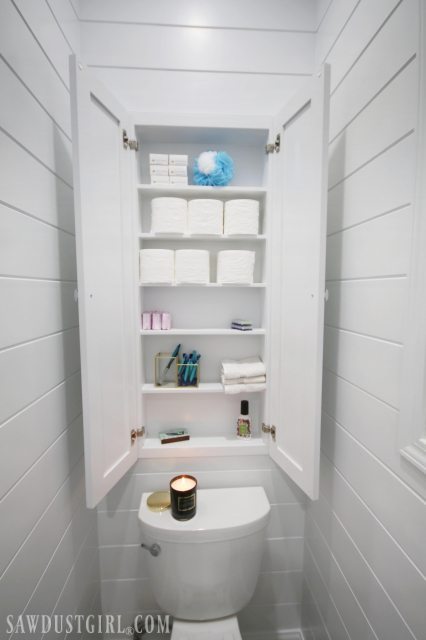
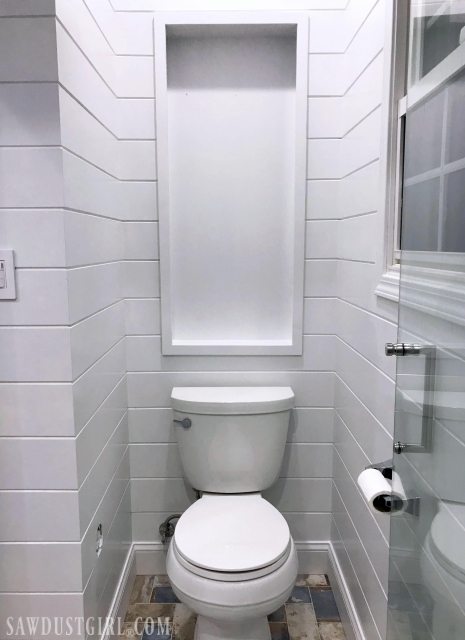
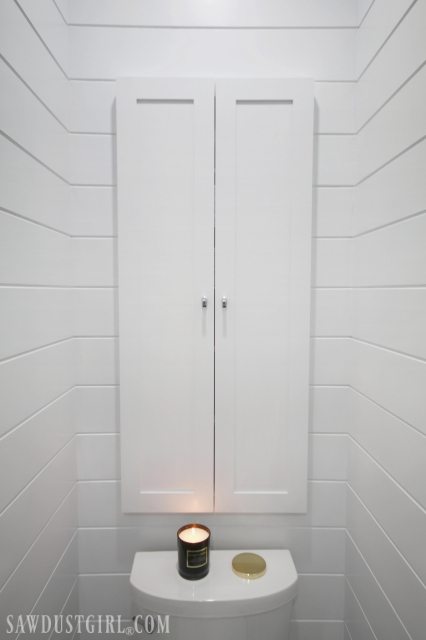
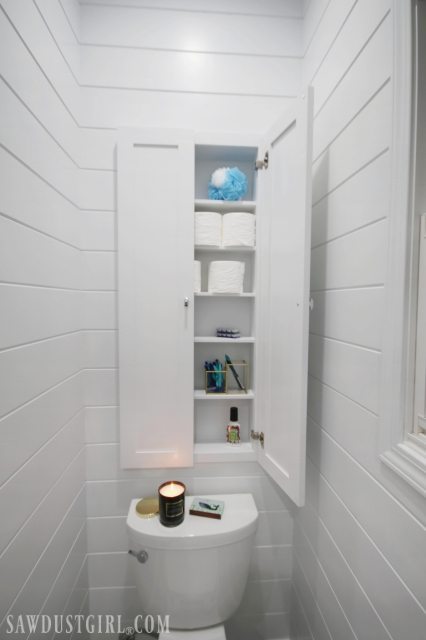
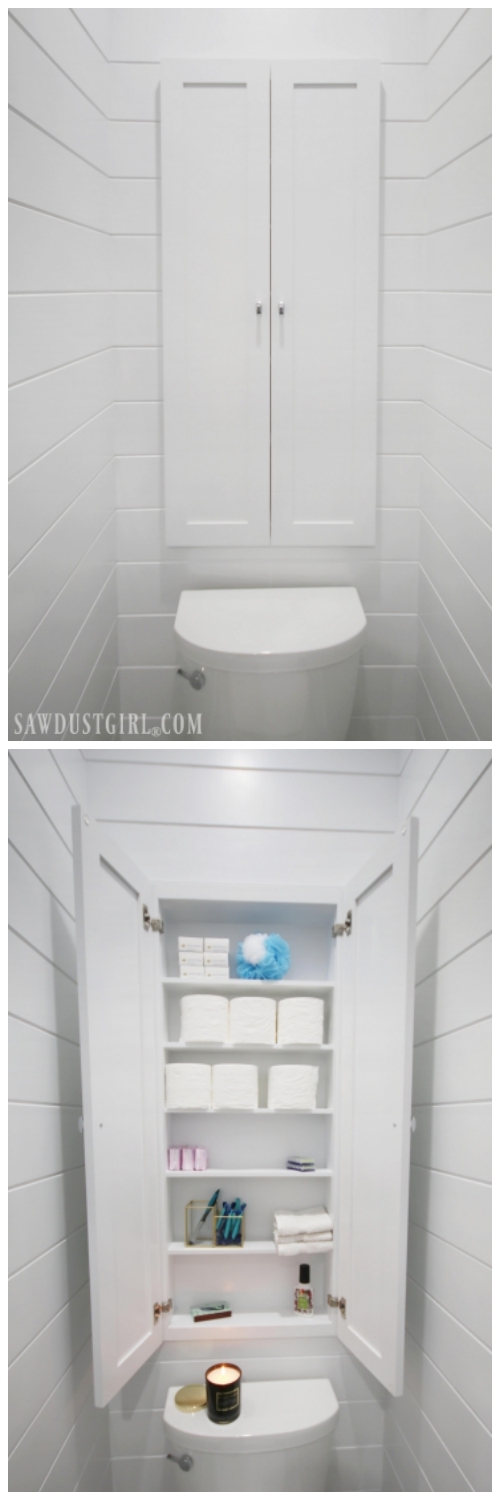
Hey hey hey! Guess who finished a project?! Whoop-whoop. I finally finished the recessed wall cabinet over the toilet in the Jack and Jill water closet! This between the studs wall cabinet is the perfect place for toilet paper storage. As well as other bathroom necessities. Of course I installed doors because this is our real life bathroom.
Even though I’ve “styled” the cabinet contents to look pretty for these photos I expect it to look like this for exactly 0 days. If I can remember, I’m going to open these doors in one week to see if the white tornado has come through. It generally sneaks into finished spaces once I turn my back…
Perhaps that’s why I blog. I can come back and look at pictures of how projects once looked, before my family moved in. LOL (Smiling but totally NOT joking.)
Making a Recessed Wall Cabinet
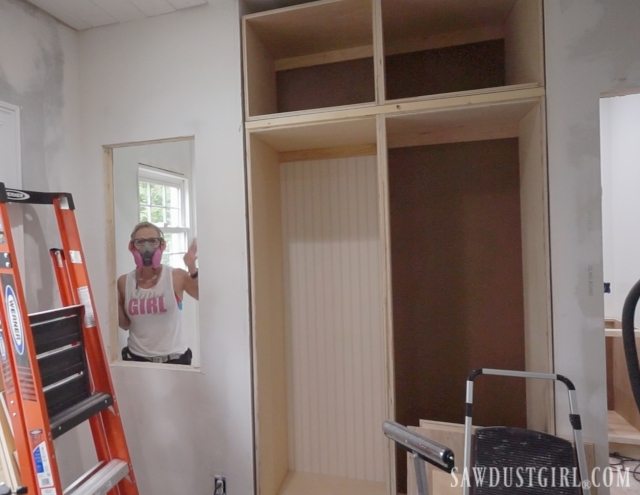
I planned this cabinet after I finished framing this bathroom. The space where I’m recessing the cabinet was previously a door into a tiny bathroom. I initially added a stud in the center of the 30″ door opening and drywalled the bedroom on the other side.
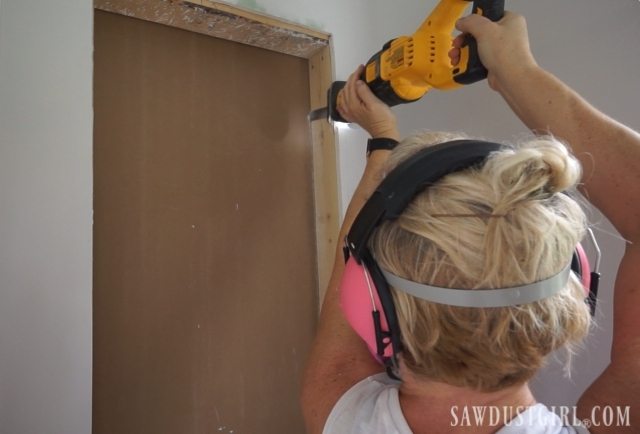
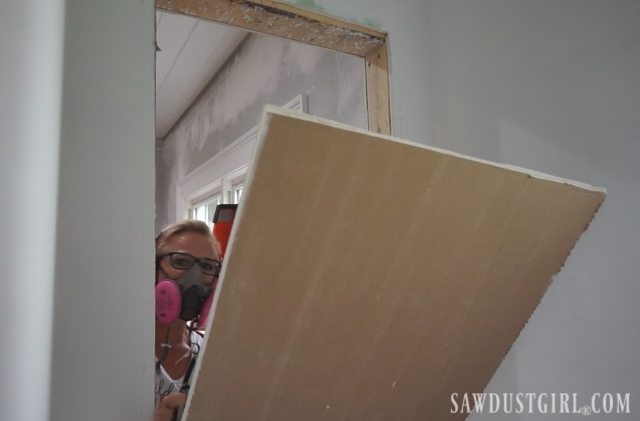
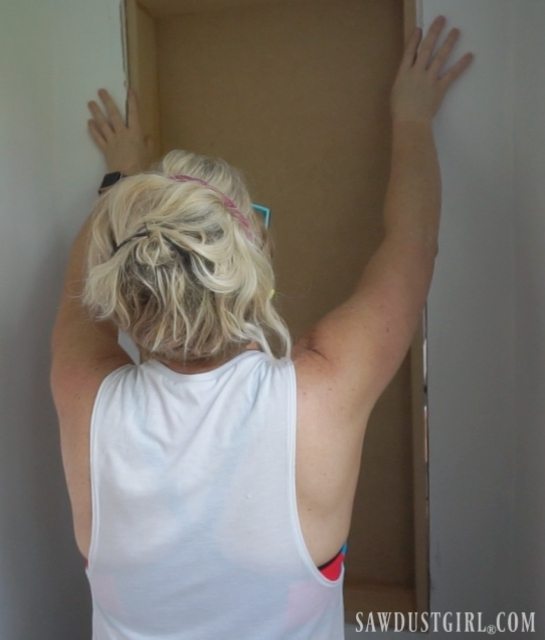
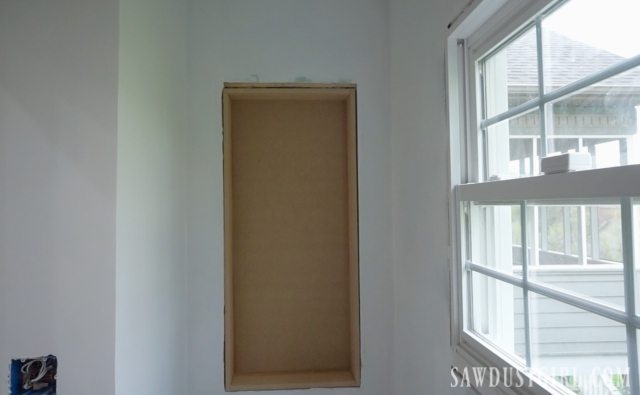
Then I had the idea of putting the toilet paper storage cabinet between the wall studs so it wouldn’t stick out over the toilet. With the bedroom drywall still attached, I pulled that single stud back out. I replaced that with a horizontal stud above the toilet height and filled in the sides to shorten the total width of my recessed cavity to 21″. Then I cut out the drywall in the bedroom.
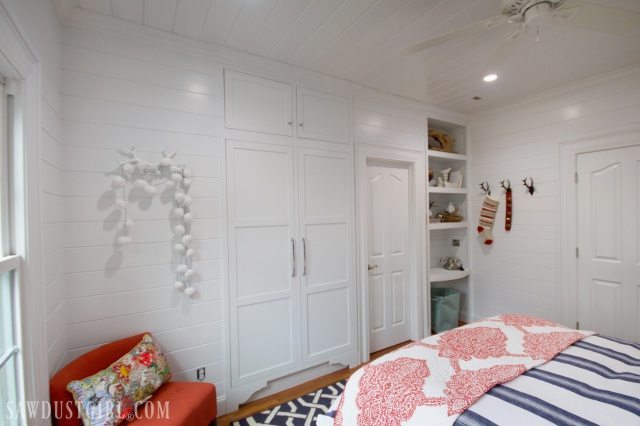
I wanted the extra 1/2″ of space that drywall was taking up. The bedroom side would be covered with Plywood V-Groove Planks.
If someone eventually tears out the plank wall the’ll have a surprise and curse the person that did that! But that person won’t be me! I’m going to enjoy my plank wall AND my 1/2″ extra depth in my toilet paper storage cabinet for as long as I live in this house. Most likely.
Build a Toilet Paper Storage Cabinet
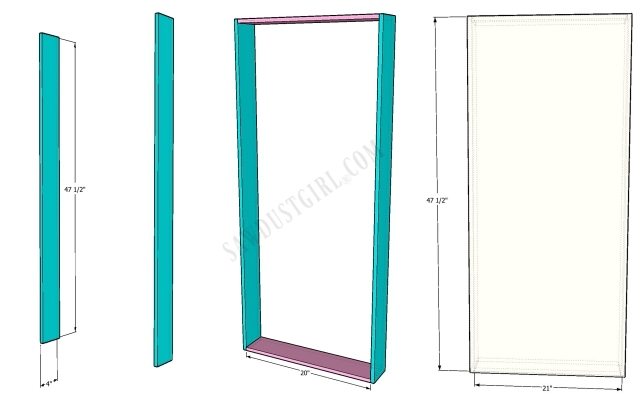
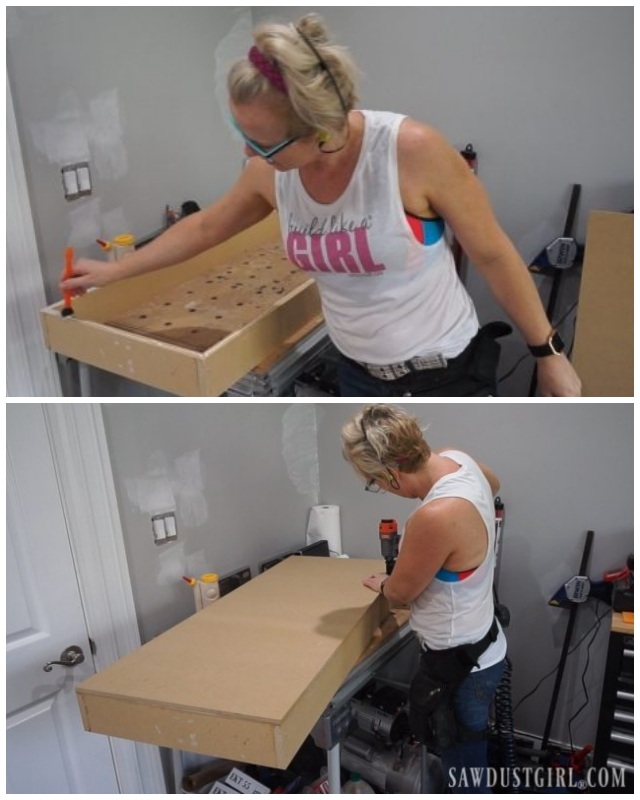
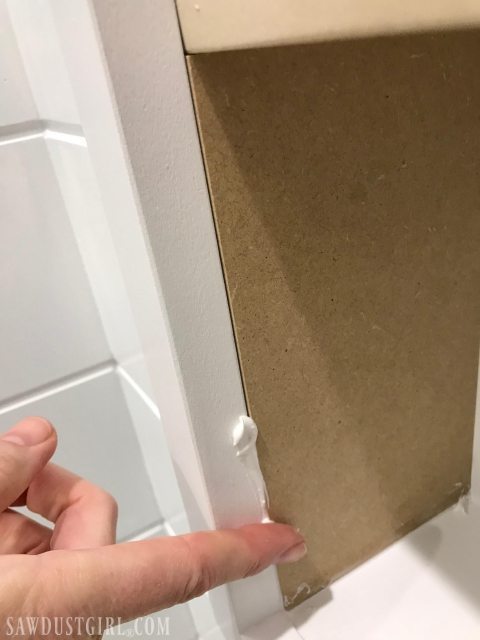
I used 1/2″ MDF for the whole cabinet, including the back. Normally I back my cabinets with 1/4″ plywood but I wanted a sturdier back on this cabinet since the plank wall on the bedroom side is only 1/4″ thick plywood.
The top and bottom are glued and screwed to the sides. The back is glued and nailed around the perimeter, securing it to the top, bottom and both sides.
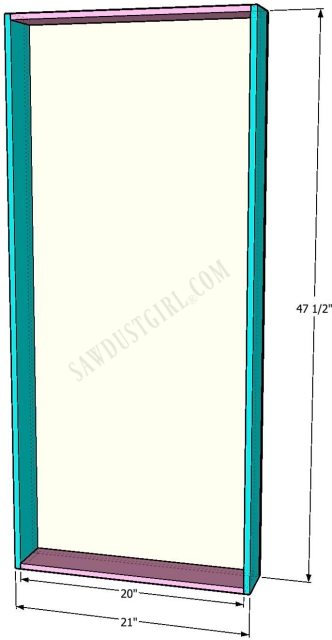
My cabinet is sized to the opening I created — which is not the typical 16″ on center stud spacing. I’m including my drawings for the cabinet I built. If you plan to build a recessed cabinet, you’ll have to modify these dimensions to fit within your wall cavity.
To download these drawings as a PDF file, click here: In-Wall toilet paper cabinet drawings.
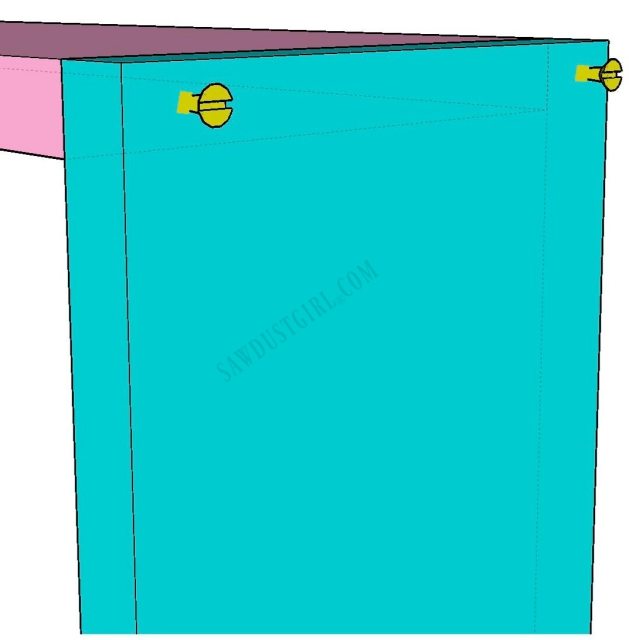
It’s flush with the drywall. I installed a 1×2 faceframe by glueing and nailing it in place, piece by piece. I left 1/2″ overhang on the inside of the cabinet.
Using my airless sprayer, I primed and painted the cabinet at the same as the plank walls.
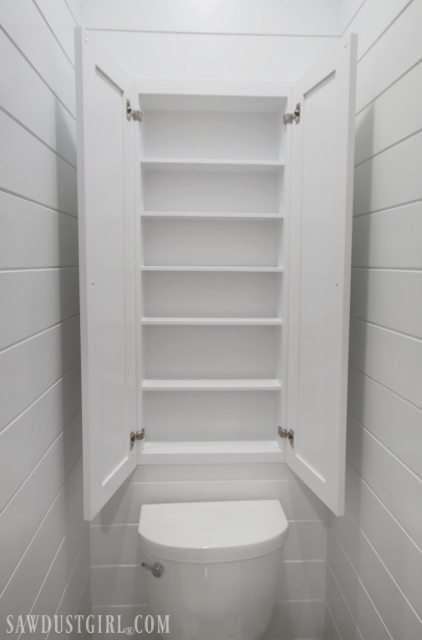
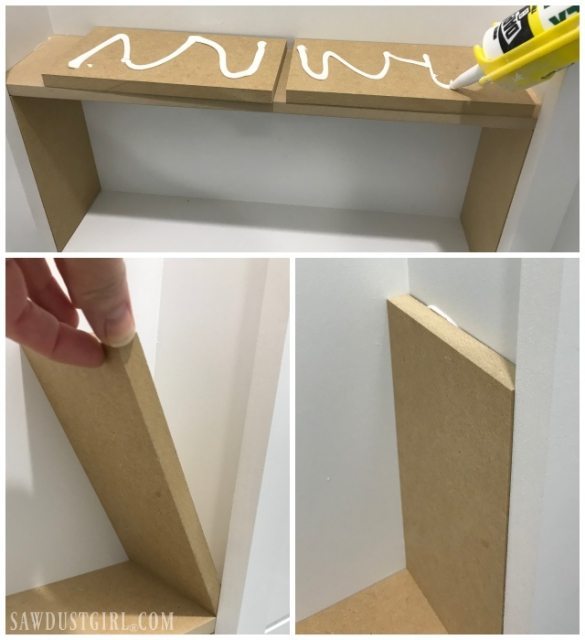
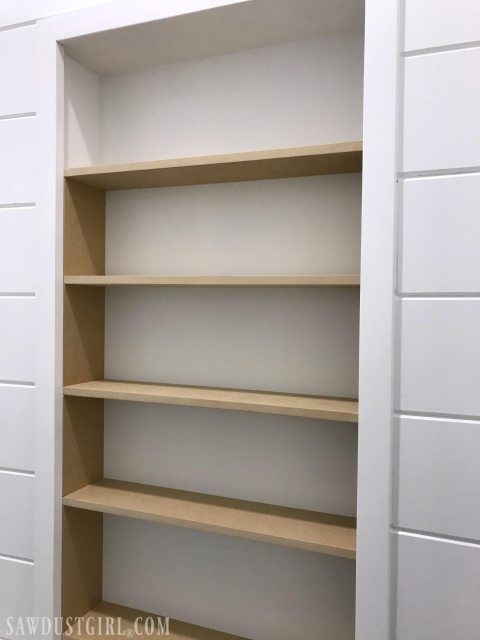
Not wanting to bother with adjustable shelves, I used caulk to glue pieces of 1/2″ mdf in place behind that 1/2″ overhang. I cut a bunch of pieces for sides and several more for shelves. Glued on a pair of sides. Then laid a shelf. Then repeated that process a few more times.
After the last shelf, I cut the last sides to fit and glued them in place.
Then I applied a lot of caulk.
It would have been easier to put the shelves in while I was building this cabinet. But most likely, I needed to hurry up and get the basic cabinet in place so I could plank the bedroom wall. So I had to work a little harder to finish the recessed cabinet after it was in place. That includes priming and painting the new parts. This time I used a brush and roller which isn’t as fast as the sprayer. But I don’t like to dirty the sprayer for small jobs like this.
All the doors for the Jack and Jill bathroom projects are from CabinetNow.com. This is the only cabinet that has overlay doors. Inset doors would steal away 3/4″ of space in my very shallow cabinet. So I went with full overlay doors for this cabinet. The only part of the cabinet that is not recessed into the wall is the faceframe and the doors, which equal less than 2″.
Now there’s a place to store plenty of toilet paper, extra soap, razors and other supplies for the shower and toilet room.
And because there are doors, I never have to know how the person using this bathroom likes to store their supplies.
I’m fairly certain that I’m the only person in this house that likes things stacked neatly, sorted by size and color, with all the words facing the same direction…
If I don’t see it, it won’t bother me.

Guerrina says
This is so needed in the half bath that is my son’s bathroom! Saving!
Sandra says
Making use of every inch of space!
Tricia says
I love it! I’ve always wanted to do that type of storage.
Sandra says
Yeah, hope you do one!
Richard says
Very nicely done. Hope you’ll be posting on youtube soon. Thanks for sharing!
Sandra says
Thanks Richard. I hope so too. I’m trying to catch up…
Becky says
This looks great. Love beautiful AND functional spaces. I also love how you keep things real. Mistakes happen. Planning doesn’t always work out (or doesn’t happen quite in the most ideal way). Things change or inspiration strikes late in the process. And you share that. I find this much more inspiring than the “it’s beautiful and it all went together perfectly” mode. One, that’s the way things really happen. Two, sometimes we learn so much from figuring out how to fix mistakes or planning screwups. Three, it’s just plain wonderful to know that I’m not the only one who makes mistakes! Teaches me to not be so discouraged by my errors. Becomes a “eh, it happens – so, how ya gonna fix it?” kind of moment instead of “wow, no one else screws up like this and maybe I should just find a new hobby” moment. Thanks for sharing your journey and providing much appreciated inspiration.
Sandra says
Well thanks Becky! I make it a point to keep it real because we learn from other’s mistakes as much as we learn from their successes. I always say to expect mistakes, hiccups, issues and problems to arise. Because their is ALWAYS something that doesn’t go quite how you planned — or you realize you didn’t plan for quite everything. If you expect to deal with issues, it’s not so upsetting when they happen. Like you said, you just figure out how to deal with them. 40% of renovating and building is figuring out how to move forward when the unexpected happens. 😀
Pam says
I love how you make something out of nothing. Nicely done!
Sandra says
Thanks so much Pam.
jb @BuildingMoxie says
did cubbies in our last house. love this project. Great recap Sandra.
Sandra says
Thanks JB!
Ishtar says
Looks amazing.
Great job, as always.
Your talent in doing these built-ins never stops amazing me.
How did you know before opening it up that there wouldn’t be anything in the way in the wall?
I’ve been wanting to do something like that in my TINY (4×8… really) master bath… but I’m afraid there’s a plumbing stack in the wall behind the toilet.
Sandra says
You just have to open it up and see. I knew my space would work because it had been a doorway. I’ve planned “in wall” projects before that didn’t come to fruition though because of unforeseen obstacles in the wall. You don’t know until you know.
Ana says
Looks great! Did you have to knock out the back side or could one leave that drywall in place? Not sure I’d want to fix two rooms.
Sandra says
No. In most instances you wouldn’t do that. I only did it because I was covering that wall up with planks and I wanted the extra 1/2″ in the cabinet.
Mrs Mike says
I have a tiny guest powder room with NO storage (pedestal sink) and this would finally give me a place to store toilet paper and cleaning supplies! Now I need to see if there’s any plumbing in the wall to make this possible. Great idea!!!
Rd says
Looks great! IDEA: Instead of 2 doors. 1 slab door with art work attached.
Andrei Popa says
Thanks for post! This really looks interesting from the outside and from the inside as well, it really looks like it belongs there, and the white is awesome because white does make the room fell bigger, i would personally put a subtle sign so that people won’t tear it off, but hey tat’s my opinion ,It is really great when someone starts a personal project and more you invest in in it the more value it gives, also i got started a few months ago and with lack o ideas but already I creating my own projects with the help of a set of 16,000 woodworking plans that are so easy to follow, literally anyone can do this.
I’m sure this will provide tremendous value to anyone that sees this. You can check it out here: https://tinyurl.com/ybkrdnur
Thumbs up and keep posting this creative projects !
Airy Kitchens says
Jeez. It’s been a long time I actually pulled out a piece of printer paper to take notes on a blog post lol. Thanks for this. You’ve earned yourself a new reader!
Kelly says
What size/type of hinges did you use for the bathroom/toilet cabinet?
Sandra says
They are Blum hinges – full overlay
Aaron says
Looks great. Do you recall the specific hinges you used? I’m building out a similar project and did the shelving in the same way. This leave no internal overlap. It makes something like a very thick frameless carcass with a large overlap full overlay door. I can’t find hinges like that.
So, I ordered some full overlay faceframe Blum hinges, but they expect there to be a lip inside, like a typical faceframe.
I’m going to try bending the tabs that are supposed to wrap around the face, making them into something closer to frameless hinges. At this point, I wish I had just left 1/8″ of an overlap inside (or knew what hinges would work in this situation).
Sandra says
I don’t remember which hinges I used for this. I think I had a box of hinges in my workshop and I found some that would work. I have used the type you’re talking about and just hammer the tabs in where the faceframe joint is (where it’s attached to the cab – even though it’s flush). Try that or use frameless.
Tom says
Never, ever, EVER use MDF in a bathroom or any moist location. It’ll absorb moisture and expand and misshape.
Sandra says
MDF is often used in all sorts of places that any other wood material is used. It is finished (painted) so there won’t be moisture getting to it. Even if you wipe it down with a wet rag, at this point, it’s not going cause any issue. MDF is usually the preferred choice for Shaker door panels, because it is more stable than wood. Even in bathrooms. 🙂
Laurie Cox says
I just saw your recessed cabinet on Facebook. Great idea and look. I wanted to know what kind of doors did you choose. I have been on the CabinetNow site and there are a lot to choose from.
Thanks
Sandra says
Simple Shaker doors.
Laurie Cox says
Did you get the MDF doors? Thanks for your reply I do appreciate it.
Sandra says
I got Shaker doors made with Maple or Poplar rails and stiles with an MDF inset panel.
Farah says
This looks so awesome and the results is beautiful! I’ve been looking to do something similar in my very small no-storage anywhere master bath.
Could you confirm what the rough opening dimensions would be? Or do a add an extra 1/4 inch to the dimensions of the unit itself?
Thanks again!!
Sandra says
You would have to measure your actual space. All walls are not equal studs might not simply be 2×4’s and drywall thickness varies.