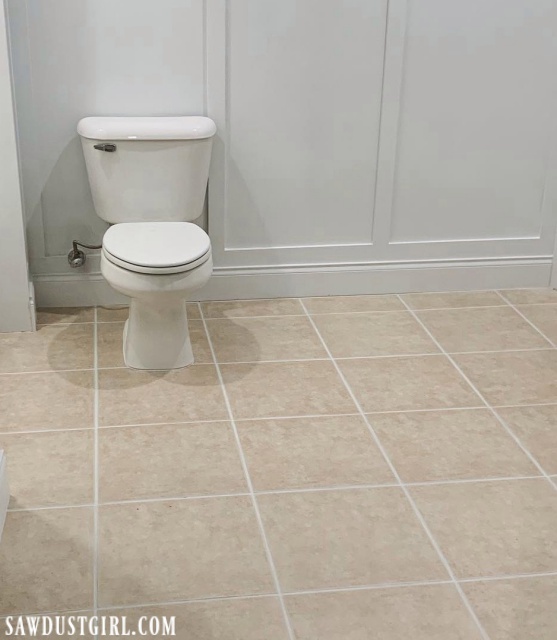
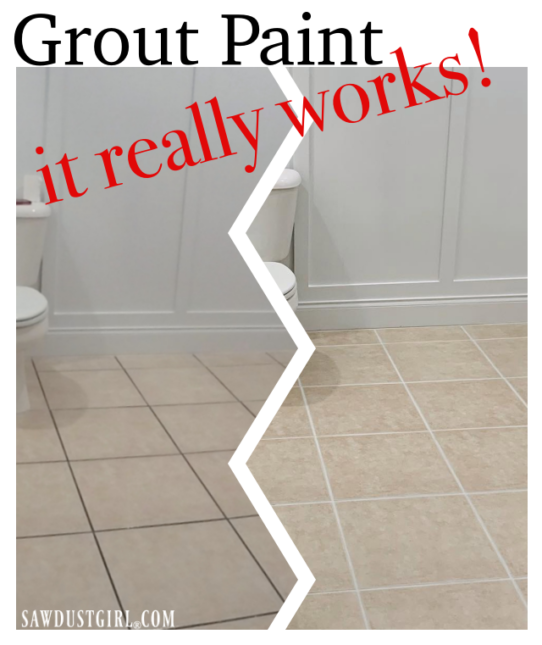
The basement bathroom floor looks SO MUCH BETTER after updating it with grout paint! It changed the whole look of the tile and now I don’t hate the floors in that room. It was a pretty fast and inexpensive solution to changing some floors looked outdated and kind of ruined the vibe I was going for with the crisp, white board and batten wainscoting.
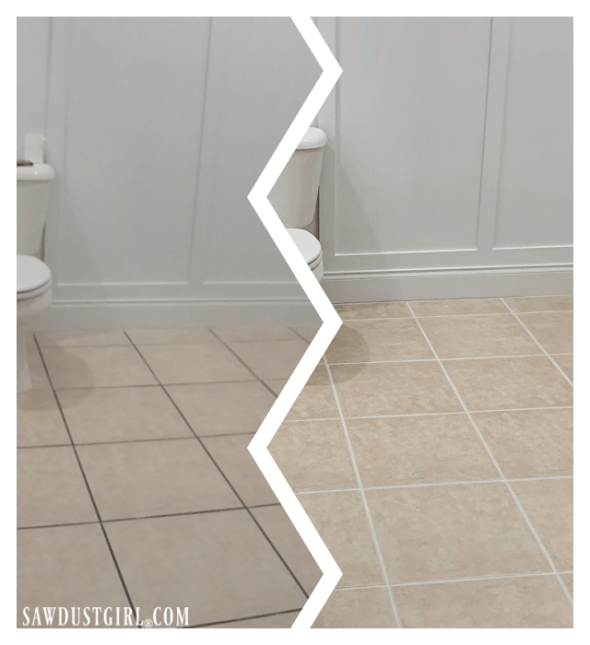
I was afraid that if the grout paint didn’t work, I’d have to tear out and redo the bathroom floors. (Or just hate them and sell the house without ever having “closure” on those ugly floors.) Luckily, the grout paint elevated the look just enough that I can now, at least not notice the floors. I don’t LOVE them. But I don’t HATE them either. And I can live with that.
Clean Grout
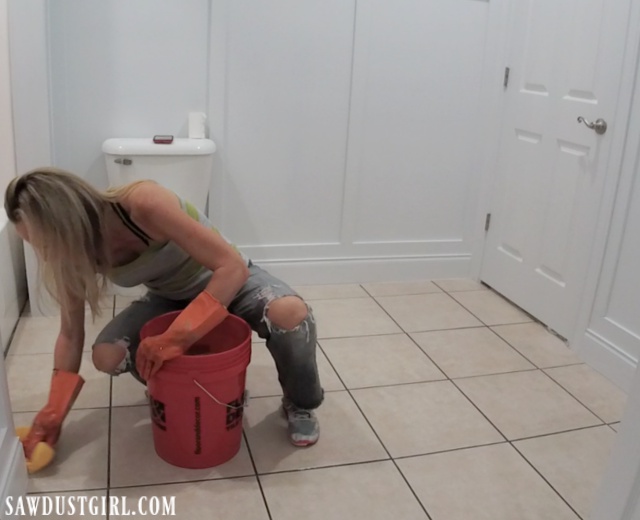
Julie tackled this project for me while I worked on something else. The first step was to clean the grout thoroughly. She scraped, swept and vacuumed up all the joint compound and paint splatters. Application instructions say to use an acid cleaner to prepare the grout. Julie just used vinegar and a toothbrush to scrub the grout lines. There wasn’t any grease build up on these particular floors nor do I think they were ever sealed. In a spot like a kitchen backsplash or a shower, where the grout was most likely sealed or there is grease build-up, I would use the recommended products to clean the grout.
After scrubbing the grout lines, she rinsed the whole floor with water. Once everything was completely dry, it was ready to apply the grout paint.
Painting Grout
I’m sure there are lots of options out there but we are on a mission to complete this house and get it on the market so we didn’t shop around. I picked up Poly Blend Grout Renew from Home Depot while I was there getting other supplies. I grabbed two, Bright White and Snow White, so we could test in place and pick the best for our tile. We ended up liking the more creamy, Snow White. There are 40 pre-mixed colors available from this particular brand.
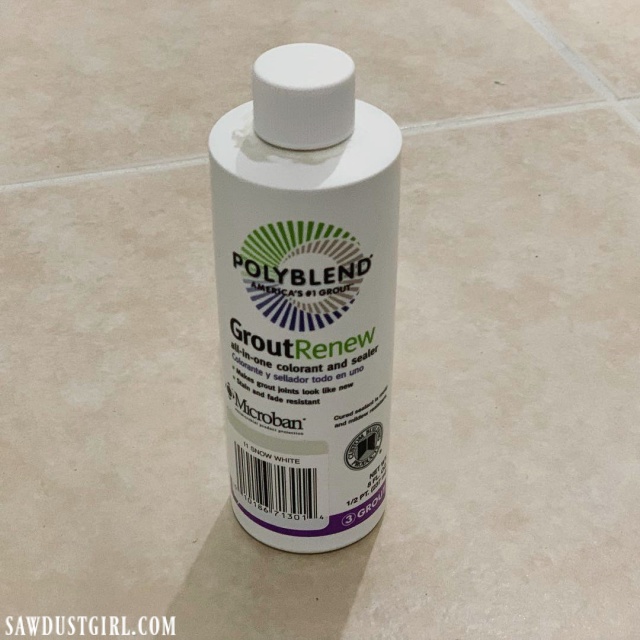
Polyblend Grout Renew is a colorant and sealer “all-in-one”. That’s a good thing so you don’t have to crawl around on your hands and knees, repeating the entire “painting” process twice. It’s water-based so you can clean up with water (before product dries). It can be used on both sanded or unsanded grout.
Instructions say not to apply when ambient temperature is below 50°F (10°C) or above 80°F. I don’t know about you, but I don’t let my house get above or below those temperatures so we were good to go.
Other instructions I took directly from the manufacturer include:
- Shake well before using.
- Do not allow it to bead or puddle.
- Carefully apply to the grout joint and allow to dry 30-60 minutes.
- Work small areas at a time.
The newly painted grout is ready for light traffic in 2 to 4 hours and regular traffic in 24 hours. You should not expose it to water and should avoid scrubbing joints for 72 hours.
How to Apply Grout Paint
We purchased an Applicator Roller Bottle because it looked like it would make the process go faster. However, the roller tip wasn’t fat enough to get the whole grout line in one pass. Nor was it soft enough to apply enough grout paint when rolling to allow you to come back with a paintbrush and spread it out.
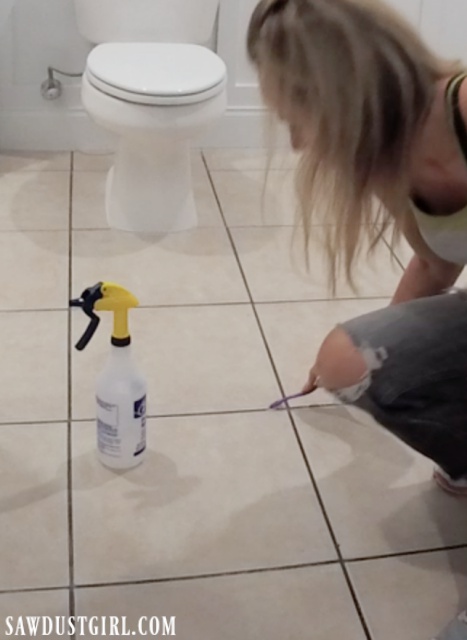
What ended up working best for us was
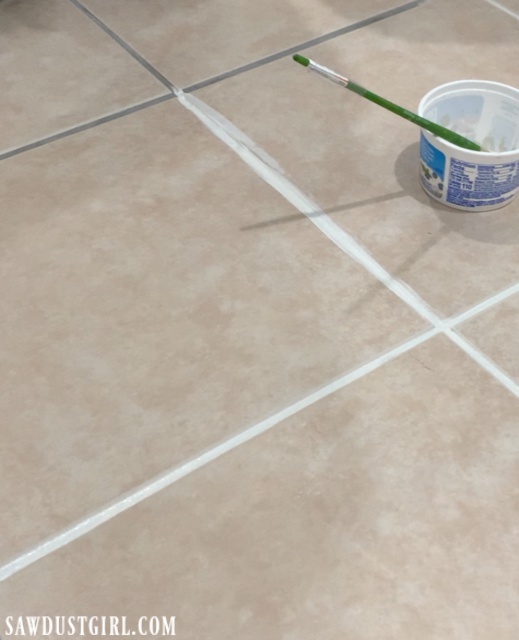
- a decent artist paintbrush for application
- a container to hold the paint in which the paintbrush could be dipped
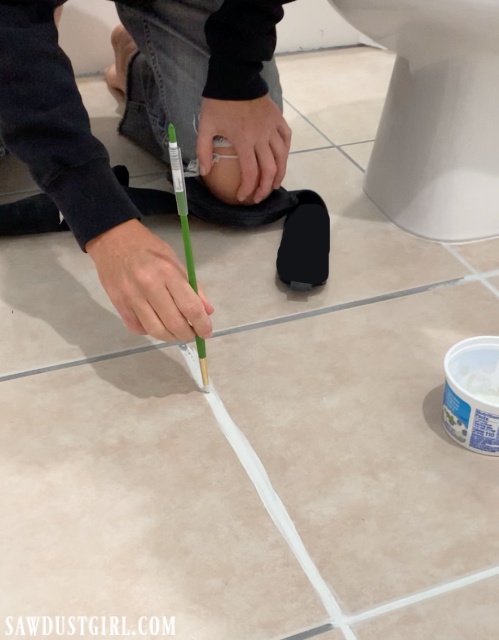
We didn’t worry about precision during application. The tile is sealed so it won’t absorb any of the grout paint. (If you are painting grout next to porous, unsealed tile you want to seal it before you paint the grout.)
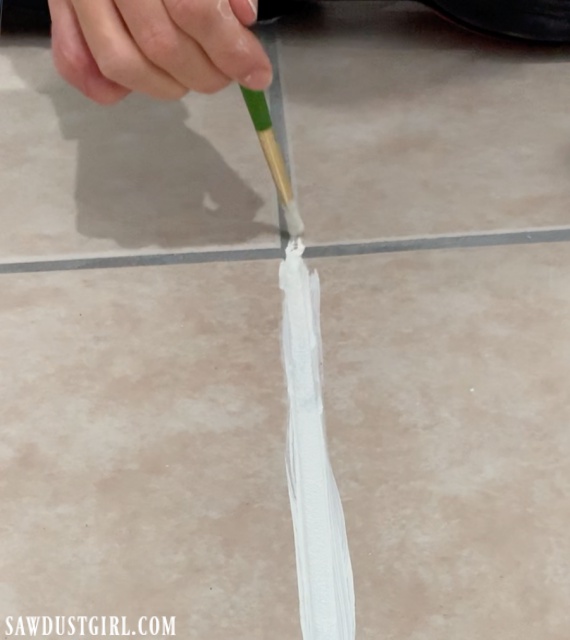
The trick is to keep the paintbrush thickly loaded with GroutRenew so there’s enough to flood around all the little gritty protrusions. Sanded grout is rough, so you’ve got to force the paint in between all the roughness. Smoosh it into the nooks and crannies. Then use the paintbrush to draw the excess paint further down the grout line. So you’re not leaving a pool or puddle of paint anywhere. Just getting everything well coated.
Julie worked on small areas (probably a 3′ section) at a time. After applying the grout paint, she’d come back with a damp cloth and wipe off what got onto the tile. The GroutRenew wiped off the sealed tile very easily while it was still wet. I have an idea that this stuff might stick to anything if you let it sit there long enough to dry and cure.
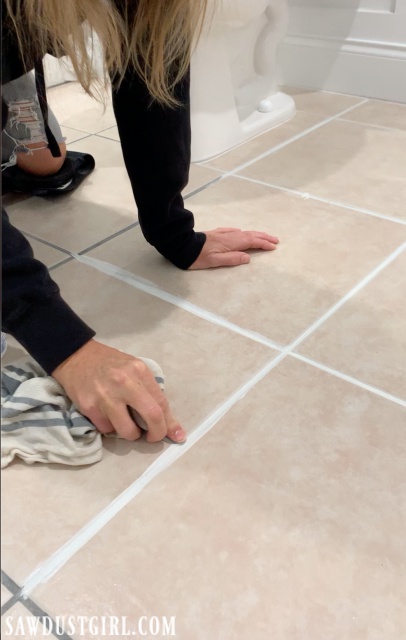
Not letting the grout paint dry before you’re ready is the purpose of working in small areas. Apply paint then wipe. Move to the next section. Apply paint and wipe…
We ended up only doing one coat, even though we applied white paint over grey grout. The coverage was really good.
I imagine if we’d gone with the Bright White and wanted a really crisp, white line, we might have needed a second coat. But then, the Bright White was more bright white so it might have achieved a crisp white look in one coat as well. I can’t say, because we didn’t use that color. The Snow White gave us a creamy white that works well with the tile we were zhushing.
We can speak to the “Sealing” quality of the Poly Blend Grout Renew because we’ve already tested it. Julie applied some brown caulk right next to the white grout we’d just painted 2 days prior. Colored caulk is highly pigmented and will stain absorptive surfaces very easily. The Grout Renew wiped off the painted/sealed grout easily and didn’t leave a trace. We were impressed! We expected some color to remain behind and thought we’d have to do another pass with the grout paint. But we didn’t! So this stuff works wonders at both sealing the grout and changing it’s color. Thank goodness because I really needed closure on this floor!
Crooked Smile Creations says
I’ve used this several times in our rental house. It’s great for sprucing up without the big investment of reflooring and it does hold up over time. We’ve just had to touch up a few high traffic areas in between tenants but we don’t have to re-do the entire house. The whole house is tiles.
Sandra says
This is the first time I’ve tried changing my grout color and I’m super happy with the outcome. Glad to hear the that it holds up over time as well.
Timisha Porcher says
Wow! That’s a huge difference. I looks great! I may have to try this.
Sandra says
Agreed. Huge difference. Thank goodness. 🙂
Barbara H. says
Hah! You made me go look at my bathroom floors – I see some grout painting in my future. They are small rooms so that’s not so bad, but there is a large family room with the same large tiles – that would be a bear to do. By the way, did the Magic Eraser work on the garage door edging?
Sandra says
I never tried the magic eraser on the garage door. It looked pretty good so I moved on to other projects and haven’t looked back. LOL
liz says
Thank you for your post. I was wondering if grout paint worked and how difficult it was to use.
Sandra says
Pretty easy, though tedious. But amazing!
Katherine Nutter says
That’s a nice improvement! Julie made it look easy but I know it was tedious work. Good job, Julie!
Sandra says
It was and I’m so glad Julie did it! LOL It’s a lot of crawling around on your knees.
Mary says
I used this product on my kitchen tile grout. I used a firm tooth brush to apply, swapped out the top of the grout paint with a Elmer’s glue top and it worked great. Rarely had to wipe extra paint off the tooth brush worked so well. It’s been 8 months and it still looks fabulous!
Theresa DeLong says
How often do you have to re-paint it? Does the paint last a long time?
BG Smith says
Hi an this be used on tiles where the grout has been painted, i.e. changed the tile colour but would like white grout
Sandra says
It probably depends on the product. I believe it can but would definitely check the label.
Andrea says
Hi! You both did a fantastic job! I’d love to repaint the stark-white grout on my bathroom floor as well, so would you suggest the “Bright White” since it sounds much whiter than “Snow White?”
Sandra says
Best way to choose a color is to test it out on your floor with your tile.
L says
I did this and got some paint on my tile. Its stuck on the tile now it wouldnt come off even when it was still wet.
Sandra says
Wondering what kind of tile you have. Is it porous and unglazed?
Kim says
The dried paint comes off with acetone based nail polish remover
Peggy O'Connor says
Does this grout paint come in grey?
Many thanks,
Peggy
Sandra says
You’d have to check wherever you’ll be purchasing the product.
Laura Weiss says
I prefer to color MATCH so the tiles are not defined squares. Color matching gives you a WHOLE different look, like it is one solid color.
Mary Ann McKay says
It’s been a while since you did this, so I’m wondering how it’s holding up. It looks great!
Sandra says
We sold that house 2 years ago. It looked exactly the same when we moved.
Kimberly says
I would love to try this we have dark brown grout. Talk about looking dated. I wonder how the white would cover the dark brown ❓
Sandra says
Well it covered our grey. Maybe it would take two coats but I wouldn’t be afraid to give it a try.