Hello, my name is Marnie – and I am a home renovation addict! Renovating houses is my favorite hobby; I get such a rush out of seeing a room totally transformed by paint, flooring, and some trim. Although many people think its weird (including my husband), it’s nice to share my story here with all of you who share my affliction! 🙂
I have renovated and sold several houses for resale, but for the first time I am renovating a house that we plan to stay in – SO FUN! We decided to start with my daughter Kate’s bedroom. She loves the beach and decided she wanted a beach themed room using the colors navy, turquoise, and orange.
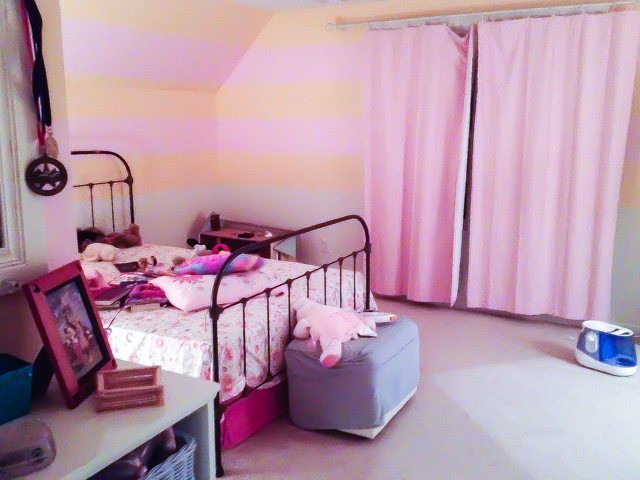
So, we kicked the poor kid to the guest room, and painted the walls, installed new lighting, installed pocket closet doors, installed hardwood floors, added new door and window trim, and created a “beach shack” feature wall. Here is the before….
…..and the after.
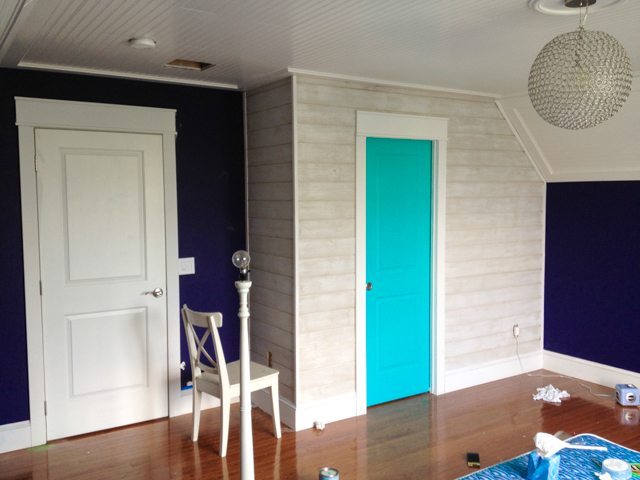
I love the way it turned out so far! But, I had one final stumbling block – the closet.
Kate is a lucky girl to have a walk-in closet in her room. However, it was on the smaller side and it had totally inefficient storage.
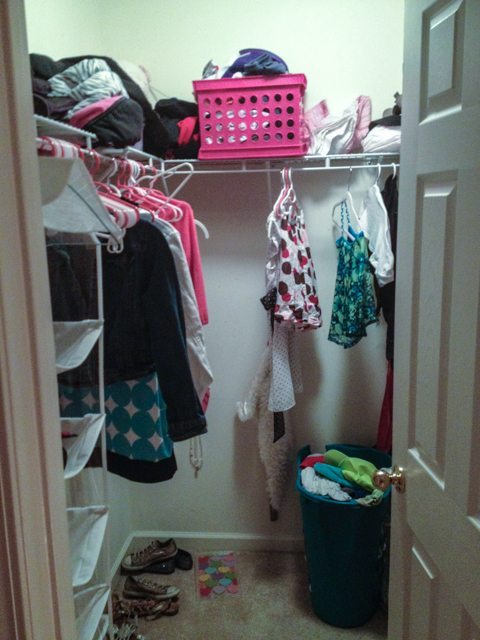
I knew I wanted custom closet organizers, but did not want to pay thousands of dollars to have them professionally installed. Although I have experience with trim, for some reason the thought of actually assembling something together scared the bejeebus outta me!
Enter Sandra to the rescue! Like so many before me, I saw her post about the custom built-in closet she built in her master bedroom and I was HOOKED! When she then said that she was taking on clients for personal coaching sessions I jumped at the chance to learn from her!
For our first consultation, I sent her some pictures and the dimensions of the room.
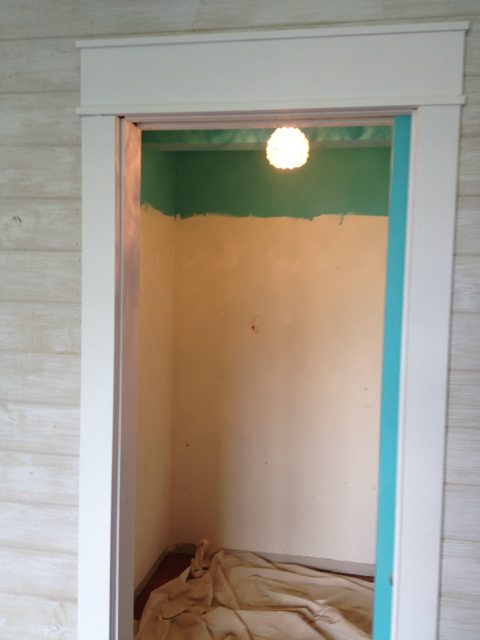
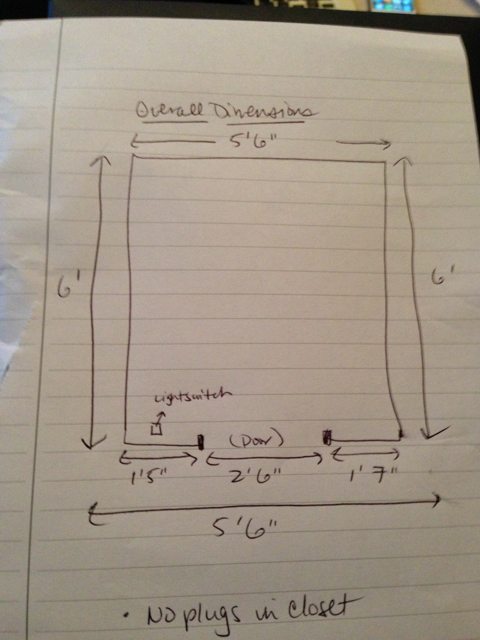
We had an initial Skype session and before you know it – BOOM! – I had actual plans and instructions to get started. I set out to Home Depot to buy supplies feeling – I’ll admit it – a little “I got this” cocky. However, within my first 5 minutes in the screw aisle, my hubris was quickly beaten into submission. Although my instructions were pretty specific, I still – for the life of me – could not figure out which screws to buy! I texted pictures back and forth with Sandra in the middle of the store desperately seeking the magic box! Finally…..DING DING DING WINNER WINNER CHICKEN DINNER!
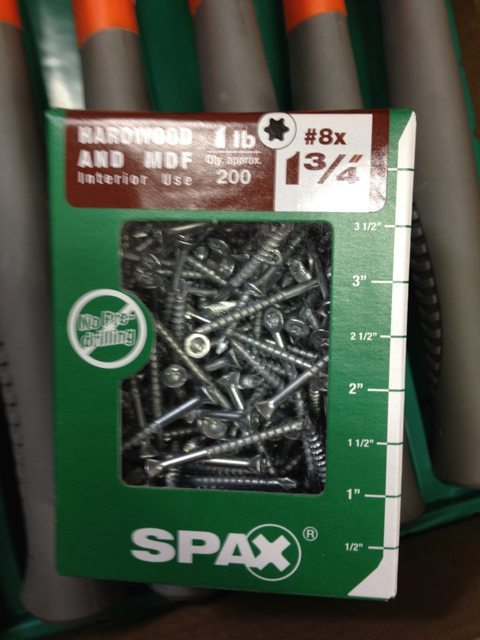
The 1 3/4″ Spax MDF screws. As I would soon find out – totally worth the frustration – I love these babies. I would marry them if I could. 🙂
Next off to the lumber aisle to load up my MDF sheets. I knew they would be heavy, but I didn’t think they would be SUPER MEGA BIGGIE SMALLS & HEAVY D H-E-A-V-Y! Luckily I was at Home Depot early and was able to quickly find someone to assist me in getting the MDF into my car.
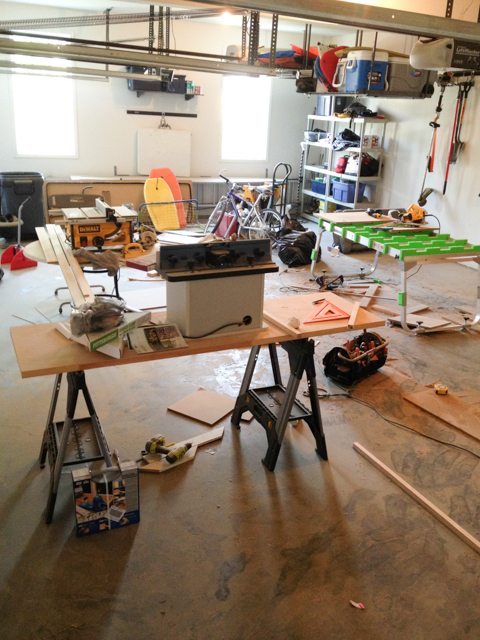
Finally, I made it home with all my supplies – still feeling motivated in spite of my right-off-the-bat setbacks and ready to go. I unloaded the sheets into the makeshift workshop I set up in my garage. I learned about the Kreg Rip Cut jig from other Sawdust Girl posts – so I had previously purchased one and set it up. I was ready – LET’S CUT SOMETHING! I measured twice per Sandra’s cut list, and cut the first sheet. Cutting was easy peasy with the Rip Cut and I was feeling fine when I was finished and I had a stack of cut MDF ready to go.
I measured the cut pieces to make sure everything was cut properly – when my satisfaction quickly turned into horror as I realized that every single piece was off by about 1/8 of an inch. But I measured! TWICE! What could have gone wrong? FUDGE! (Only I didn’t say fudge…). Finally I tried some sample cuts with the Rip Cut and realized that the tool was not calibrated properly. Even though I followed the instructions – I should have double checked the Rip Cut calibration before I started hacking away at my beautiful sheet of MDF.
LESSON LEARNED – Along with measuring twice and cutting once, make sure tools are properly calibrated and make a test cut PRIOR to cuts on actual material.
Although I was so bummed out that I already wasted a sheet of MDF, I shook it off as best as I could and continued cutting the rest of the sheets I had left. Now that I had everything set up properly, the cut pieces were exactly the right measurements. I sent Sandra an email to tell her about my “progress”, and went to bed with only a pile of MDF and a TON of sawdust all over my garage floor to show for it…
…..but still confident (kind of) that after another trip to Home Depot in the morning I would be much more successful on Day 2!
Dixie Dobbins says
OMG You are a girl after my own heart! I just found your blog and this post and laughed outloud. So I am not the only one out there like this! Love it. Just curious what you used as the “BOARDS” on the wall? And can you show how you did the trim on the door Jam? Love the top part of the door jam. Thanks!!! Ill be back!
Courtney says
Yes! Love SPAX! Hate calibrating the rip cut! Can’t wait to see how your project progresses, but if it’s anything like the rest of the room, it will be beautiful!
Chantelle - ThousandSquareFeet says
Hmmm, my daughter has a closet about this size. I am interested in seeing what Sandra came up with for you!
kim massa says
Love your enthusiasm! My bedroom walk in closet is on my ‘to do’ list also. Looking forward to seeing your progression.
Everybody loves ‘Spax screws’, I guess I will have to search them out.
Fawn Teresi says
Cant wait to see what it turns out to be! Love the room so far! 🙂
Jackie says
Hi- good luck! The rest of the room looks great! What’s the funky green table in the garage?
Have fun!
Marnie DeVries says
Hi Jackie! That is a Benchmark table (http://www.benchmarktable.com) – I love it! It has slats on the top to help with cutting – along with a lot of other cool stuff. It is not cheap – but I think the convenience of using it is worth the money. Thanks!
Lino Slonecker says
Stunning. I used these tonight on the cover of a new photo album I’m starting. I blogged about my project and linked to this post. I can’t believe I’ve never stumbled on you before!