• Home
  • About
    • Personal Posts
  • Privacy
  • Shop
    • My Account
    • Checkout
    • Email
    • Facebook
    • Instagram
    • Pinterest
    • Twitter
    • YouTube
Sawdust Girl®

Sawdust Girl®

Renovation, cabinet building and woodworking plans and tutorials. Build like a Girl®

  • My Home
    • Clinton TN House
      • Clinton TN House in Progress
    • Maryville TN House
      • Maryville TN House Tour – Completed Rooms
      • Maryville TN House in Progress
        • Basement
        • Basement Storage Closet
        • Bedroom Office
        • Craft Room
        • Dining Room
        • Entry
        • Garage
        • Guest Bedroom
        • Hallway
        • Jack and Jill Bathroom
        • Kitchen
        • Kitchen Entry
        • Laundry Room
        • Library
        • Living Room
        • Loft
        • Madison’s Room
        • Master Bedroom
        • Master Closet
        • Pantry
        • Porch
        • Powder Room
        • Wes’ Office
    • Illinois House
    • Calderwood Cottage
  • My Workshop
    • Clinton Workshop
  • Build & Breakfast
  • Cabinet Making 101
    • Cabinets
    • Doors
    • Drawers
  • Projects and Plans
    • Countertops
    • Beds
    • Benches
    • Bookshelves
    • Desks
    • Gift Ideas
    • Holiday
      • Christmas
      • Halloween
    • Home Accessories
    • Kids
    • Kitchen Cabinets
    • Lockers
    • Nightstands
    • Organization accessories
    • Recipes
    • Sewing
    • Tables
    • Vanities
    • Wardrobes
    • Woodworking
      • Wood Finishing
    • Workshop
    • Workshop Storage and Organization
  • Remodeling 101
    • Baseboard and Trim
    • crown molding
    • Demolition
    • Door and Window Casings
    • Door Installation
    • Drywall
    • Electrical work
    • Flooring
    • Home Maintenance
    • Painting
    • Plumbing
    • Resources
    • Safety
    • Tile
    • Wall and Ceiling Treatments
  • Sawdust Squad
  • The Sawdust Diaries
    • Andrea
    • Ava D.
    • Beckie F.
    • Cara C.
    • Courtney B
    • Fawn T.
    • Jenn D.
    • Kelly C.
    • Kristy K.
    • Lara T.
    • Malisa B.
    • Marnie D.
    • Robin C.
    • Val F.
  • Tools
    • Products
    • Tool Reviews & Overviews
    • Inspiration & Ideas

Easy Drywall Repair with Patch plus Primer

All Posts, Drywall, Remodeling 101

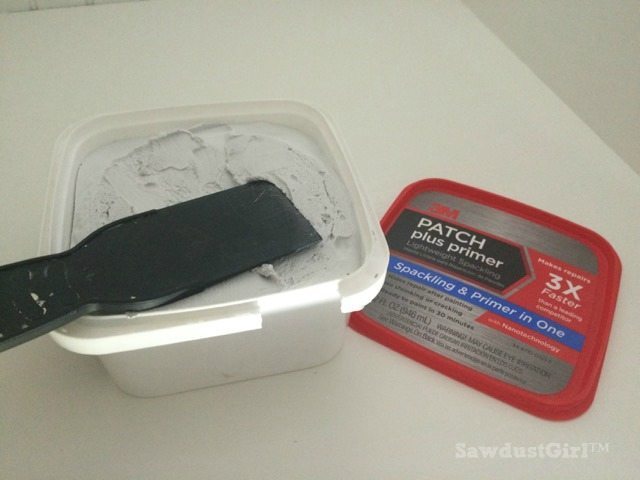
I just used this 3M Patch plus primer for the first time and really liked how easy drywall repair was with it.  Of course I wanted to share!

Patch plus Primer for easy drywall repair

Easy drywall repair with Patch plus Primer

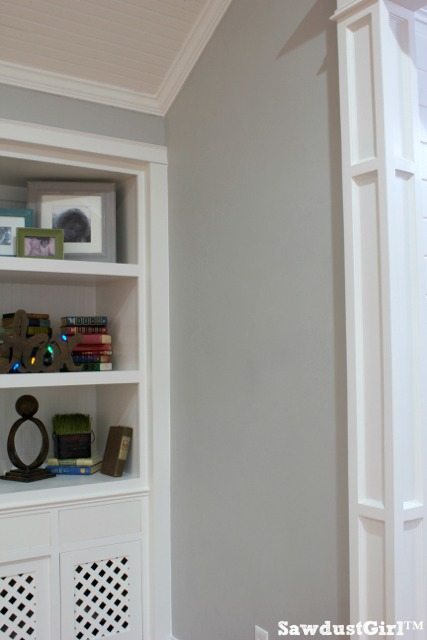
You probably know how easy it is to gouge your drywall.  Especially right after you just skim coated to get rid of that hideous texture, primed, painted and are putting up the finishing touches, the moulding.  Maybe you don’t know how easy it is.  Maybe that’s just me!  I can’t, for the life of me, manage long pieces of moulding without poking, scraping, banging or jabbing my beautiful walls at least once.  (And I generally don’t ever escape with just one gouge.)  My living room wall was quite speckled after getting my bookshelf and all the trim installed last week.

Easy drywall repair with Patch plus Primer

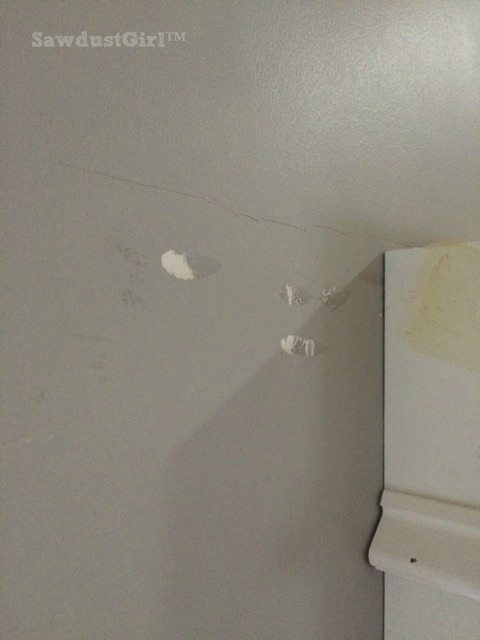
Obviously I had to repair it before I showed you the final reveal.  I couldn’t let a few a whole bunch of drywall dings/gouges distract you from my beautiful masterpiece.  So I set out to fix them as quickly as possible and get on with life.

I knew I had a container of 3M Patch plus primer …somewhere.

I’ve had it for months.

Never used it but kept seeing it in my shop and thinking it would come in handy sometime.  Of course when I actually need it it takes me 3 hours to find it because, I’m sure the last time I bumped into it in my shop I picked it up and “put it somewhere safe so I’d know exactly where it was when I did need it”!

Well, find it I did!  HA!  And then I used it for the very first time.

Patch plus Primer for easy drywall repair

And I decided that it’s pretty awesome!

Easy drywall repair with Patch plus Primer

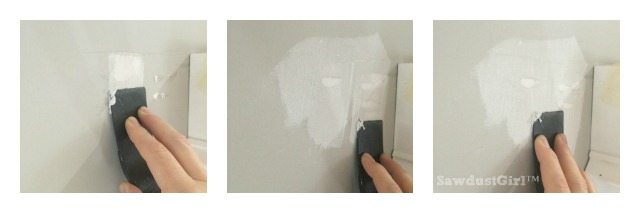
It applies exactly like any drywall spackle:  apply it with a spackle knife. Patch plus Primer for easy drywall repair

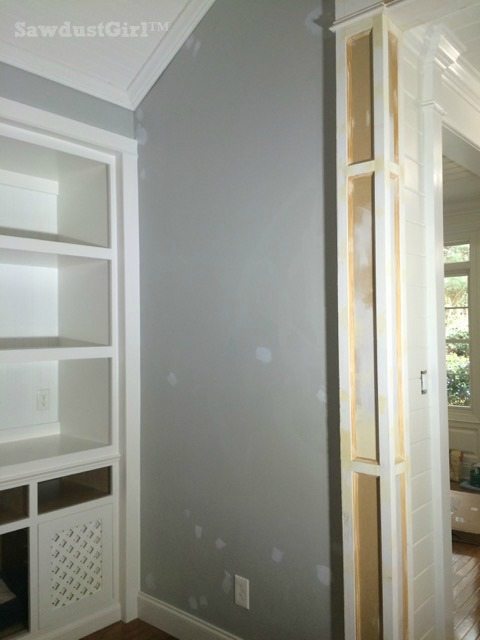
Ok, so I did NOT gouge my wall that many times but once I start covering actual gouges it’s hard to reign it in.  When I’ve already got that plastic spackle knife in hand so, being the perfectionist that I am, if I see any imperfection in my wall that is supposed to be perfectly smooth, I “hit it”.  I’m going to have to break out the touch up paint as it is so why not?

I used a sanding sponge to very lightly sand each patch smooth.  Then I grabbed my milk jug and paint brush and applied ONE coat of paint directly over each patch and it was perfect.  You couldn’t tell where a single patch had been.  Awesome!

drywall repair

With normal spackle, if I don’t prime before I paint (which I hardly ever do on touch ups like this), the spackle absorbs the paint and it will have a different sheen than the wall around it so it takes several coats of paint before it evens out and patch is truly hidden.

Which just takes more time.

Which is something I don’t have to spare so the quicker I can make something look as perfect as possible and then move on –the better!

December 23, 2014 · 2 Comments

« the perfect container for touch up paint
Done, Done and DONE! »

Comments

  1. Christina in Cleveland says

    December 23, 2014 at 6:20 pm

    One word for you: BRILLIANT!!! I love this, thank you SO much!!!

    Reply
  2. Maureen says

    December 25, 2014 at 10:39 pm

    Sandra,

    Next time you patch some dings in your walls try this trick and see if it works for you. On the little ones that aren’t too deep and not very wide, once the area has the patch on it, rub it with a paper towel to smooth the surface. I patched some holes from nails and some dings in our last home and didn’t have to sand the spots once they were dry.

    Maureen

    Reply

Leave a Reply Cancel reply

Your email address will not be published. Required fields are marked *

Categories

New Post email notification signup

You Subscribed!

Legal Stuff

Terms of Use

Privacy Policy

Disclosure

Recent Posts

  • Lodge Update – Floors, Cabinets, Countertops, and Appliances
  • Lodge Kitchen Cabinet Progress
  • Halloween Mad Gab – Halloween Party Ideas
  • Concrete Backsplash or Vertical Wall Treatment
  • Building and Installing a Giant Faux Beam on the Ceiling

Disclaimer:

Although it is my intention to provide accurate plans and clear instructions, not all plans have been tried and tested. Using plans or information found on SawdustGirl.com indicates that you agree with the Terms of Use policy and will accept full responsibility for the process and outcome of any project you attempt. All plans are for private use only. Plans and information published on SawdustGirl.com may not be reproduced, republished or distributed in any manner without written permission from Sandra Powell, Sawdust Girl. Actual projects built using Sawdust Girl plans may be published on your own site without instructions or "tutorial" as long as you provide a link to my original post with full post title or "SawdustGirl.com" as link title.

Copyright © 2022 · anchored theme by <a target="_blank"