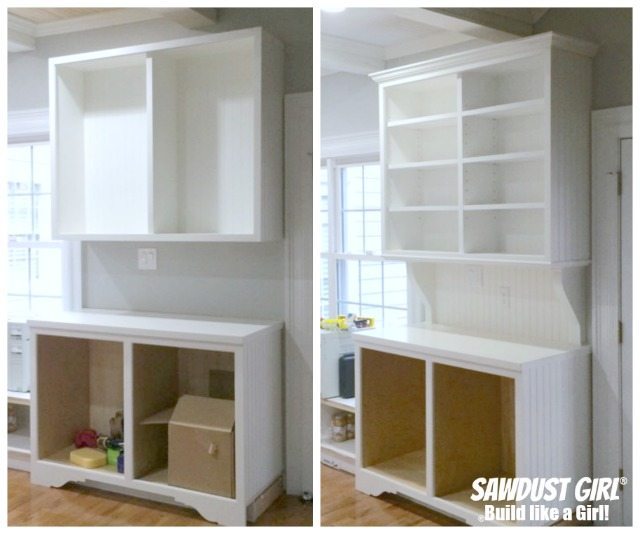
In this post I’ll show you how to install crown molding on kitchen cabinets. It adds a big visual impact and really amps the “sophistication factor” up a notch. You use the same methods as you do for cutting crown moulding that you would install on your wall. I have shared a couple tricks to make cutting crown moulding as easy as possible: Crown Moulding Templates or Crown Molding Stops and Cutting Guide Now I’m going to share my tips and tricks for installing crown moulding on kitchen cabinets and built-ins.
How to Install Crown Molding on Kitchen Cabinets
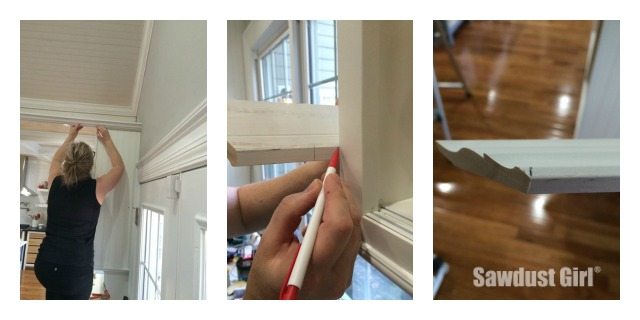
Use a straight edge to mark where the bottom of the crown moulding will sit on the cabinet face-frame. Mark all sides of the cabinet onto which you will be attaching crown moulding.
Fill Gaps
It is important to fill in the face-frame overhang (if there is one) before installing crown moulding. The side of the cabinet must be flush with the side of the faceframe for the crown moulding corner to be square. Fill in the gap with a piece of scrap wood that equals the gap.
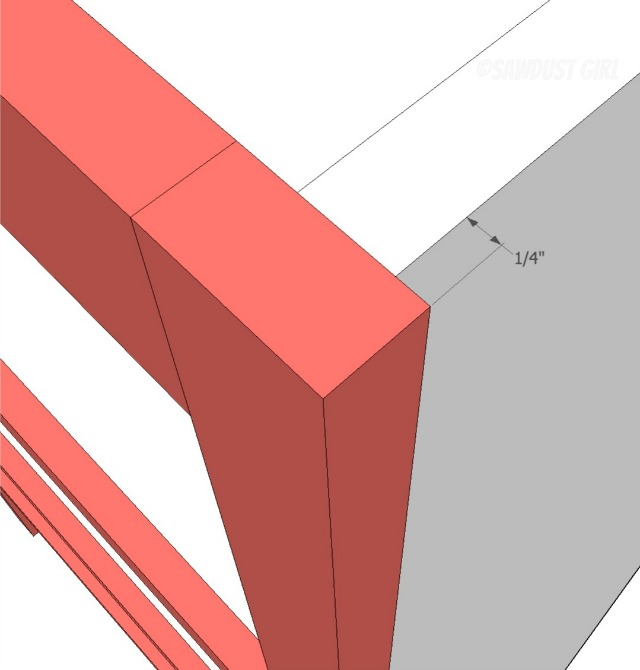
Use whatever scrap you have handy. I used a paint stir stick on my China hutch. The filler strip should not extend below the bottom line mark.

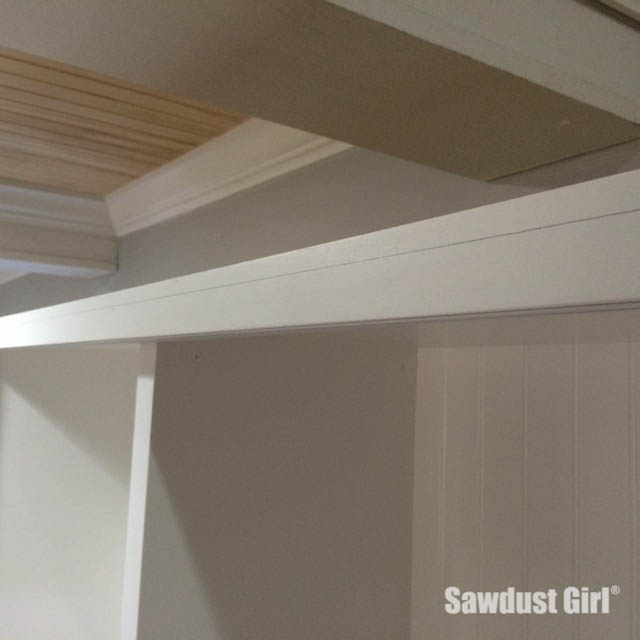
Add nailer block
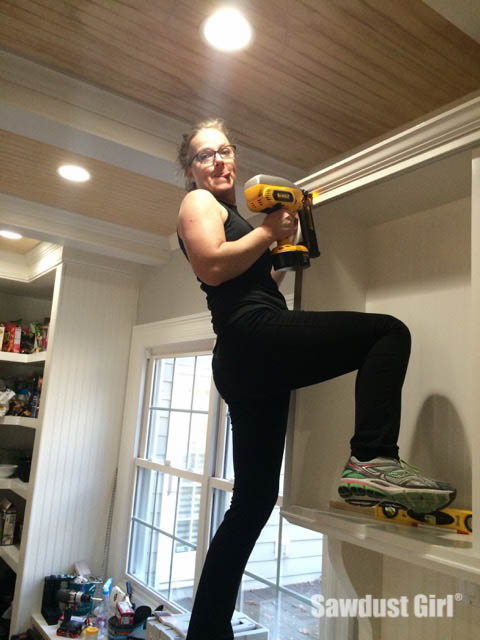
If there is not a large area of cabinet sides and face-frame (above your crown bottom line) it will be difficult to attach the crown moulding with nails because you angle the nails up, often missing the cabinet/faceframe all together. If you secure a block of wood around the perimeter at the top of the cabinet it will give you a surface into which you can shoot the nails and secure the crown moulding.
Measure and Cut
Measure and cut ALL pieces of crown before nailing any to the cabinet. I find that holding the piece of crown moulding up to the cabinet and marking where it needs to be cut is far more effective than trying to measure the cabinet with a measuring tape and transferring that measurement to the crown moulding.
To do this, cut pieces of crown moulding that are generously longer than each piece needs to be — giving you enough to work with but allowing you to work with manageably sized pieces.
- Start with a side piece. Hold the straight end against the wall and mark where the crown moulding exits the cabinet.
- Measure and mark the opposite side piece in the same way.
- Cut both pieces.
On a typical cabinet, all your crown moulding angles will be “outside corners”. A corner, whether outside or inside, is where two pieces of crown moulding seem together. Refer to my Easy Templates for cutting Crown Moulding or Crown Molding Stops and Cutting Guide for more explanation on corners and angles and how to cut them.
- The right end of the left side piece will be the left side of the “corner”.
- The left end of the right side piece will be the right side of the “corner”
- For the center piece; the right end is the left side of the right corner and the left end is the right side of the left corner.
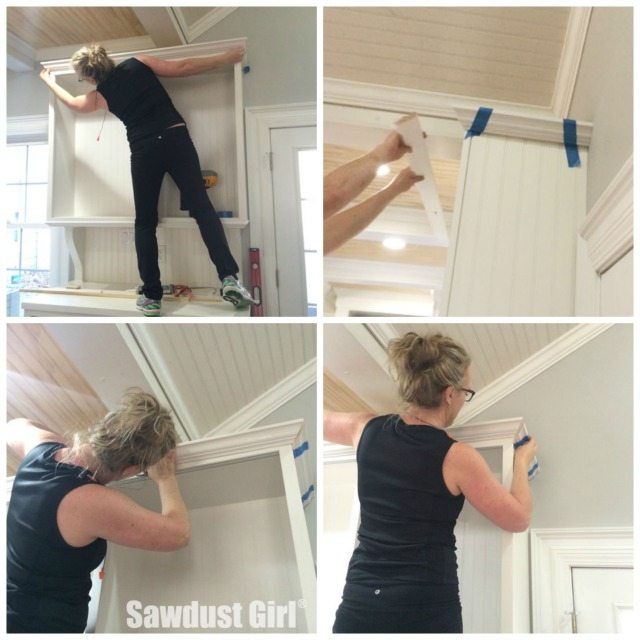
- For the center piece, cut the right end and then hold it in place with a piece of painters tape while you mark the other end to ensure you get an exact measurement.
Dry fit
Once all pieces are cut, use painters tape to hold your pieces in place while you make sure they are all the right length and the corners close up tight. Crown has an irritating way of lining up perfectly and then suddenly NOT being the right size AFTER you’ve driven a few nails into it. I like to give it a little test drive before I make the nail hole commitment.
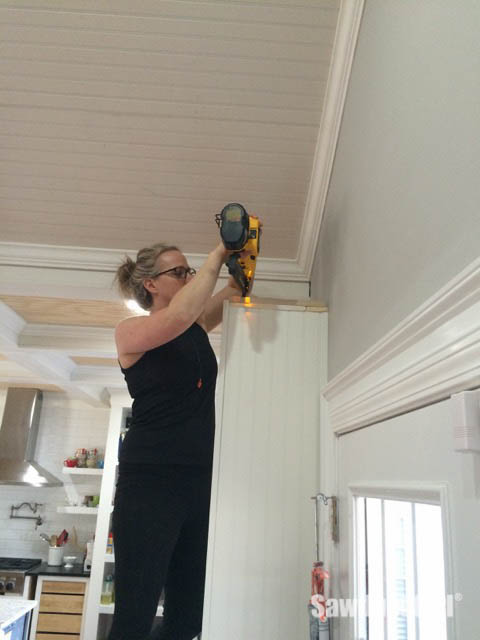
Attach
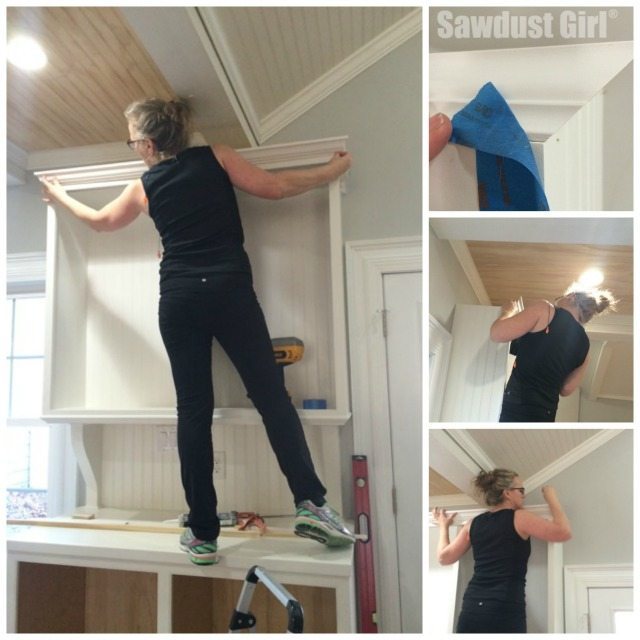
Once you feel you’re ready to nail that sucker into place, go for it! Leave the painters tape in place until after you’ve secured it with nails.
- Start by securing one side to the cabinet.
- Then secure the middle piece, making sure your first corner is aligned.
- Then get your last side piece in place and nail that sucker to the cabinet!
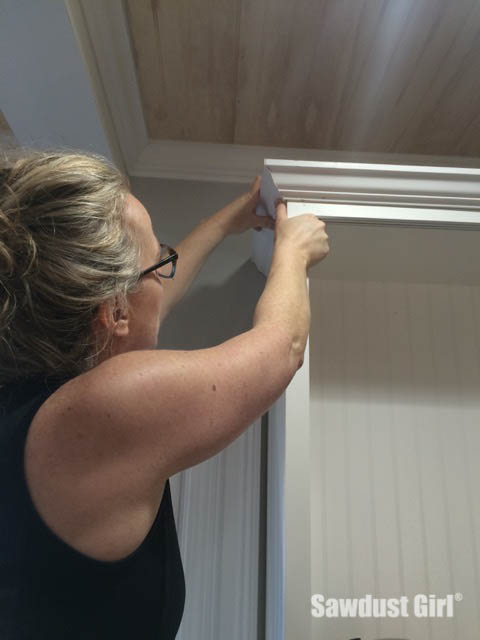
Getting nails angled up through the moulding in an inconspicuous spot while making sure you DO hit the cabinet or nailing block behind it and and making sure you DON’T knock the corners out of alignment with the force of the nail can be challenging! I won’t lie.
But the end result is SO TOTALLY worth it!
Other helpful posts:
Cindy Mandernach says
i constructed some built-ins on either side of my fireplace and want to add crown moulding to the top of the hutches but there is already crown moulding on the wall so i need to figure out how to integrate that…..thanks for the inspiration. i figured if you can do it, so can I!!! 🙂
Sandra says
You can do it!
Holly Prim says
You do such a great job explaining your process, and the end result is just gorgeous!
Sandra says
Thanks and thanks! 🙂
Val says
Thank you for the tutorial! If there is no face-frame, can you attach crown molding to the top panel of the cabinet? I am going to hack some Ikea Pax wardrobes.
Sandra says
If you add blocking above the cabinet it should give you something to nail into and you should be able to go crazy with some crown! I would place the bottom of the crown just slightly below the top of the actual cabinet so it hides the fact that there isn’t any more cabinet above it and it’s just blocking supporting that crown. Make sense?
Val says
That’s a very good idea!
thriftydutchman says
A: you should have used a Pin Nailer instead of that big nail gun and B: Alway gule your outside corners or they will come apart in the future.
Sandra says
Well… a: I didn’t want to drag my air compressor upstairs and my 16 ga nailer did just fine. b: Maybe, maybe not. On a wall, yes. On a cabinet that is made of plywood? I nail through the joint and it’s not going to get bumped, there won’t be an issue of movement/shrinkage/expansion, etc. I’ve never had my corners come apart on kitchen cabinets so “always” sometimes doesn’t apply. 😉
Judith Wilson says
I have a compoud mitre saw and can’t seem to find a table to help set the mitre and bevel angles for corner cabinets and regular 90% angle corners. I am trying to replace some missing pieces of an unfinished job by a contractor. The calculators seem to be made for ceiling crown mouldings and I can’t get my head around their measurements which seem to be based on the wall angle??? My mouldings don’t connect to the ceiling… I haven’t done this before and have used a protractor to figure out that the pieces have what is a 45 degree spring angle and if I have measured correctly the corner cupboards have a 22.5 degree angle on the corners but the calculators don’t seem to be built around the angle of the corner so am not sure where to go next.
Michelle Sudhakar says
Hi!
We are redoing our kitchen and have a 6″ gap above our wall cabinets. We want to install crown molding but can’t find one that fits the entire space. Any suggestions on how to go about this?
Sandra says
I love the look of stacked mouldings. You could do that or just add a filler strip above the cabinets and then do the crown. This is easy to do if your cabinets are painted and you can paint the filler strip to match. Harder to do if you have wood/stained cabinets.