Kellyn here again! Today, lets talk stain.
You just finished building a masterpiece, have spent hours sanding and are ready for the next step. Paint, stain or a finish.
And you choose to stain.
Step 1: Choosing a stain.
There are many types of stain. Oil-based, water-based, gel, even homemade stains.
Oil-based stains:
Will give you a rich color, while enhancing the natural wood grain.
More controlled even color, in an array of earthy tones in natural, golden, browns, grays and blacks.
Easy to apply, with a 4-6 hour re-coat time and can apply protection coat after 8 hours.
Water-based stains:
You will need to have the stain tinted at the store to the color of your choice.
Just like oil-based stains, they give you a rich color while enhancing the natural wood grain.
More options of colors in greens, blues, and pastel.
Easy to apply, fast 2 hour re-coat time and can apply protection coat after just 3 hours.
Honestly, I don’t use water-based stain regularly; I use oil-based stain 90% of the time. But I do have a future project that I was going to play around with the blue tinted water based stain.
Gel Stains:
Can be used on wood and non-wood surfaces, and can be used Interior and Exterior (must have an exterior top coat finish).
Instead of penetrating the wood, it’s designed to sit on the surface, to create a very even color.
Can be used alone, for an even color, or over oil-based stains as a glaze to deepen, enhance, and even out the blotchiness in woods like pine.
Long dry time of 8-24 hours to re-coat, and 24-48 hours before protection topcoat.

We will save Gel Stain for Stain 201 post.
Homemade stains: (eg. Vinegar/Steel Wool/Coffee Ground Stain)
All natural materials, cheap and easy to make.
A positive and negative in that it brings out the natural color of the wood. It will not be an even coat across all pieces of wood. Eg. It will pull out the natural reds and greens within the wood.
It takes at least 24 hours for the stain to brew before you can use it.
Only need 1 coat, but can take a while to dry depending on the climate you are working in.
Warning- if you have a large project, it is imperative that you make enough stain BEFORE you start staining. It is extremely hard to have one batch of homemade stain match exactly to the next.
Remember the kitchen island I made?

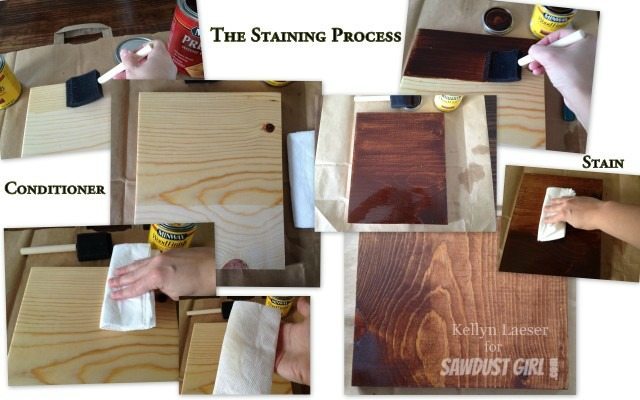
Step 2: Wood conditioner
Before you start staining, I strongly suggest using a pre-stain wood conditioner, especially if you are staining pine, cherry or birch, which are famous for becoming blotchy and uneven after staining.
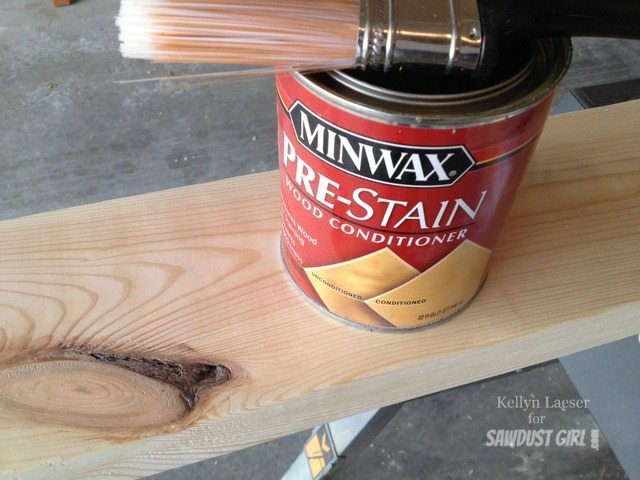
If you use an oil-based stain (or Gel) you need to use an oil-based wood conditioner. Use a water-based wood conditioner for a water-based stain.
1. Using a cloth or brush, apply an even coat over the wood.
2. Let set for 15 minutes, then wipe down with a clean cloth to remove any access.
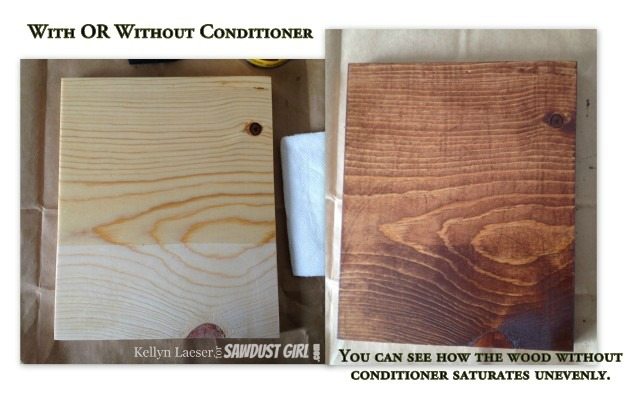
Here you can see how the wood conditioner evens the stain out and eliminates some of the splotches of the pine board.
** SIDE NOTE: What if you let the wood conditioner dry before applying stain? There are some that say to achieve the most even stain job is to let the wood conditioner completely dry.
When you allow the conditioner to dry, it seals the pores of the wood, and less stain will absorb. If evenness is what you are looking for, by all means, go for it. Let the conditioner dry. But the stain will be lighter, and will never get as dark and rich as it would be if you apply stain when the conditioner is still wet to let it saturate the wood. It is dependent on what you want your end look to be.
Eg. The table legs I showed for the Gel stain example, I let the conditioner dry completely before applying the stain. But I needed the most even stain job I could get. I was fine with the stain being lighter because I was going back over with a darker gel stain.
Step 3: Applying Stain
After you apply the wood conditioner, you are ready to stain. For now I’m going to focus on applying oil-based stain. Gel Stain can have it’s own post.
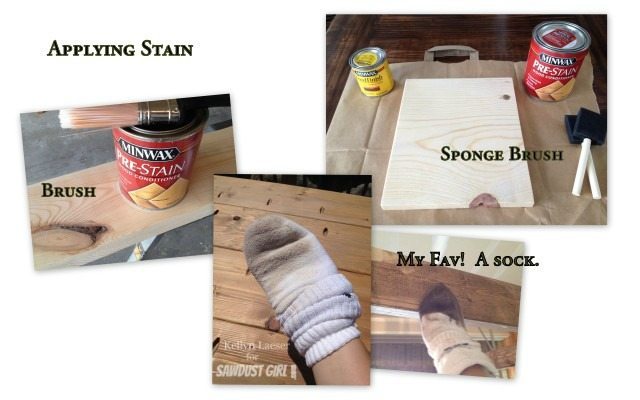
What to apply stain with:
– Brush (make sure it can be used with oil-based products)
– Sponge Brush
– Cloth or my favorite old clean socks
How to apply stain:
– Apply a light, and even coat of stain over the wood.
– Let the stain sit for 5- 10 minutes.
– Wipe all excess stain. **
– Re-coat to desired color based on manufacturer’s recommendations (I always do at least 2 coats.)
** Make sure you wipe off the excess stain. Stain is not like paint; if you do not wipe off the excess the stain dries and becomes super sticky and never fully cures.
This is why I like using a sock to apply stain. I still have to wipe off the excess, but I know there is always a nice even coat of stain applied, where a brush can apply way more stain that what you need.
WARNING: Please dispose of your oil soaked rags properly. The safest way to do this is to allow the stain to cure fully without accumulating heat. Lay the rag out flat (not balled up) until it is hard and brittle before disposing.
Happy building, sanding, and staining.
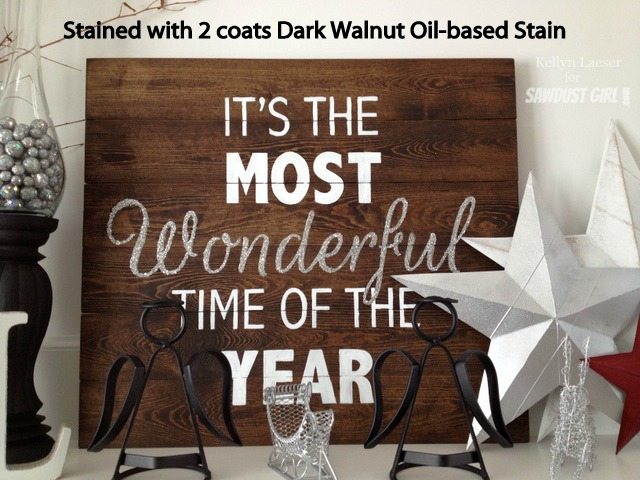
Remember that Holiday Sign? The next time you hear from me, I’ll be showing you how to build one of your own!
Be sure to follow me and my many projects at on Facebook at LaeserDesigns
Stephanie, Sandpaper and Glue says
this is SUPER helpful- thank you! 🙂
KELLYN says
This makes me so happy to hear! Staining can become overwhelming in just choosing the color let alone applying it!
Rey says
is the post coming, or do you already have one about applying polyurethane? Mine always gets bubbles!
KELLYN says
We will have a topcoat finishing post soon! But for now, here are some tips for applying a poly: Always stir the can of poly, never shake. Use a brush or cloth, not a sponge brush (which I find always creates bubbles). I’m curious what climate you are in, is the poly drying too fast in warm air before it can settle – try thinning the poly by 10%. And after each coat very gently sand your project with a 00000 Fine grade steel wool pad. After many trial and errors with poly, I have to say my favorite is General Finishes. Yes it’s expensive, and hard to find, but I have had the best luck with their High Performance Polyurethane. Good luck!