• Home
  • About
    • Personal Posts
  • Privacy
  • Shop
    • My Account
    • Checkout
    • Email
    • Facebook
    • Instagram
    • Pinterest
    • Twitter
    • YouTube
Sawdust Girl®

Sawdust Girl®

Renovation, cabinet building and woodworking plans and tutorials. Build like a Girl®

  • My Home
    • Clinton TN House
      • Clinton TN House in Progress
    • Maryville TN House
      • Maryville TN House Tour – Completed Rooms
      • Maryville TN House in Progress
        • Basement
        • Basement Storage Closet
        • Bedroom Office
        • Craft Room
        • Dining Room
        • Entry
        • Garage
        • Guest Bedroom
        • Hallway
        • Jack and Jill Bathroom
        • Kitchen
        • Kitchen Entry
        • Laundry Room
        • Library
        • Living Room
        • Loft
        • Madison’s Room
        • Master Bedroom
        • Master Closet
        • Pantry
        • Porch
        • Powder Room
        • Wes’ Office
    • Illinois House
    • Calderwood Cottage
  • My Workshop
    • Clinton Workshop
  • Build & Breakfast
  • Cabinet Making 101
    • Cabinets
    • Doors
    • Drawers
  • Projects and Plans
    • Countertops
    • Beds
    • Benches
    • Bookshelves
    • Desks
    • Gift Ideas
    • Holiday
      • Christmas
      • Halloween
    • Home Accessories
    • Kids
    • Kitchen Cabinets
    • Lockers
    • Nightstands
    • Organization accessories
    • Recipes
    • Sewing
    • Tables
    • Vanities
    • Wardrobes
    • Woodworking
      • Wood Finishing
    • Workshop
    • Workshop Storage and Organization
  • Remodeling 101
    • Baseboard and Trim
    • crown molding
    • Demolition
    • Door and Window Casings
    • Door Installation
    • Drywall
    • Electrical work
    • Flooring
    • Home Maintenance
    • Painting
    • Plumbing
    • Resources
    • Safety
    • Tile
    • Wall and Ceiling Treatments
  • Sawdust Squad
  • The Sawdust Diaries
    • Andrea
    • Ava D.
    • Beckie F.
    • Cara C.
    • Courtney B
    • Fawn T.
    • Jenn D.
    • Kelly C.
    • Kristy K.
    • Lara T.
    • Malisa B.
    • Marnie D.
    • Robin C.
    • Val F.
  • Tools
    • Products
    • Tool Reviews & Overviews
    • Inspiration & Ideas

DIY Napkin Rings – easy diy project

All Posts, Gift Ideas, Projects and Plans

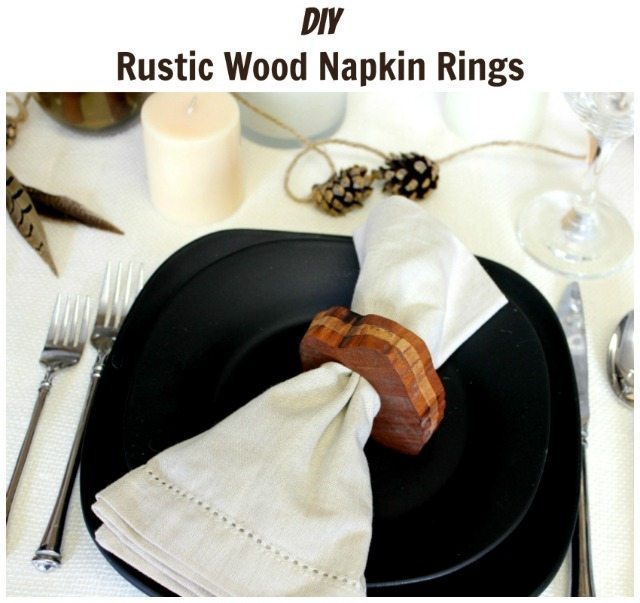
Whether you are looking for a unique hostess gift or just want to add a natural element to your table setting, these DIY napkin rings are fast, easy, cheap, and very WOW!  This is a super easy diy project that will add a special touch to each place setting at your table.

DIY Napkin Rings

Plain and laminated napkin rings

I used some 3” x 3” pieces of 1/4” walnut and maple that I had leftover from another project. I laminated them together to create striped pieces of wood that are 3/4” thick.

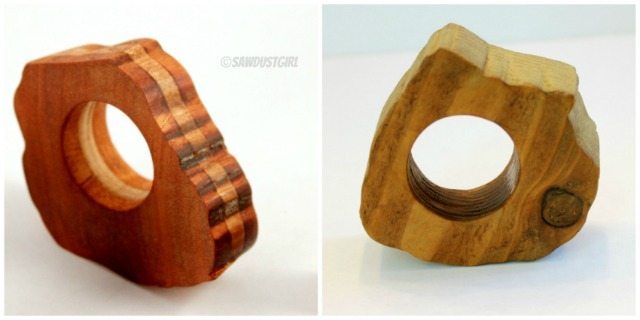
If you don’t have 1/4 inch wood scraps laying around, you can easily substitute any 3/’4” solid wood pieces of your choosing. I made one napkin ring out of some reclaimed pine that I had in my shop as an example.  The one on the left is made of 1/4” maple between 1/4” walnut. The photo on the right is 3/4” reclaimed pine with distressed gilding on the edge.

How to make DIY Napkin Rings

1. Laminate Wood

You want roughly 3” x 3” wood pieces that measure 3/4 of an inch thick. For solid lumber this will be labeled 1”. For the laminated pieces I just painted a generous amount of wood glue on the 1/4” lumber and sandwiched them together in groups of threes. Then I stacked all of them together and clamped them and let dry overnight.

DIY Napkin Ring Assembly

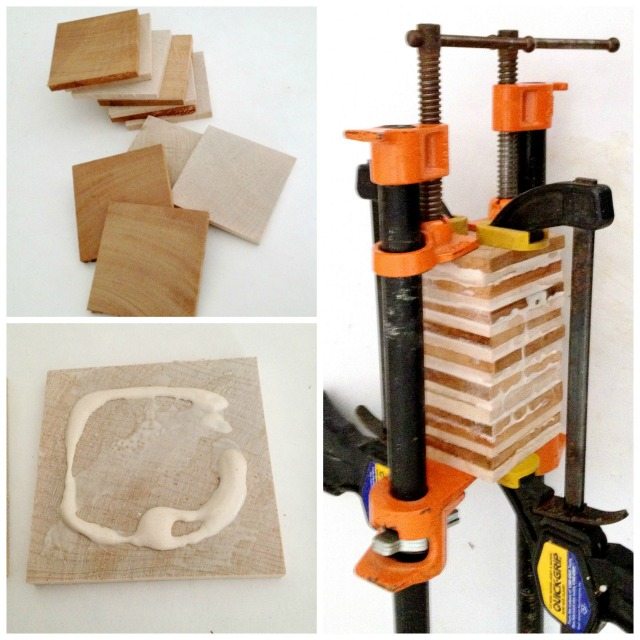
Don’t how messy the glue gets on the edges or getting the wood to align perfectly as this will all get cut off.

2. Drill holes and Cut Out

Draw an organic freehand shape on your pieces. Think leaves, acorns, any shape that seems organic and references nature. Now drill your center hole (although don’t stress about getting it centered). I used the 35 mm bit that I use for cup hinges to drill the holes, use what ever drill bit you have available. You want a minimum of 1” hole so that a napkin can be easily threaded through.

mail.google

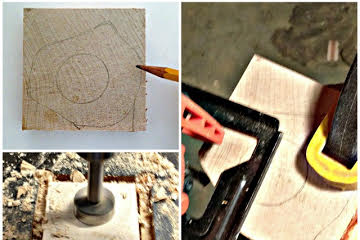
Using a scroll saw or scroll bit on a jigsaw, cut out the shapes. The more you rotate the blade to create jagged and uneven cuts the more interesting and organic the finished product will be.Napkin Ring Edge Detail

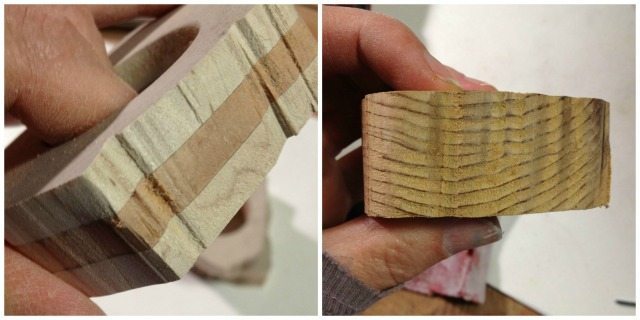
Here is a close up of some of the edge detailing.

3. Sand, Stain, Finish

DIY Rustic Napkin Ring stain

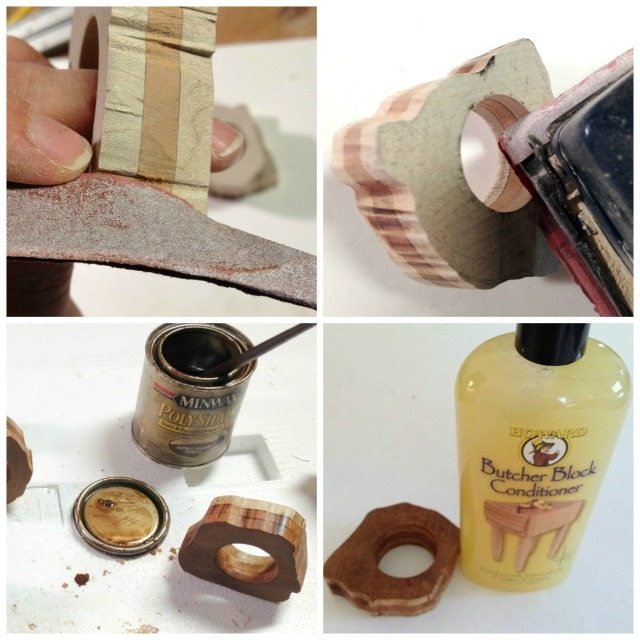
I sanded the tops and bottoms of my napkin rings with a palm sander, and the edges by hand. If you use an electric sander on the sides it smoothes out the edges really quick and you can lose the detail. Stain or leave natural. Then choose a way to finish them. I used butcher block conditioning oil, but you could use a polyurethane, lacquer, or clear wax. I wouldn’t use a colored wax as it may stain linens.  On the reclaimed Pine I used some gilding paint to add a bit of sparkle. Then I used a clear paste wax to give the gold more staying power.

Easy DIY Napkin Rings

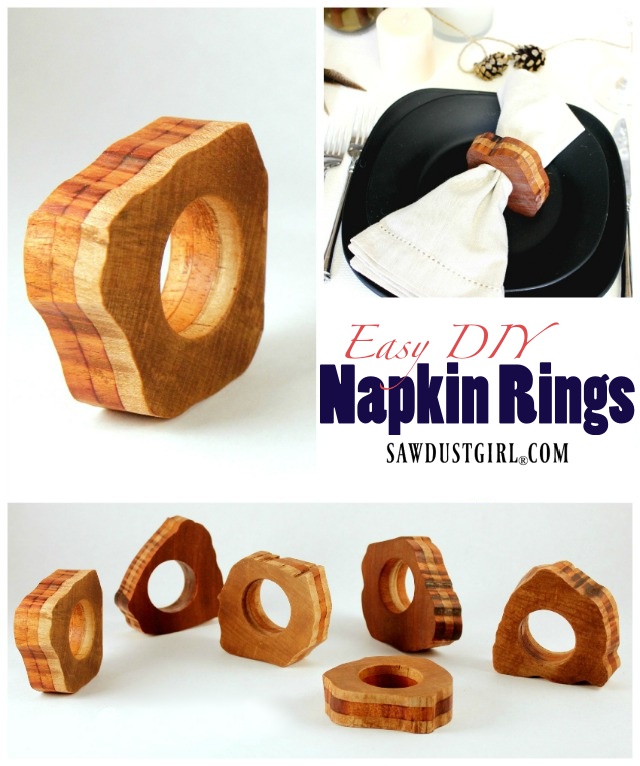
These napkin rings are so simple and easy to make. They’re sure to add a beautiful natural element to any table setting.

Want to keep seeing my projects? Follow me on Pinterest and Instagram.

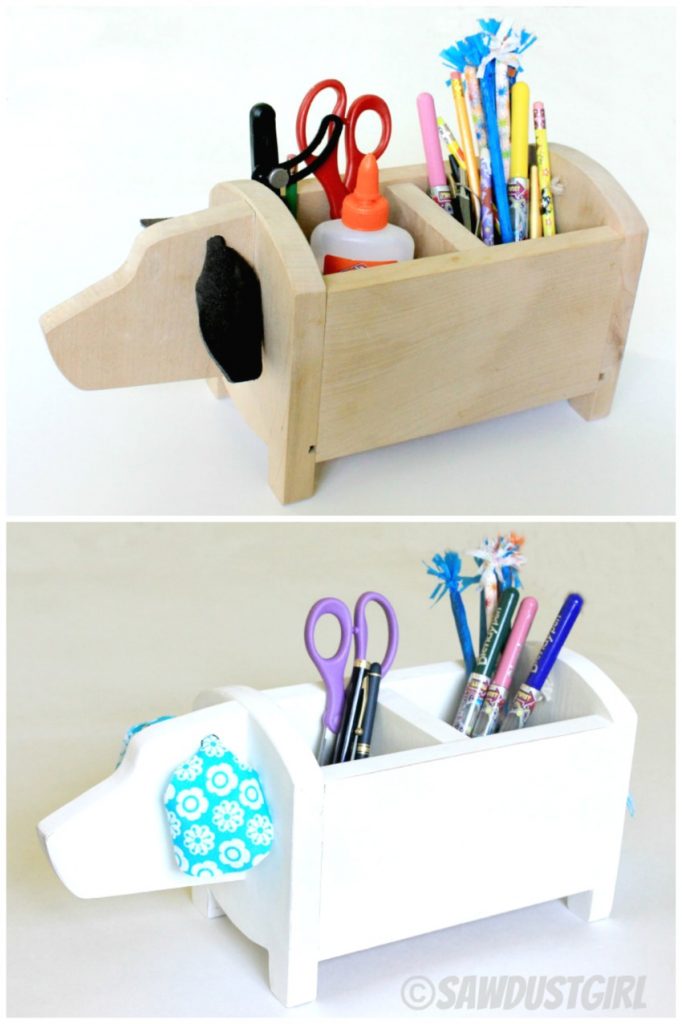
If you liked this post, check out these other easy diy gift ideas!

Dog Shaped Storage Caddy

Handmade Wooden Rulers

Handmade wooden rulers make a unique gift and are super fun and easy to make!

November 16, 2017 · 3 Comments

« Porter-Cable 20V MAX Wet-Dry Vac – PCC795B
Calderwood Cottage Demo Days – part 4 »

Comments

  1. JenWoodhouse.com says

    December 10, 2014 at 11:23 am

    Whoa. These are sick. You could even cut out state shapes – that’s what I thought they were at first – the state of, I don’t know… Iowa? Love this idea!

    Reply
    • JenWoodhouse.com says

      December 10, 2014 at 11:25 am

      Just thought of another idea since you mentioned the gold – gold-leafing the edges to church ’em up. So cool. Just another project to put on my TO DO list. 🙂

      Reply
  2. Jaime Costiglio says

    December 10, 2014 at 5:17 pm

    Sandra you need these on your tablescape without a doubt. Make up a batch quick!

    Reply

Leave a Reply Cancel reply

Your email address will not be published. Required fields are marked *

Categories

New Post email notification signup

You Subscribed!

Legal Stuff

Terms of Use

Privacy Policy

Disclosure

Recent Posts

  • Lodge Update – Floors, Cabinets, Countertops, and Appliances
  • Lodge Kitchen Cabinet Progress
  • Halloween Mad Gab – Halloween Party Ideas
  • Concrete Backsplash or Vertical Wall Treatment
  • Building and Installing a Giant Faux Beam on the Ceiling

Disclaimer:

Although it is my intention to provide accurate plans and clear instructions, not all plans have been tried and tested. Using plans or information found on SawdustGirl.com indicates that you agree with the Terms of Use policy and will accept full responsibility for the process and outcome of any project you attempt. All plans are for private use only. Plans and information published on SawdustGirl.com may not be reproduced, republished or distributed in any manner without written permission from Sandra Powell, Sawdust Girl. Actual projects built using Sawdust Girl plans may be published on your own site without instructions or "tutorial" as long as you provide a link to my original post with full post title or "SawdustGirl.com" as link title.

Copyright © 2022 · anchored theme by <a target="_blank"