If you’ve been following along for the last couple months, I took a break from my closet remodel to fix up my workshop storage. Until recently, I’d been just kind of winging it, and well…I really needed some organization. I did a post showing how I made my cabinets, wood-stained countertop, and backsplash storage (which is really handy), but I thought it was time I shared how I made my unique drawer pulls.
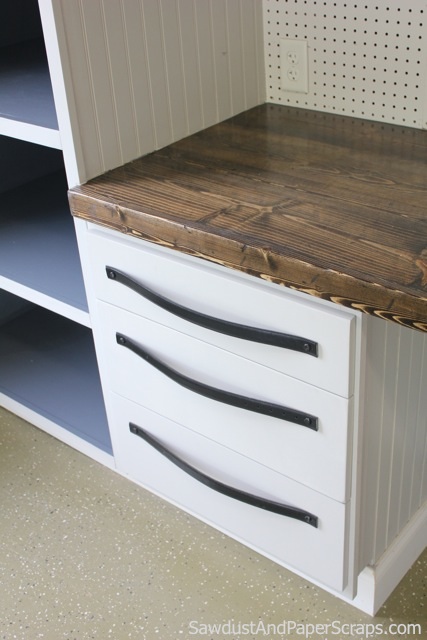
I knew I wanted about 20″ long drawer pulls for my workshop, but I didn’t want to pay much for them. Ha! Have you priced 20″ long drawer pulls? Here’s a spoiler: it’s very expensive! And then I figured out I wanted them to be leather drawer pulls, which is even more expensive. I’ve seen some cool leather drawer pulls, but they’re about $30-$50 each (and not 20″ long either). So, I decided to make my own DIY Leather Drawer Pulls.
Step 1: Gather Supplies
I went on a search for cheap leather belts. I thought it would be harder to find enough duplicate inexpensive options, but I only went to three stores before I hit the jackpot! TJMaxx came through with enough identical belts on clearance for $7 each! Jackpot!
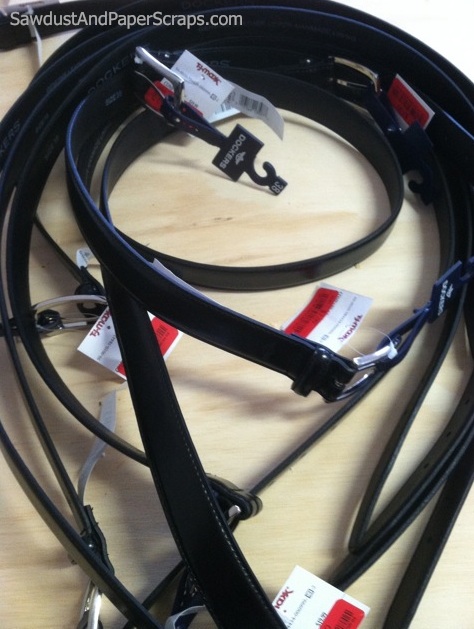
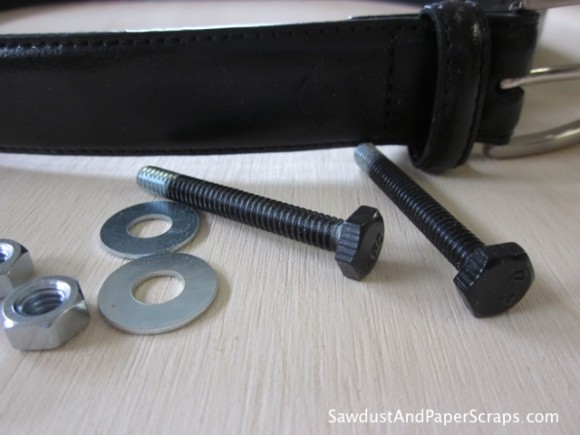
After I found the belts, I did a happy dance, and then scurried on over to the hardware store for some bolts, washers and nuts. I just picked a size that I thought would look cool in a length that would reach all the way through my drawer front and drawer. In my case, 3 1/2″.
Step 2: Prepare the Pulls
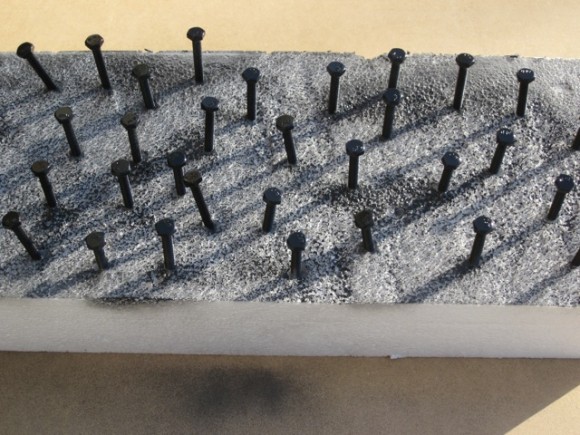
At home, I primed and painted the bolts. I didn’t want the silver look, but depending on what style you’re going for you might skip this step. For me, I wanted just a change of texture, but the same color.
Then, cut the belts up using tin snips. I didn’t want the ends! Also, since this is my workshop, I don’t mind using the end with the holes. I probably wouldn’t use that part if I were doing this for a piece of furniture or cabinets in the house though. I’m willing to spend a little more for IN-house projects.
In this case, I’m fine with a little more rustic look. The emphasis is on the DIY in DIY Leather Drawer Pulls.
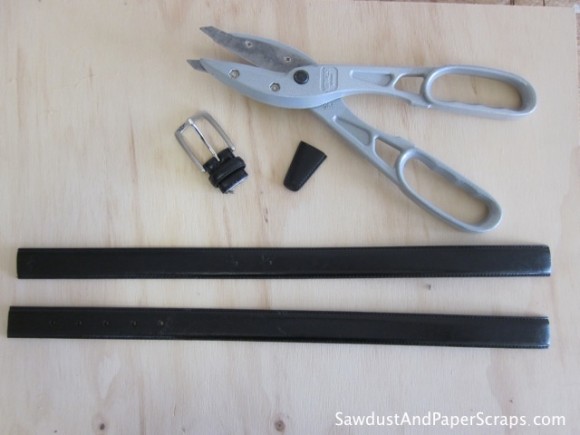
Step 3: Make Your Leather Holey
I used a scrap of wood to mark where I wanted to drill holes in each end of the pulls, and then I used a drill bit that matched the diameter of the bolt.
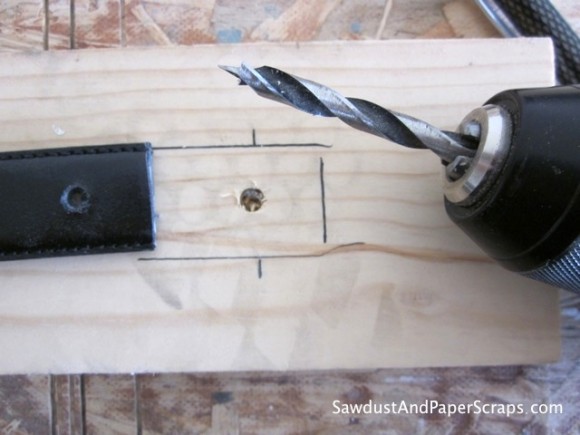
I also made a template for drilling the holes in the cabinet so they would all line up.
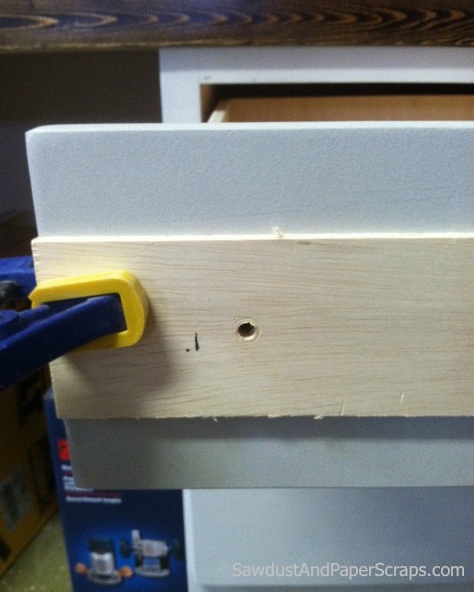
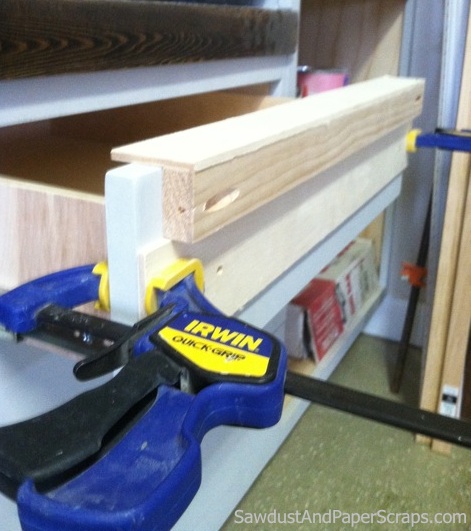
Then, I made another template to make it fast and easy to make sure the first template was level and evenly spaced from the top of the drawer. This may seem like a lot of fiddle factor, but it saves time in the long run when you’re installing a dozen or so pulls. Also, I really wanted to make sure I got it right the first time. Even though I was okay with the holes in my belts, I didn’t want to make more unnecessary holes.
Step 4: Nuts and Bolts Your Belts
Thread the bolt through the belt pull and drawer. Then, put the washers and nuts on.
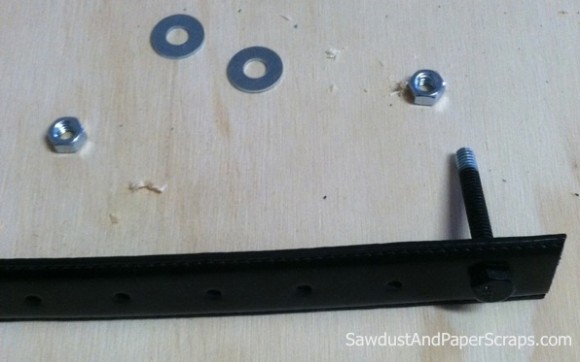
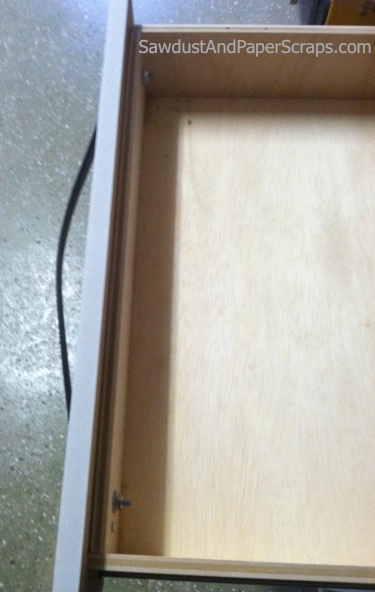
Despite my careful planning, I forgot that a couple of my small drawers were made out of 1/2″ ply instead of 3/4″ ply, so my bolts ended up a tad too long. I might cut them off with the dremmel…or I might leave them alone. After all, it is just my workshop. This is just a little vacation from my closet so I can get some organization. I don’t mind if it’s not the most polished project.
Step 5: Enjoy Your Belts Pulls
There you have it! That is all there is to making DIY leather drawer pulls! Seriously, one of the easiest solutions to creating my own something-that-I-wanted-but-was-priced-ridiculously-too-high-for-me-to-buy. This is why we do it ourselves!

One last note: they are not rigid. There’s no metal insert (which I’m assuming leather pulls that one would purchase would have), so there is a little “give” when I pull the drawers open. Who knows how long they will hold up. They feel pretty sturdy, but if they don’t last that long, I can replace them.
Even if they’re not forever, they were only $3.75 (including nuts and bolts) each, and I have quite a few belts left over. If one or two break, I can replace one here and there if I need to. For now, I think they’re pretty cool, and they get the drawers open. What more could I ask for?

Jaime says
Sandra you are so clever. That is by far the best DIY solution for an overpriced item and the look can’t be beat.
Anne says
what a cute look!! I love it!
Liz VanKirk says
Great idea using the belts. I would of never thought of recycling them like that – even if they were new. Gotta love TJMaxx. My daughter works there and tells me when some new stuff comes in that I might like. Sells so quick though….
Thanks for reminding me to think out-of-the box a little more!
Megan says
I never would have thought those were belts when I originally saw the reveal of your space. What a creative idea!! I love it. Megan
Linda @ MyCraftyHomeLife says
I’m using this idea! Love it.
Lynn R says
As usual, you rock another project! Where else can I get my vicarious DIY fix?!
[email protected] says
This is BY FAR the most creative project I’ve seen in a while. Love it. These look beautiful.
Wendy says
Wow! Very cool, I love the look!
SueM says
Awesome and so cool! Please don’t throw the buckles away….wanna sell them?
B's Mommy says
Discount stores everywhere will be selling out of belts this weekend! 😉 YOU are amazing!! Very creative. Thank you for the DIY lesson.
Happy Weekend!
Dixie Redmond says
You’re so smart.
Ronda Batchelor says
Great idea!!
Beckie says
Great idea and great results! Did the cashier ask what you were going to do with all those belts? At Christmas, I had to buy 125 toothbrushes for the the gift bags for the Rescue Mission. I would buy 20 or so at each store. After a couple of stores, I finally just told the person what they were for when I got to the checkout.
Andrea says
Nice! I will be on the lookout for cheap belts from now on!
Inspire Me Heather says
Hey – what a great idea, I love your pulls! I have this linked to my knobs and pulls post as well today, yours are just too cool!
K @ Shift Ctrl ART says
LOVE!
Amy Anne says
Great idea! The essence of good DIY…
wendy says
Awesome idea. I”ve some old horse harness with the buckles and been saving them. Now I know what I can use them for. Remodeling my kitchen in rustic style. I’ll clean everything up leave the buckles on and use them as door and drawer pulls.
Sandra says
Wendy that sounds super cool. I would love to see some pictures!