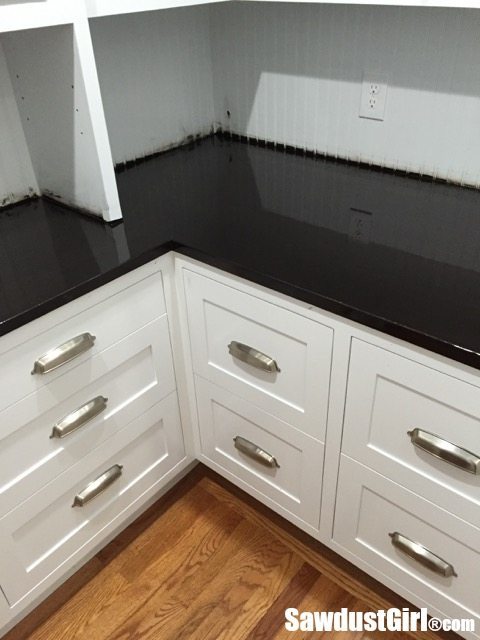
I originally built and finished the pantry countertop in my workshop. I finished it with Tung Oil and it was lovely! Then I proceeded to build and paint the rest of the pantry … on top of the lovely countertop. It became less and less lovely as this transpired. Of course I can’t have a non lovely countertop in my new pantry so I HAD to refinish it. I’ve been fixing it for about 3 weeks and counting.
Refinishing Wood Countertops
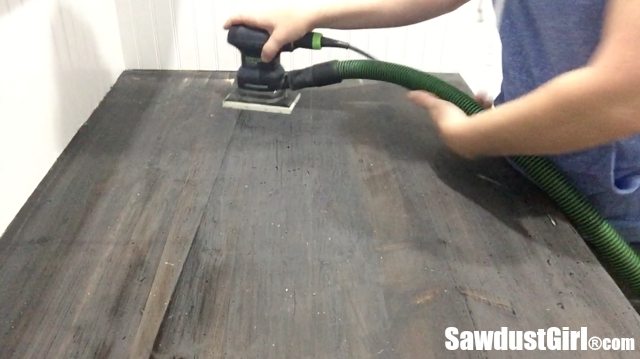
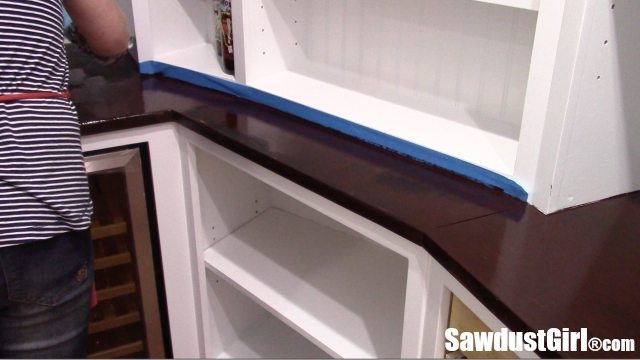
I had to do some sanding to remove all the paint splatters and paint marred surfaces where painted heavy pieces had been dragged over the counter.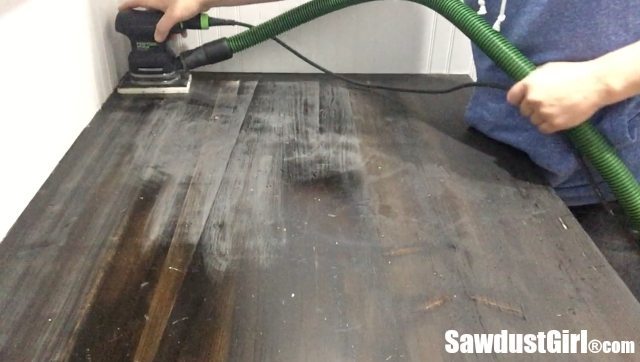
Sanding removed the paint as well as some of the tung oil finish AND some of the stain/dye making the coloring really uneven. A few places were practically bare naked. 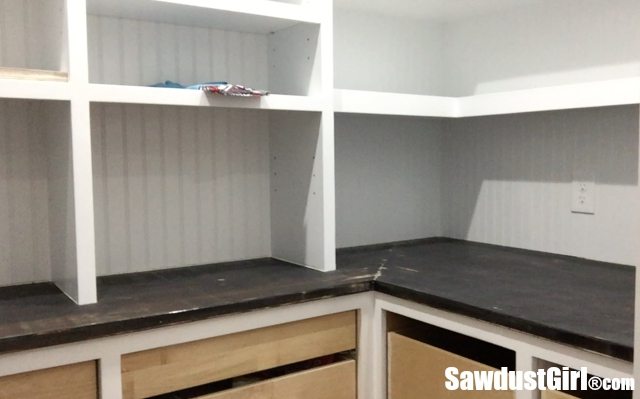
So I had to even out the coloring. I used a gel stain or two because the gel stain is a mixture of stain and polyurethane and”other stuff” so . It isn’t absorbed by the wood — it builds up a surface.
I applied a coat or two of ZAR Moorish Teak. I used a brush and a rag. Wiped off the excess. Brushed more on in the areas where it was bare naked. Got it looking very even. Then let it dry completely.
It was WAY too red.
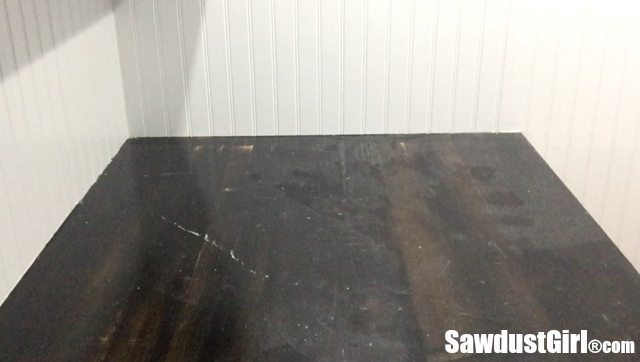
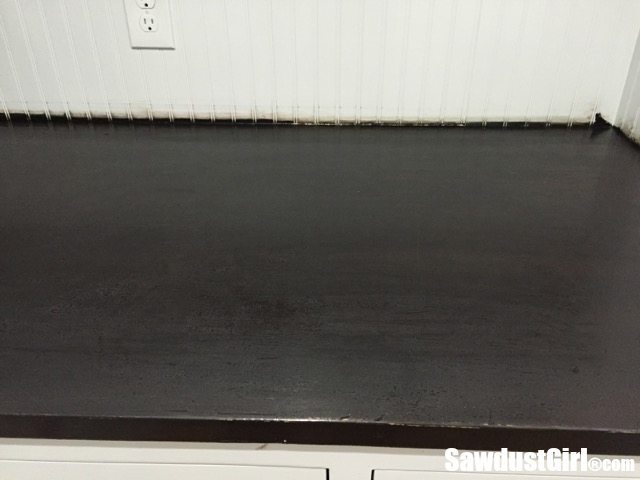
 I then applied a coat of ZAR Black Onyx. Better.
 And then another. Much better!
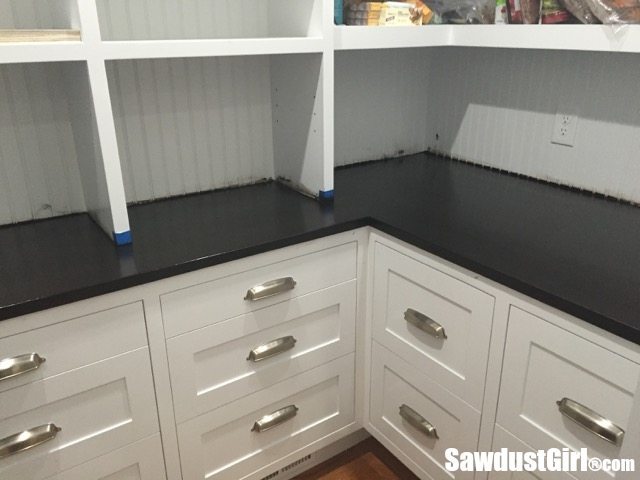
(Notice the stain all over the white beadboard? I decided it would be easier to tape off the counter later and touch up the paint than to tape the beadboard — which is uneven and will inevitably allow the stain to leak anyway. But MAN I slopped that stain all over!)
I had to top that all with polyurethane. I couldn’t use a lacquer because I can’t spray in this tiny room. I couldn’t stick to tung oil because the compatibility of tung oil over the gel stain is questionable. I felt like polyurethane was my only “sure thing” option…even though I am inexperienced in the art.
I first tried brushing it on and it was WAY too thick. So I let that dry and then sanded it down. I sanded it by hand because I didn’t want to sand off my coloring again.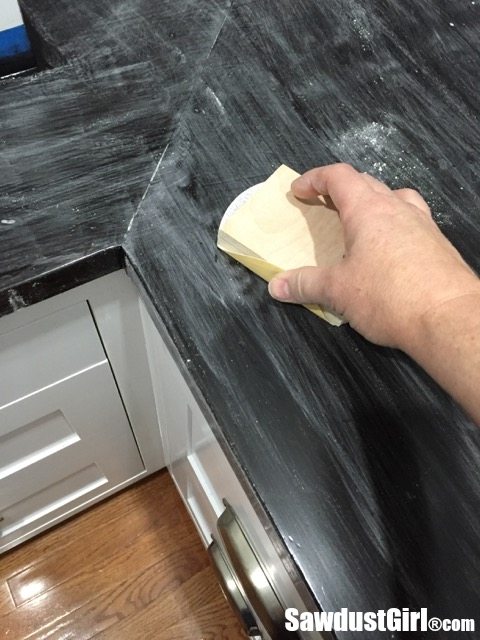
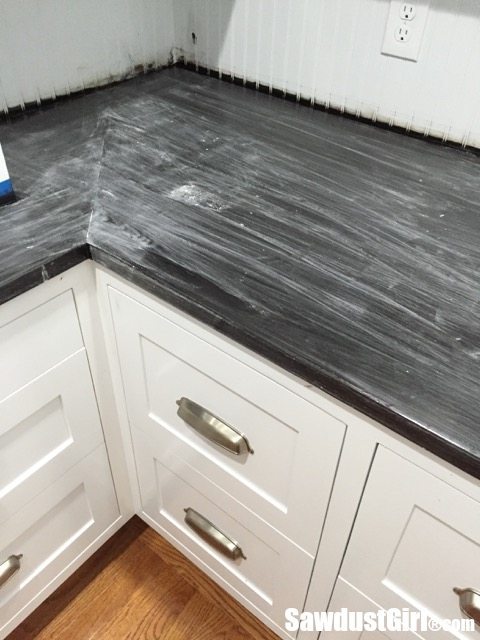 After sanding, I vacuumed and wiped the countertop off with mineral spirits and started again.
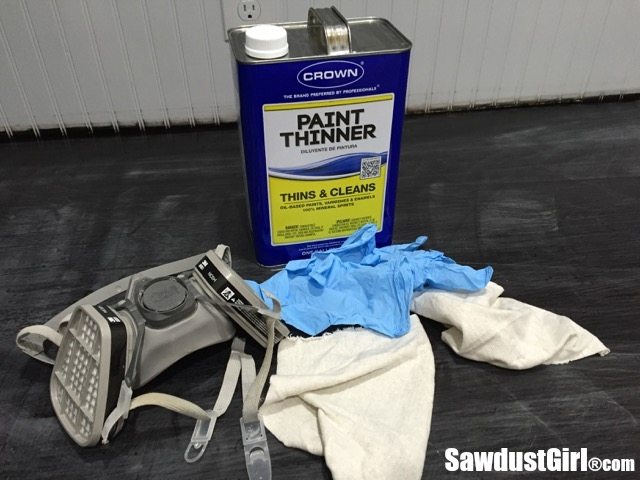
This time I mixed in 40% mineral spirits to dilute the polyurethane and then I wiped it on instead of brushing it. Worked great! I wiped on coat after coat after coat. Day after day after day.
But it went a lot slower than it sounds. It rained the entire first week so the humidity slowed the dry time. I waited a day in between coats. Then it got really cold, affecting the drying time. I continued to wait a day in between coats.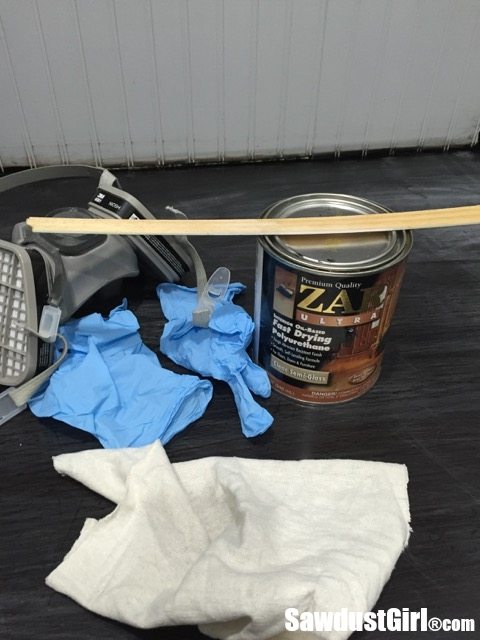 I applied about 3 or 4 coats and then I’d sand because even though it looked good it didn’t FEEL good. There is always some grit or dust or air bubbles that get in there.
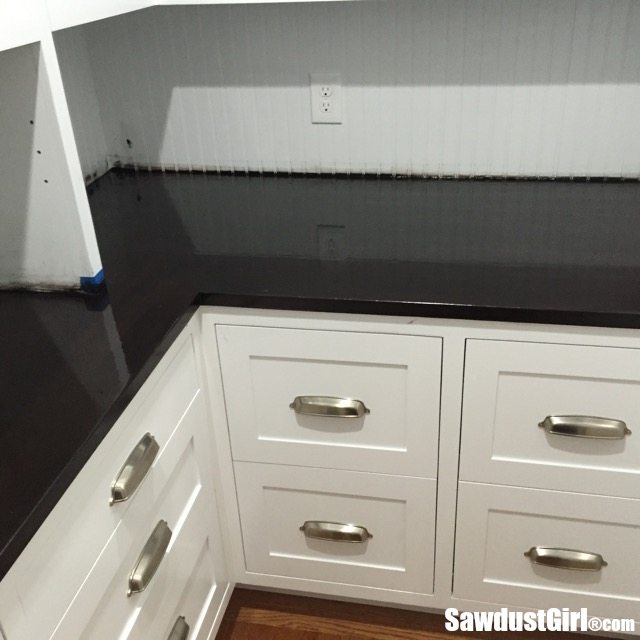
So I’d sand and wipe and coat, coat, coat.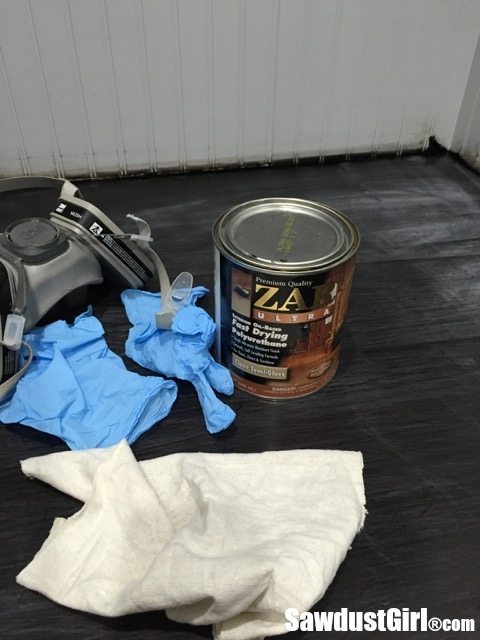 It was starting to feel like part of my daily routine …that would never end.
Every time I’d think, “This is it! This is the last coat!” After it would dry and I’d rub my hand across it I’d feel some little “something that was just not ok”.
At this point I started wet sanding. I read to wait 2 days before wet sanding polyurethane so that’s what I did. I have never “wet sanded” poly before. Google is great.
I started out with some 600 grit sandpaper that I had in the shop. Not wet/dry sandpaper but I use it anyway. 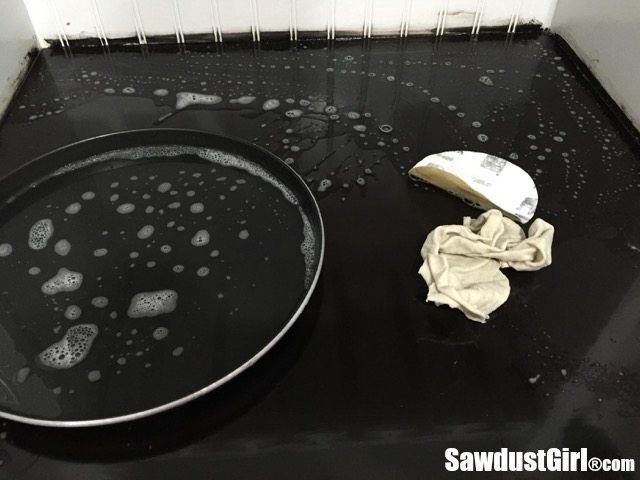

But I ordered some micro mesh sanding pads too because I wanted to get serious about this wet sanding business. The grits are significantly higher in number but I read that those numbers are a bit hyped up. Like the 1500 grit micro mesh is equivalent to my 600 wood sanding sandpaper grit. (Nobody likes to keep things easy for the consumer, do they?)
I started with the 1500…
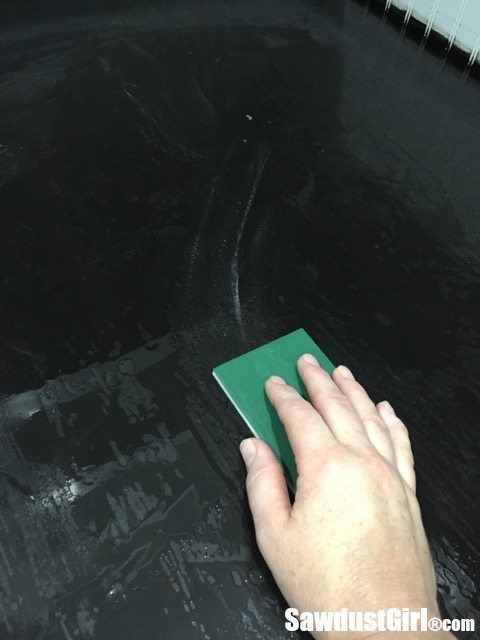
and I worked my way through my entire batch of micro mesh pads. 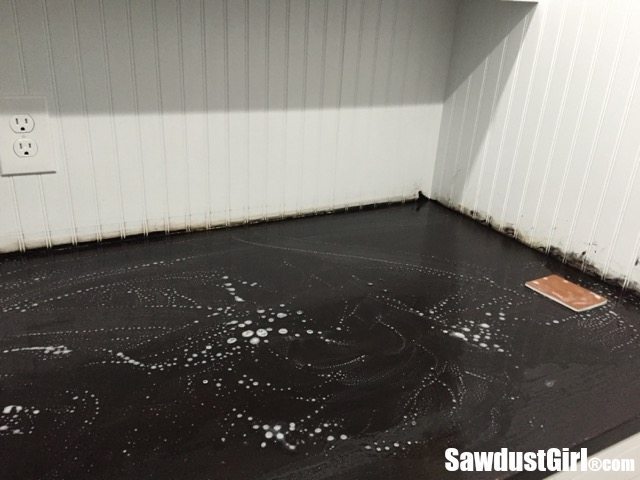
I have 9. That was a lot of elbow grease. 
I used dish soapy water to “wet sand” so once I’d finished, I wiped up all the soapy, gritty wet residue.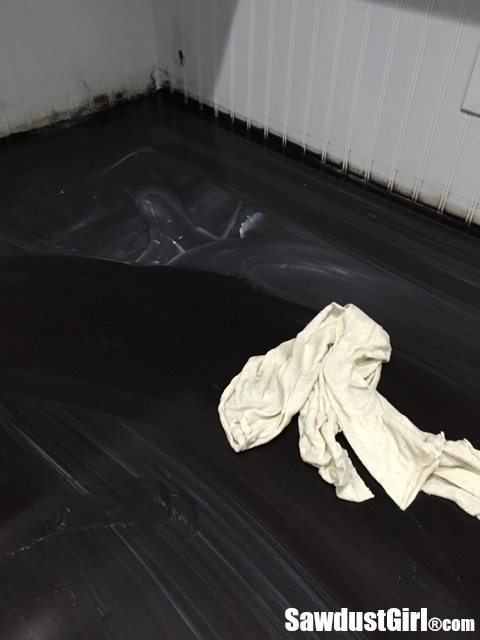
And it was no surprise to me that I had not achieved any level of gloss or sheen. Though that was the goal.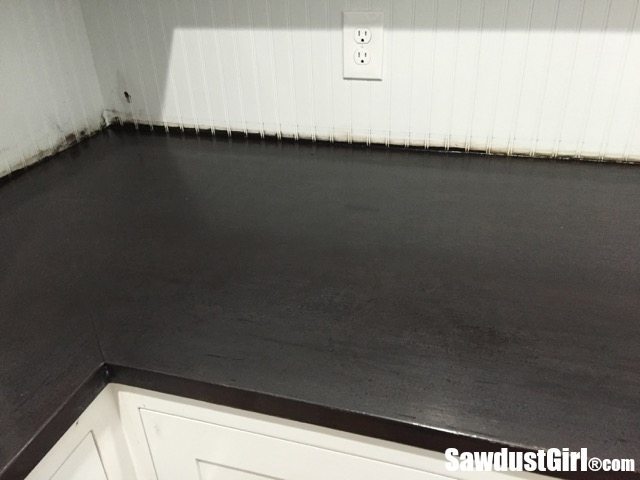
At this point I decided that I’d have to do a few more coats of poly and be happy with the absolutely beautiful to they eye finish I figured out how to achieve and stop feeling for bumps!
So why not try a couple more things? ‘Cause I’m going start over again basically almost anyway!
I used some 0000 steal wool and rubbed on some Turtle Wax. (‘Cause that’s another thing Google told me to do.)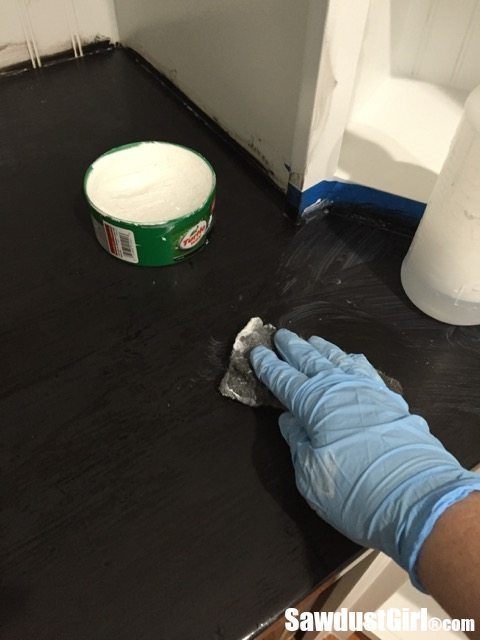
I decided I was sick and tired of hand rubbing these finishes so got out my orbital and tried that!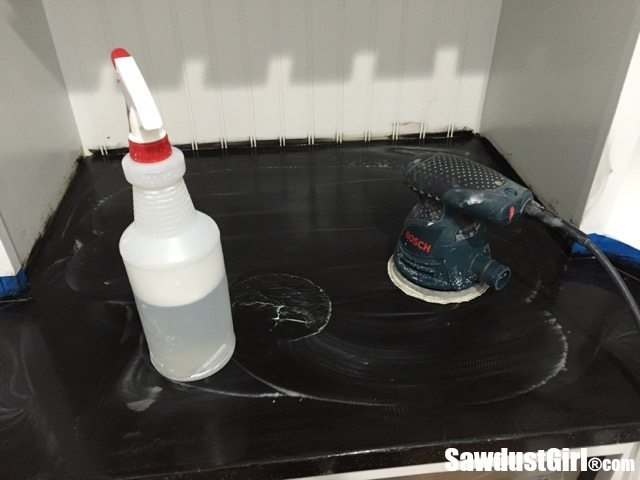
Like spitting on a fire — that did nothing.
Next I busted out the paste wax. 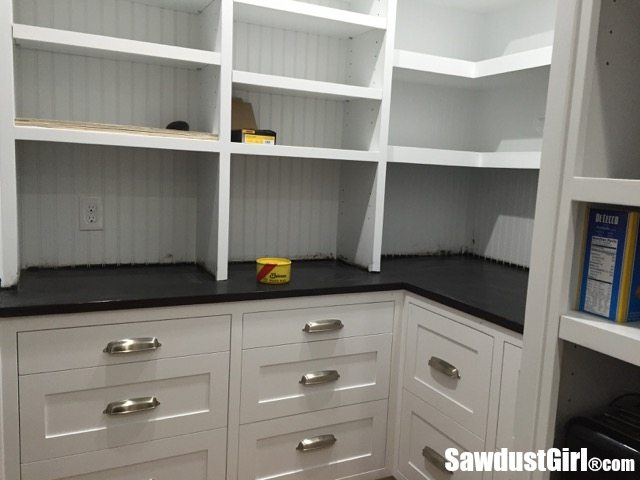
The wax didn’t buff out to any kind of shine. Pretty sure I applied way too much and it was too cold so it didn’t really dry, more like just hardened. It got sticky when I tried to buff it, even though it looked hazy. Probably the frost.
I cleaned off all the wax with mineral spirits.
And because I had brought in the orbital — and used it when I was a bit beyond even being slightly peeved, I had to bring in some more Black Onyx to cover up a few spots where I cut through the entire process that I just recounted to you.
So now tomorrow I’ll start applying polyurethane again… Who knew Refinishing Wood Countertops was so much work? I’ll let you know how it turns out.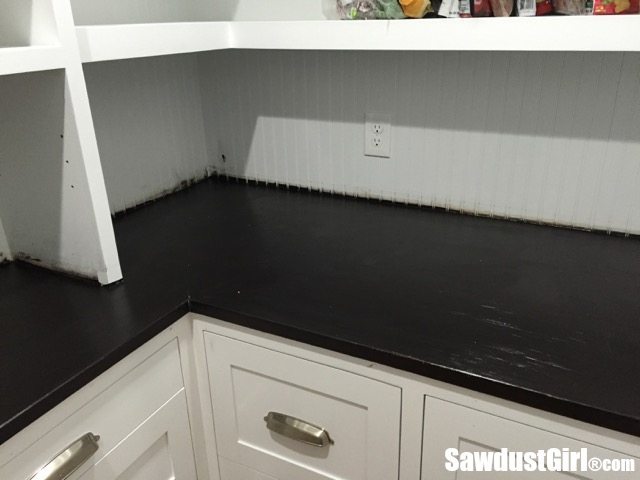
Sarah says
Augh!!!!! So sorry to hear about this! I hope the next round of poly goes great. It will look so fabulous when it is all done, whenever that is! I have no idea if this would work well, but I read this tutorial yesterday about wipe-on poly if you want to read it: http://www.sarahsbigidea.com/2014/05/plywood-gets-sexier-my-very-first-real-tutorial/
Jill Nelson says
My heart goes out to you! I’ve gone through the same frustrating process! If it helps, what I found finally worked for me is: first poly, let dry, then wet sand, then use Meguirer’s car compound. Yes – car compound. It fills in the tiny scratches you make while wet sanding. Then use an electric buffer to bring up the shine you want. The end result for me was a mirror like shine but it was way more work than I will probably ever do again!! Best of luck and thanks for the wonderful blog!!
Danny says
You could try some regular polishing compound and a felt buffing wheel I have the white stuff (can’t rember the name) I use on acrylic and lexan and it works great. Just watch the speed of your pad and the pressure.
I’ve even used it on really hard hardwoods and was able to polish the bare wood.
Good luck. Keep up the good work.
Mary ann says
After you get the color right, reapply a couple thinned coats of poly, sand in between with a piece of a paper bag. It leaves a glossy sheen and knocks down any bumps without scratching.
Elizabeth says
I used to be the ‘finish girl’ for my husband when he was building furniture. (I was WAY pickier than him 😉 ) Thought I’d share some tips with you.
1) I always applied poly with a chip brush in VERY thin coats. Let dry 24 hrs before subsequent coats, with light sanding between. I used 220 grit on a sanding block and applied almost no pressure. Just rub the block across the surface.
2) For the final smooth over sanding, use a coarse paper bag. It takes off the surface unlovelies but doesn’t make any dust, and doesn’t remove any amount of the finish layer.
On thing I have a question about, though; Are you planning to prepare food on this surface? And if so, what are the hazards of food contact with this type of finish??
Trekker says
Micromesh works great, but it’s tough to use with a softer/gummier finish like brushed on polyurethane. The easiest method (if you don’t mind tackling some semi-nasty chemicals) is to switch to a spray-on 2k urethane finish. If you want to stay with a waterborne, try spraying Sherwin Williams Kem Aqua Plus. It’ll dry faster and harder than the brush-on finish you’re using.
Ronda Batchelor says
I am tired just reading this! I feel for you!
Vineta @ The Handyman's Daughter says
Wow, now that’s commitment! I would have called it a day ten steps ago, but then I’d be constantly bothered by all the little things that weren’t quite right. Stick with it and make it perfect!
Lynda says
I am so impressed with your commitment to your work!!! Love seeing your finished projects and am grateful you share your insights! Not feeling alone any more!
Jackie says
I love this post! Not because I want you to go through this, but because I often feel defeated when things go wrong. Or I think about all the things that could go wrong beforehand so I DON’T start at all. Thank you for sharing! I admire your perseverance and will remind myself that everyone hits obstacles along the way.
Sandra says
Hi Jackie. That is probably the most important thing I hope to impress upon everyone I teach. We ALL hit unforeseen problems (constantly). If you plan on problems occurring, it won’t be such a big deal when it/they happen. Also, every problem can be fixed.
Joell says
Omg….. I just basically ruined a perfectly good counter top by sanding it down to the wood … in spots…big spots… like three 6″ x 18″ spots to get rid of nicks and scratches on a 6′ x 2′ built in book case. WHAT WAS I THINKING???!!! The verticals are already a darker color than the counter top, so I can make the top any color I want. I tried to add some minwax poly stain to match what was already there, but it isn’t covering or coming up the same color as the rest of the counter top. Not really surprised. It’s aged. So, I added a little bit darker poly stain, but it’s still not really coming up to match. I could keep adding layers to the spots I sanded, but I think there will always be that link of demarcation between sanded and un-sanded, unless I go a bit darker. Darker is fine. Demarcation lines, not so much. I just bought a little bit darker gel stain to put over the entire countertop to hopefully even it out. Before I ruin it any more… and you say everything is fixable…. do you think this could work over the poly stain? Can I put this darker color over the entire top without sanding the rest down to wood? Over the poly that is there? Ughhhhhh! Heeeeelllllp!
Sandra says
To figure out how to get the look you want might be to keep experimenting until you achieve it. Depending on how dark you want it, black gel stain might be your best bet.