When I built the walk-in pantry, I stole space from the hallway and master bedroom. They were both oversized and I had zero cares about stealing space from either. What I didn’t anticipate was Madison’s late night snack attacks…or the DING from the toaster before her early morning classes. I can tell you I’m SUPER HAPPY about the new product called, PURPLE SoundBreak XP RetroFit. It’s a special 5/16″ thick drywall that is installed right over your existing drywall that reduces the sound between rooms! Since there is no real demo required, installation is quick with minimal mess. Depending on your mudding skills. Ha! This was a perfect project for me to tackle while Bucket was doing all the drywall work in the basement last week.
This post is sponsored by NGC. All opinions and ideas are my own. 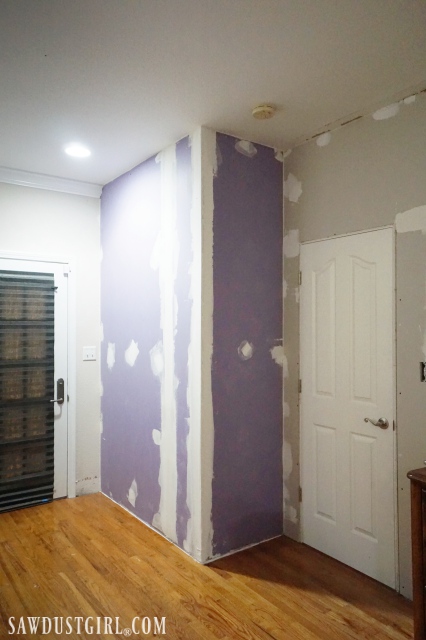
A couple years ago I visited the NGC headquarters and learned about all their PURPLE XP — special feature drywall products. At that time, SoundBreak XP RetroFit had not been released. I was told about it though, after stating that I wish there was something that could be installed OVER existing drywall to reduce sound transfer between rooms. I’ve been waiting patiently (I’ve had lots of other projects to keep me busy) for it to be released. Now it’s available!
Preparation and Supplies
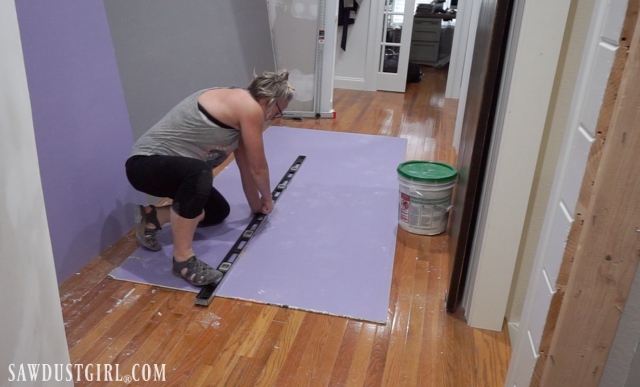
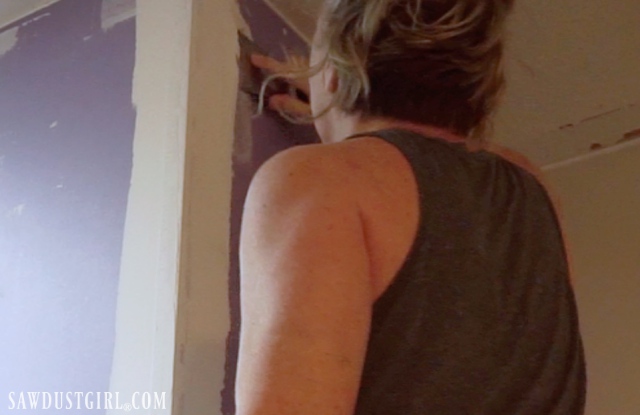
These are the pantry walls that stick into the bedroom. I removed the door to get it out of the way and taped down a floor protector. I’m pretty messy when it comes to drywall work. Because I knew I would be remodeling the master bedroom at some point, I never finished the new walls. So I didn’t need to remove the crown moulding or baseboards. If they were there, removing them would be the only “demo” needed in order to install the SoundBreak XP RetroFit. That is one reason I was so excited about trying this product. There is no need to create a big mess, pulling off the existing drywall. It just goes right on top of it!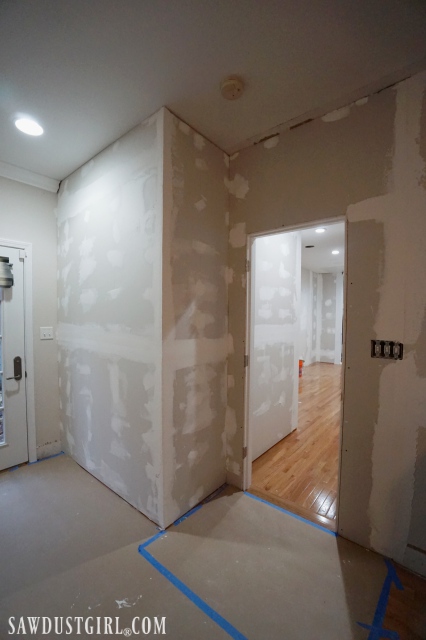
In addition to the PURPLE SoundBreak XP RetroFit drywall, here’s what supplies are needed.
- 1/4″ deep notched spreader
- construction adhesive
- 1 1/2″ drywall screws
- latex or acoustical sealant
Installing PURPLE SoundBreak XP RetroFit
The company provides this easy to follow installation video which I watched before purchasing supplies and doing my installation.
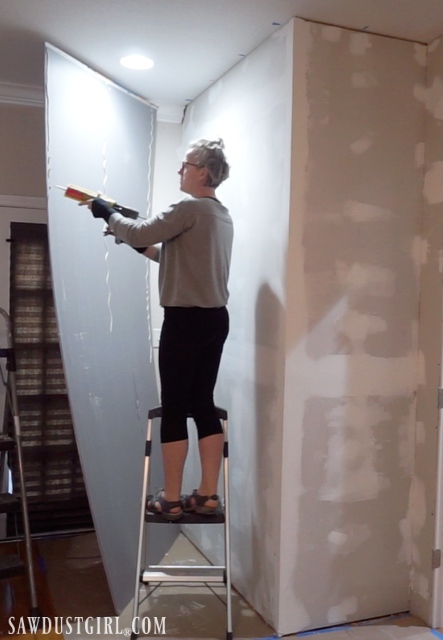
Apply a bead of construction adhesive and then spread it with the notched spreader.
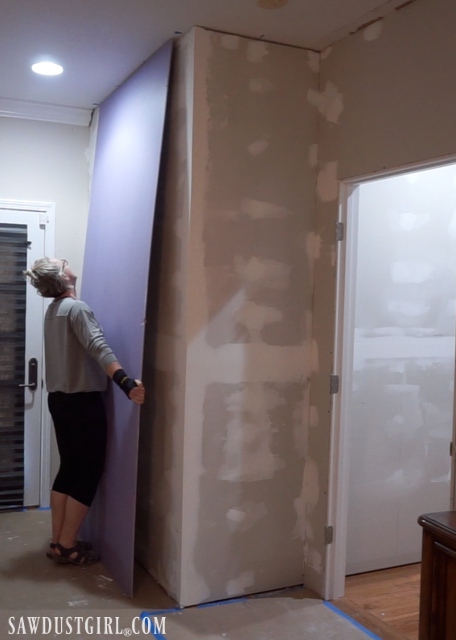
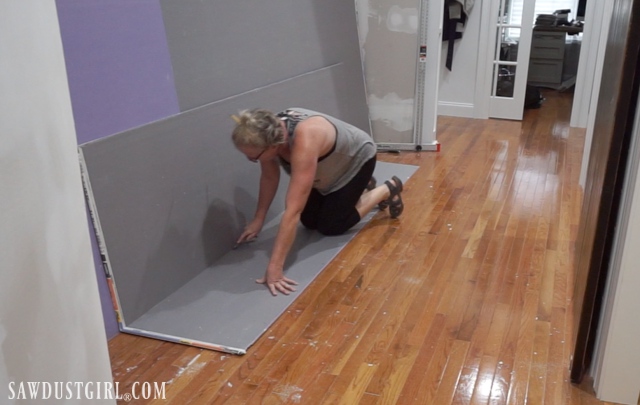
Then put the panel in place.The SoundBreak XP RetroFit is only 5/16″ thick but it’s heavier than traditional 1/4″ thick drywall. It was a bit tricky to maneuver the full 9’x4′ sheet by myself. I got it –but would highly recommend getting a helper!
This stuff cuts (score and break) like traditional drywall. It’s denser so it takes a bit harder smack to “break” it.
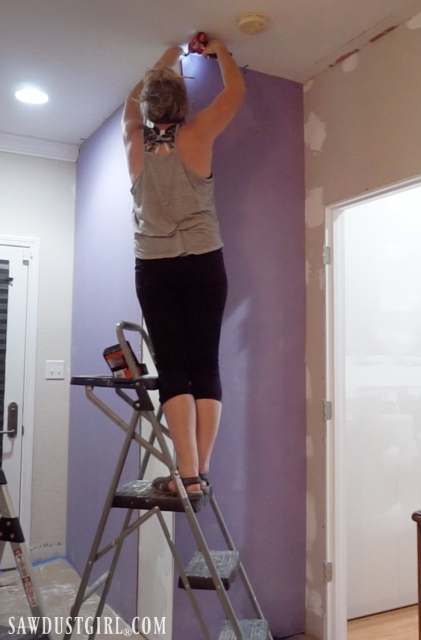
It’s only supposed to need screws along the top, bottom and middle. Out of habit, I kept starting to drive screws up each stud. (So I have a couple more screws than needed.)
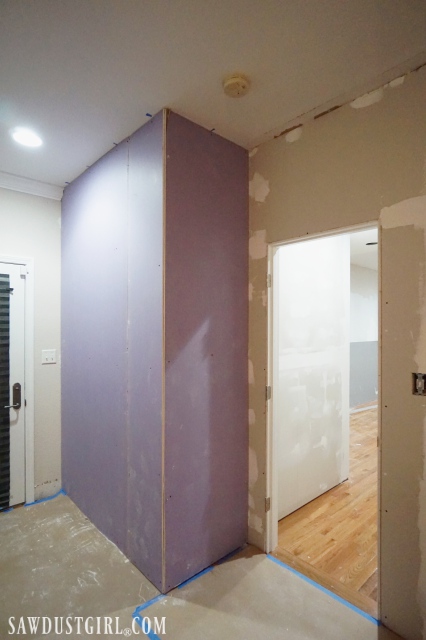
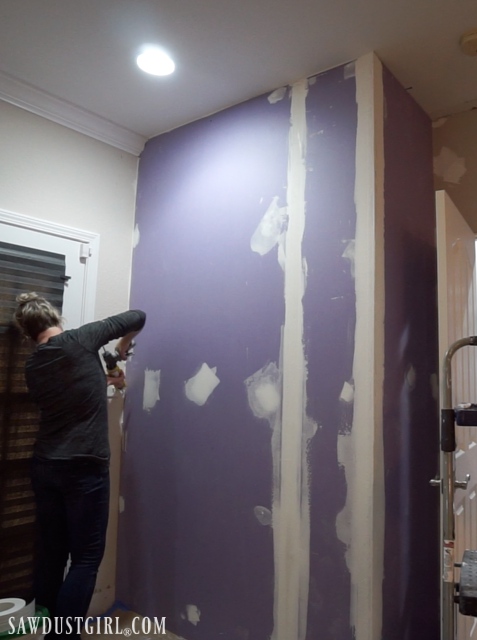
It took two sheets to cover the pantry extrusion. I taped and mudded the joints and screw dimples.
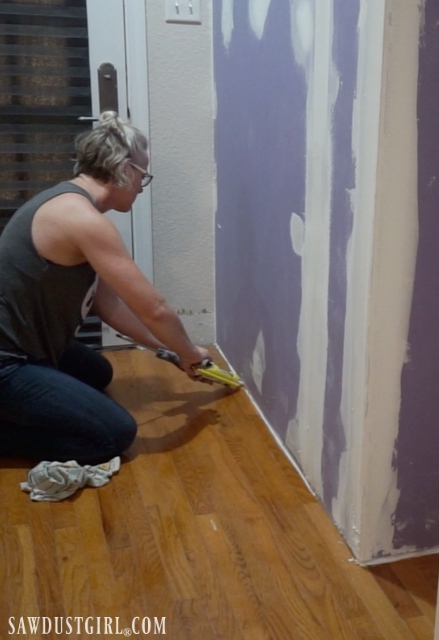
Next I used latex caulk to seal around the whole perimeter (sides, top, and bottom).
The sound test
The installation process was easy (other than lifting and maneuvering a whole sheet into place alone). Once I was done, I couldn’t wait to test it out. Madison went into the pantry to rustle around while I went in the bedroom. I couldn’t hear any rustling around in drawers. “Are you in there”?
I did hear her voice when she answered me as well as the beep from the microwave. Both those noises were definitely muted and sounded more like they were coming from under the bedroom door (or from that side wall).
So I’m sold…but I am going to install more PURPLE SoundBreak XP RetroFit on the other pantry walls. The ones that are right OUTSIDE our bedroom door. Because I don’t know of any way to block the sound through and under the door. I think finishing the back of the pantry will make it perfect!

Do you have a place in your house or business that could use SoundBreak?
Andy says
I wish I knew about this stuff before finishing my basement ceiling. 😉
I used green mold resistant board in my entire basement (walls and ceilings) even though the space is as dry as a bone. Unfortunately, painting over that stuff is a pain.
Does this have any mold resistant properties? I guess using the green board behind this would make sense?
Sandra says
One of the things I really like about PURPLE is that it is mold, mildew and moisture resistant on both sides! Not just one side, like green board. Then this SoundBreak RetroFit, is awesome because you can just add it to what’s there, without demo. So if you have rooms in the basement that need some sound barrier, just add this right to it!
Allen Lyle says
Hello Sandra
Did you use a corner bead on the outside corner?
Sandra says
No, I don’t use the metal corner bead. I use reinforced paper corner tape.
Adrienne says
I’ve been trying to find a solution to the noise transfer in my home for years, this idea seems like the simplest I’ve seen so far. I’m taking it that this can also be used on a ceiling like regular drywall? If being used on a ceiling, will putting extra screws in (instead of just on the sides) interfere with the noise muffling?
Sandra says
Hi Adrienne, are you referring to using it on a ceiling in a basement? In between floors? In this case there are other factors that contribute to noise transfer. I asked about this and the answer was a bit complicated…vibrations transfer from floor to walls through connecting structural parts.
Melissa at The Room STYLIST says
I am thrilled to learn about this new product! I wish I had known about it 3 weeks ago when I painstakingly installed a pocket door, jams and casings in our new powder room! Wouldn’t Purple Sound Break XP be perfect for a wall that needs to remain hollow and uninsulated for a pocket door?!
Sandra says
I think so. If you don’t have drywall up on those walls already, I would go with the 1/2″ or 5/8” SoundBreak XP Wall Board. That is great for new construction when the board can be installed on bare framing members. If you already have drywall on the walls, adding the RetroFit would be ideal.
Ed O'Briant says
As to the door; there is sound proofing hardware available. go online or check for a commercial
dealer serving contractors in your area. the hardware consists of a floor sweep that contains a mechanism which presses a felt strip to floor, and weather strip . you would get best result with a solid core door.
Sandra says
I thought about a door sweep, but these are cheap, hollow doors… My best bet is to put a couple more sheets of SoundBreak RetroFit on the portion of the pantry that is just outside the bedroom door. Then there won’t be much (if any) sound coming through the pantry to filter through the hollow core door.
Doug says
If that’s not a solid wood door where you thought you heard the noises coming under, try that. I found solid wood doors to make a HUGE difference in sound transmissions between rooms/areas.
Sandra says
I have 6 more sheets of SoundBreak RetroFit sitting in the basement so I might as well use them and completely cover the pantry. Then I’ll see if I still need to address the door. I don’t think I will.
Rae says
I was going to suggest the same. A solid wood door is a must to reduce sound. You can also put a sweep at the bottom to hop with noise coming through the Gap at the bottom
Kathy says
If the additional drywall doesn’t do the job, then a regular sweep would help. I know someone who turned part of their historic home into a B&B and just a normal hardware-store sweep and door weatherstripping was enough to keep the hallway quiet. Real plaster and lathe walls and solid wood doors helped too of course!
Tamara says
I have an apartment above me, so are you saying that this product wont help with hearing everything from upstairs. If I put this on the ceiling?
Molly says
I have an addition that has a bathroom on one end and you can hear everything! Would this baffle and mask the sound of running water and flushing?
Sandra says
I assume so. I’d definitely try it.
Amy Smith says
I want to use this in my home as we have a ranch and sound travel pretty far. But I cannot find anyone who sells it without me having to buy a whole pallet of 34 sheets! Any suggestions? I’ve tried the big box stores with no luck.