Building a decorative column for the end of my new wall to enclose the side of my future built-ins. I’m also finishing off the end of the plank wall with a similar treatment. (Day 27 of my 1 day, Kitchen Entry Makeover.)
This post is sponsored by Metrie. I was provided with materials and compensation to share my creations with you.
Decorative Column and Crown Moulding
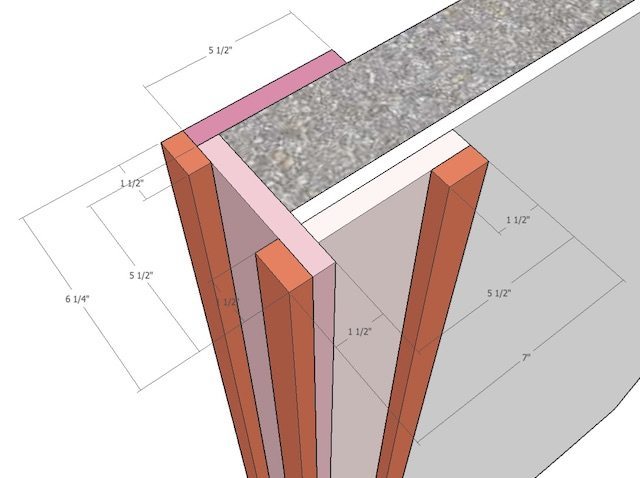
I’m using Metrie primed 1×6 (5 1/2″ MDF Flat Stock) and 1×2 (1 1/2″ Fingerjoint Pine Flat Stock) to build my decorative column. I nail one 1×6 directly onto the end of my wall. I installed it flush with the exposed 2×4’s on the left side which gave me an extra 1 1/2″ that stuck out on the right. (I’ll explain why later.)
These pieces come in 16′ lengths and I had them cut to 8′ so I could get them home. (9′ and 7′ would have been smarter but I wasn’t planning that far ahead.) I have 9′ ceilings so I had to make seams in all my 1×6 pieces. The best way to hide seams is with a “scarf joint”, where you cut the matching pieces of the seam with 45• bevels.
Apply glue to the joint and nail to the stud as well as through the joint.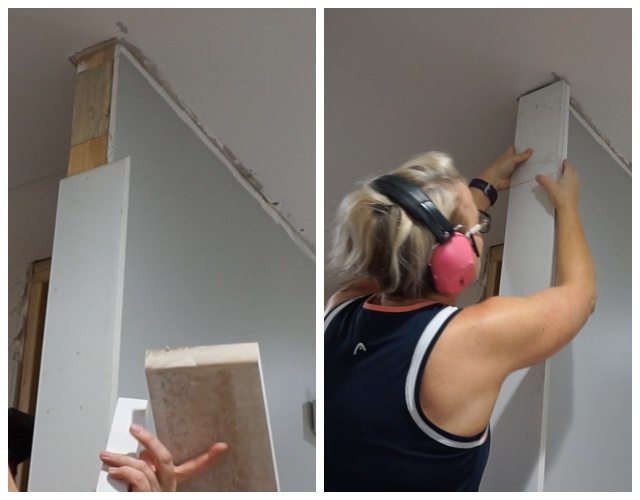
The 1×6 on the left side of the column is glued and nailed in place, the front end is flush with the front of the first 1×6.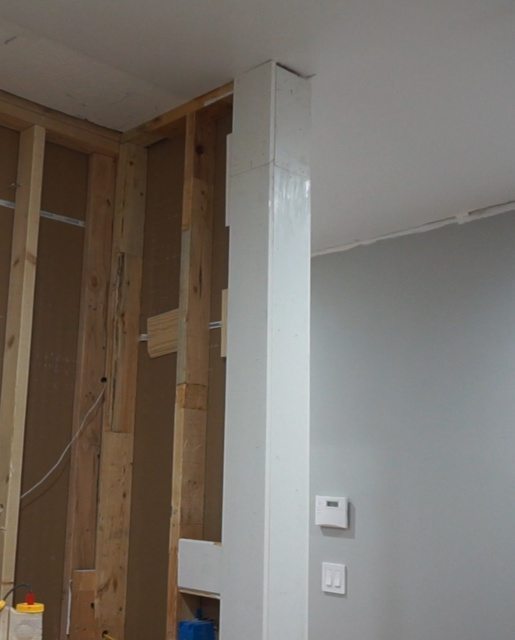
Next I install another 1×6 on the right side. This one sits behind the portion of the first 1×6 that stuck out 1 1/2″. The thickness of each 1×6 is 3/4″ so now the front 1×6 is sticking out only 3/4″.
I attach 1×2’s to the outside edges of the first 1×6. The thickness of the 1×2 on top of the 1×6 is 1 1/2″, which is the same width as the 1×2 (which are actually 3/4″ x 1 1/2″). 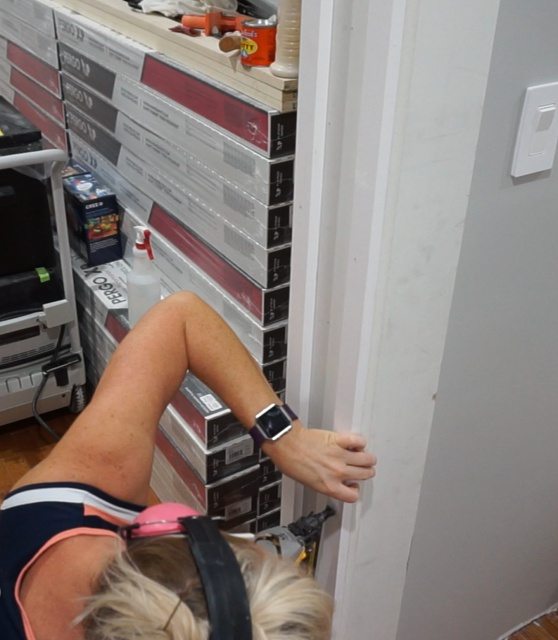
Now I attach another 1×2 to the outside, right edge of the “right side” of the column.
After I putty the seam created by the 1×2 on the 1×6, the right side of the column appears to have two 1×2’s applied to it’s front.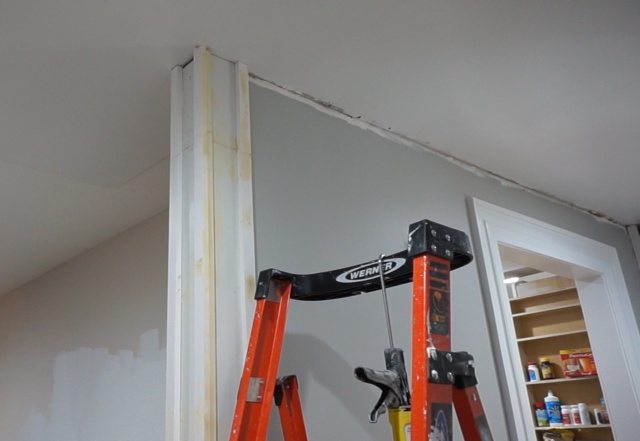
Here is sketch I drew up to better illustrate what I’m talking about.
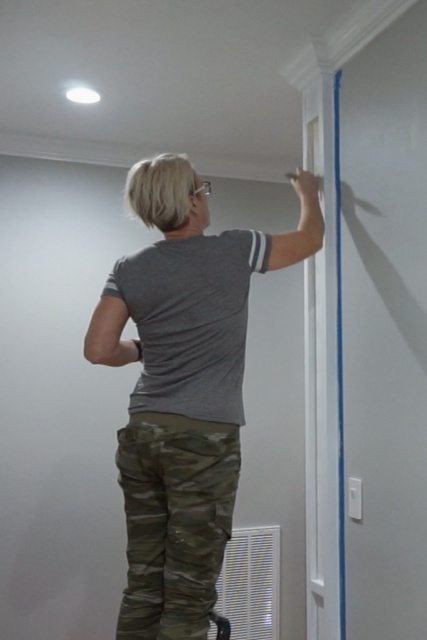
I add blocks of 1×6 to the top and bottom of my decorative column. The top pieces are installed low enough for the crown moulding to be installed on top of them — but not cover too much of them.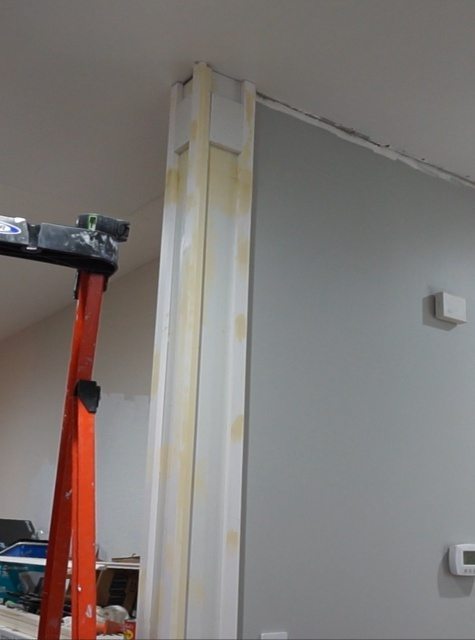
I put two additional blocks in the center portion of the decorative column, this time using 1×2 blocks. 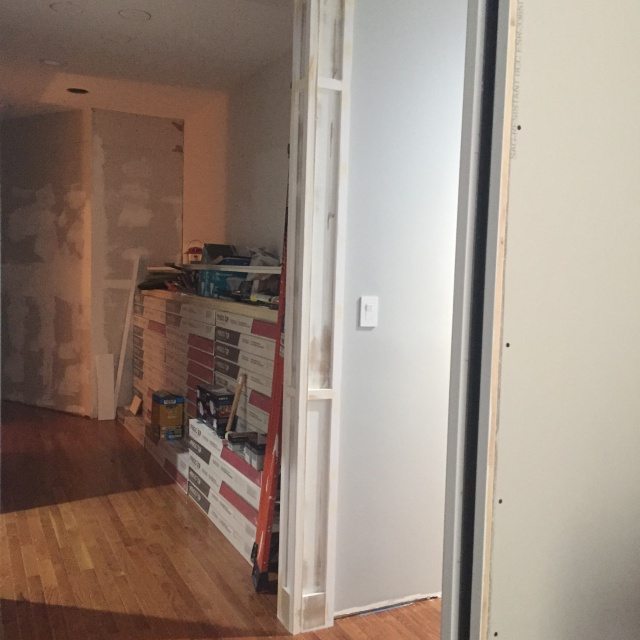
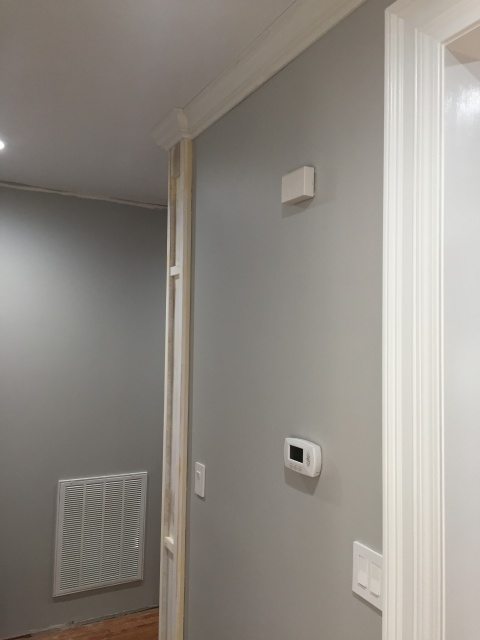
Moving on to the end of the plank wall. I’m covering the exposed 2×4 and planks with more 1x material and an applied moulding.
I ran a piece of 5 1/2″ Fingerjoint Pine Flat Stock (1×6) through my table saw to cut down it to the correct width for my wall. I saved the cut-off and nailed that on the front, overlapping the 1×6.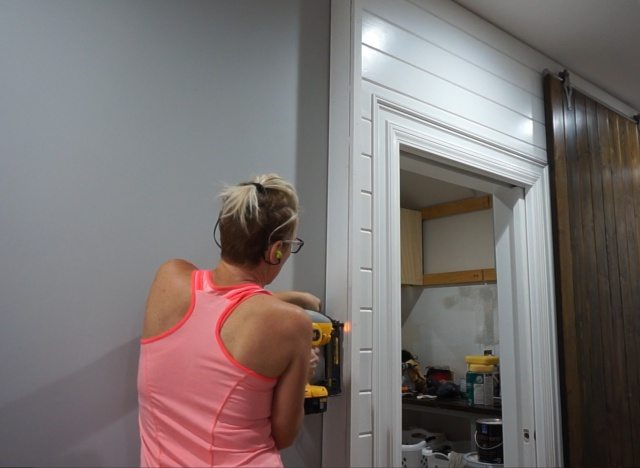
I left a small reveal on the side of my 1×6.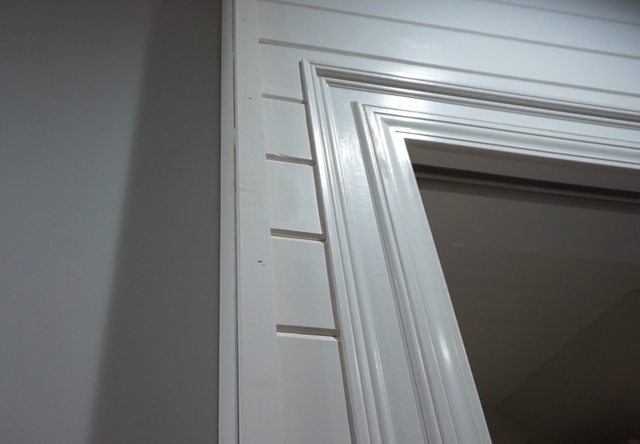
It already looks so much better but I’m not quite done.
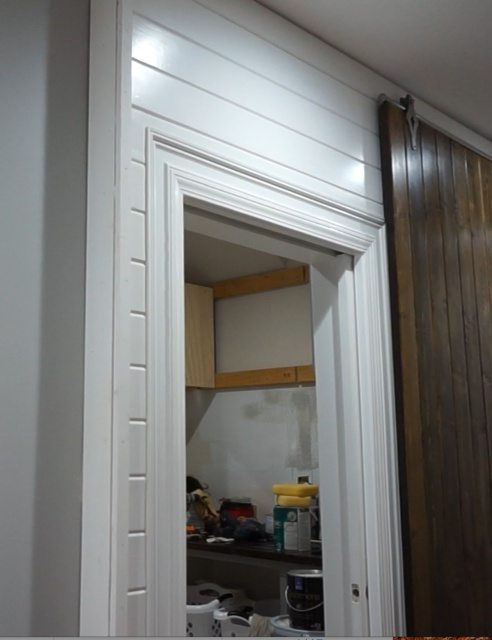
I finished off with a piece of applied moulding.

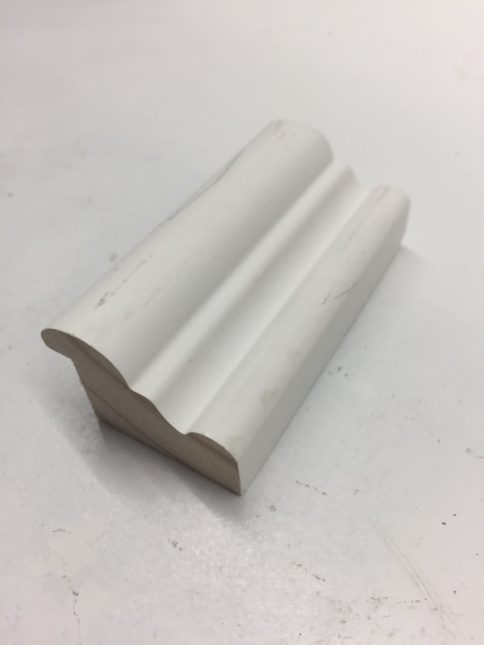
This is Metrie’s 42PR Pine panel mould. It has a rabbeted edge that lays on top of 1x thickness (3×4″).
It looks really good with the door casing and ties up all the loose ends I had with the plank wall that sticks out past the adjacent walls.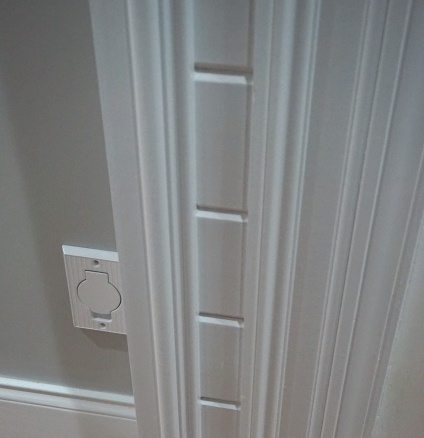
But I don’t add that piece until after I install the crown moulding…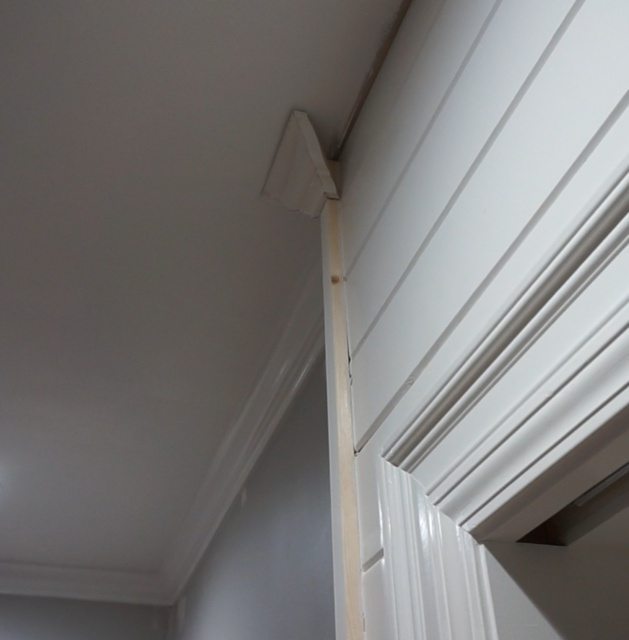
…which I couldn’t do until the decorative column(s) was built. So now those are built, on with the crown!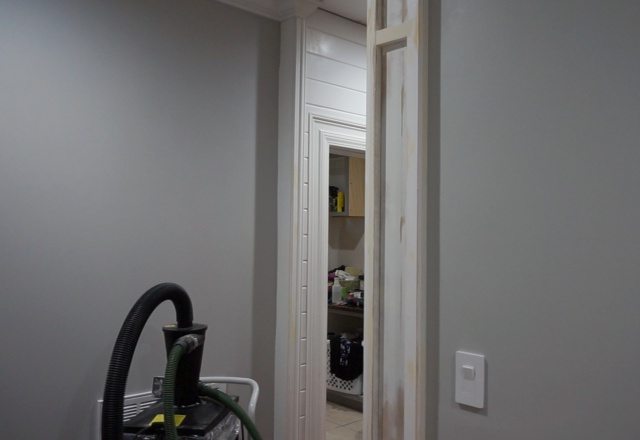
I have already shared a couple great tutorials for installing crown moulding; one shows you how to create crown moulding templates and it’s one of my most popular post ever. If you’ve never installed crown moulding, that’s probably the one to see first.
The second method, the crown moulding stop and cutting guide is how I’m cutting my crown moulding for this project. I use the same crown moulding throughout the main house. It’s Metrie Pretty Simple Scene I 4 1/4″ MDF Crown.

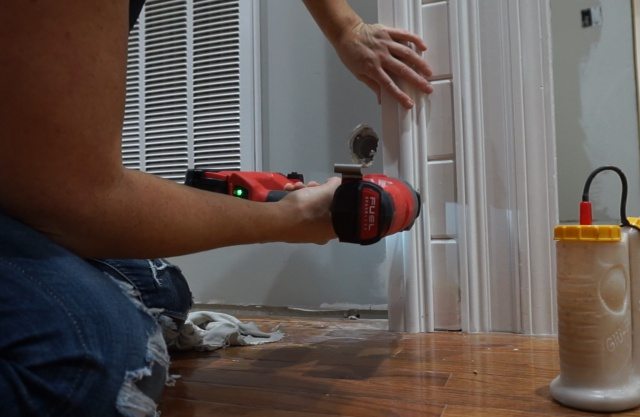
I started above the hutch because it was the shortest and easiest piece to cut and install by myself.
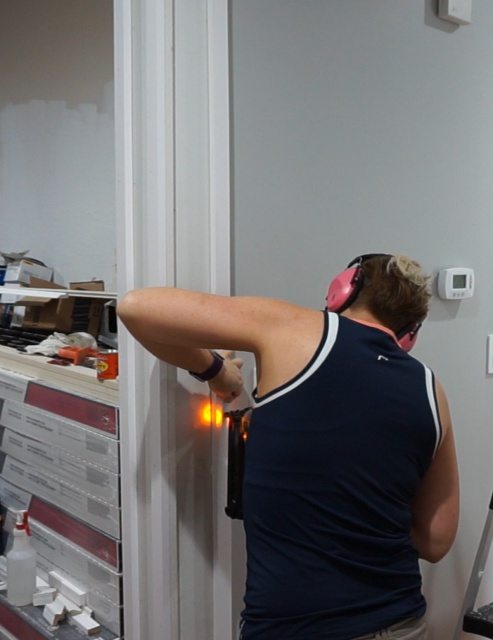
The longer pieces are really difficult to measure for and install by myself. I purchased these Crown Control clips which made it a little easier.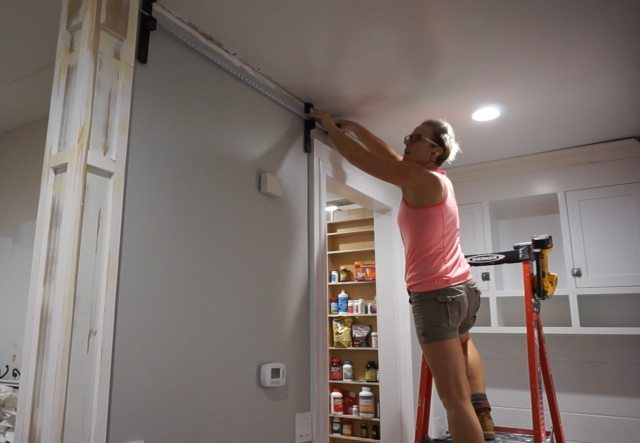
The clips made it easier, but it still wasn’t easy. I got that piece in thought and moved on to the columns.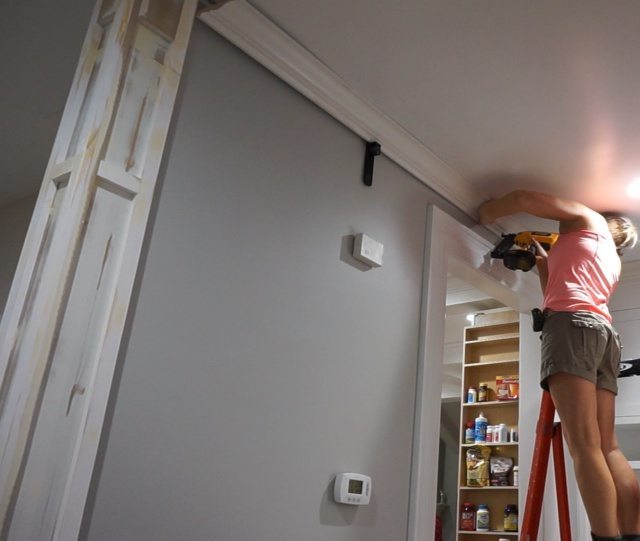
Installing crown around the decorative column involved a cutting a lot of short pieces –which is tricky. But those little bump-outs look so cool that it’s totally worth the tricky-ness of the task!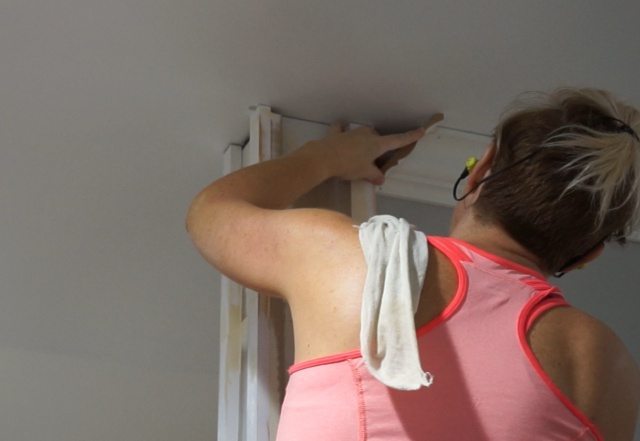
When I get to corners, I only secure the side that meats up with the other half of that corner. This piece below is secured on the right, where it meets the other side of that “outside corner”. The left side is free to be manipulated when I put the other half of the corner in place. 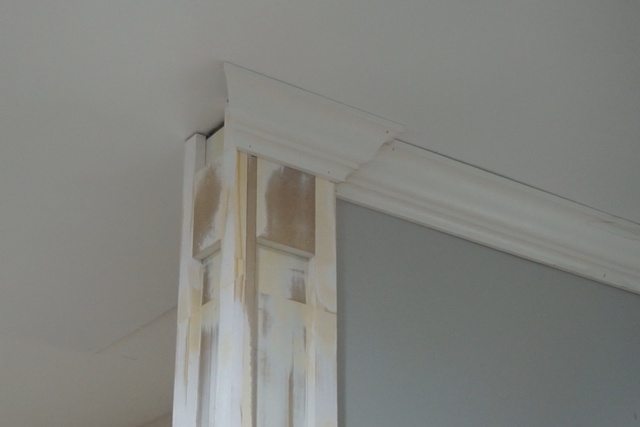
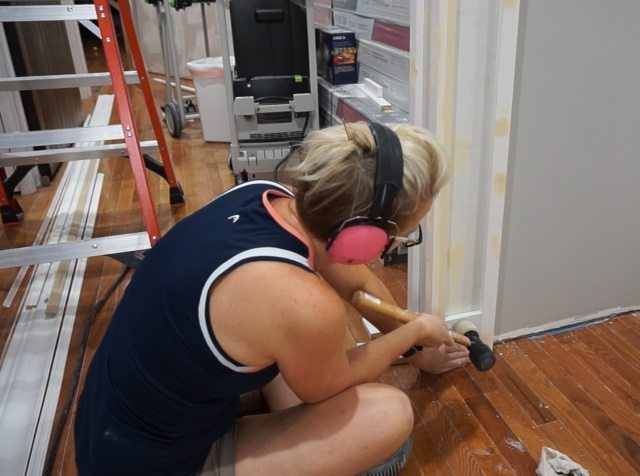
Sometimes corners have to be forced to comes together into a tight joint.
Nail holes are easy to fill so if a corner joint moves while I’m nailing it together, I pull the piece off, pull out the nail and then try again. Getting the corner joints as perfectly joined as possible is the most important detail – in my opinion.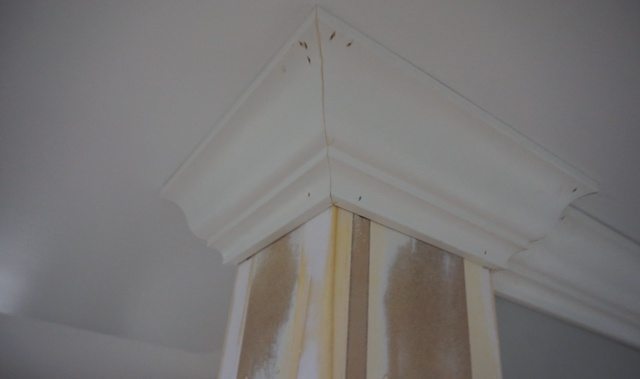
Because the corner joints are the details that stick out!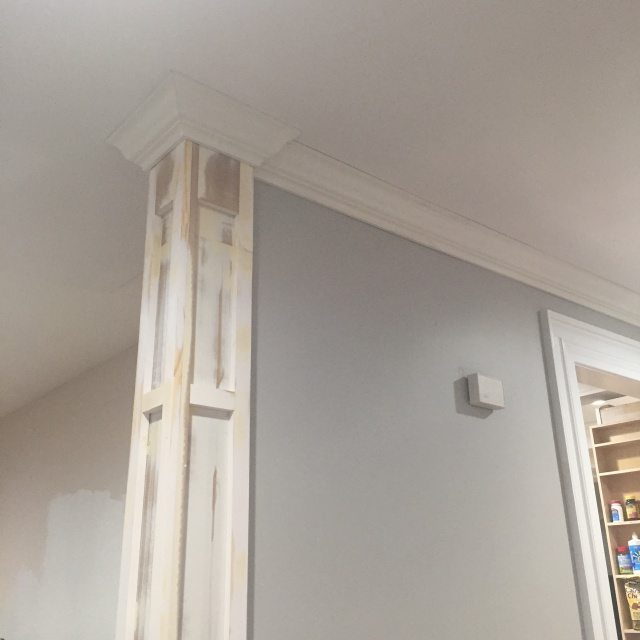
I decided to wait until Thursday (when my mentee, Chris comes to learn) to finish the crown. Even with the clips, it’s just easier with two people. I had Chris help me install the last few pieces. He measured, he cut, and he nailed. Having a mentee is proving to be really beneficial to both of us. I highly recommend being a mentee and a mentor. Which ever applies.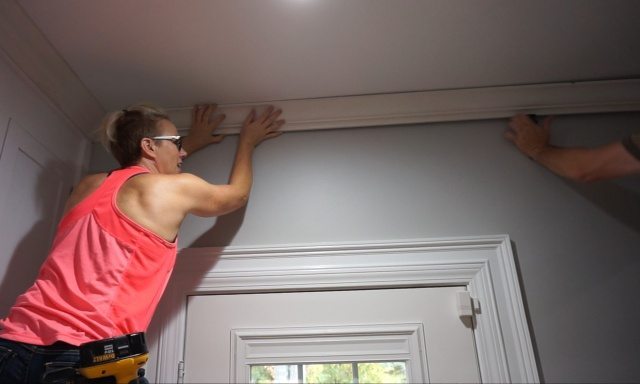

We filled all the nail holes and caulked the top and bottom of the crown moulding before painting the crown and columns. 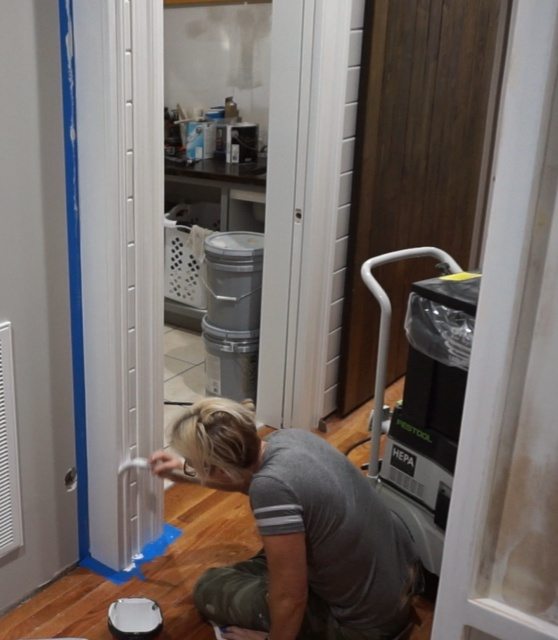
It’s looking good y’all but I’m not quite, done yet. Tomorrow is a holiday (in the USA) and I’ll be here, sharing my final post in this makeover. Because: I am thankful to be DONE! See you tomorrow for the finale!
Crystal says
Awesome Sandra. By the way, do you have an article that lists the tools that you use, specifically, the Festool models (saw, vac, miter, sander, etc.). Also would be great to see a shop tour and layout. Thanks.
Sandra says
Thanks Crystal. I have posts on many of my individual tools. I realllllly need to re-arrange my shop but don’t have time right now. I have so many things that I NEED to do. haha I’m sure I will do a shop tour at some point. As you can tell from this kitchen entry, I’m not great at estimating timelines! LOL
Barry says
Looking good !! Totally off the subject, how tall is Chris ???
Sandra says
That is random. LOL He’s about my height.
Nichole says
What color paint is on your walls?
Sandra says
Sherwin Williams “Light French Grey”
Mike says
Is there anyway to see what the left side of the decorative corner looks like. I understand the front and the right side. The left side has me confused
Sandra says
Hi Mike. The left side of my column is just a flat panel because I’ll be building cabinets on that side. (You can see the details on the Sketch-up drawing in the post.) You can use this idea to make a 3 sided or even 4 sided column.
Holly says
Hi! Could you share instruction on how you cut the small pieces on the sides of the column the join the crown on the wall? We are at that point and are lost as to how to cut those small pieces. Thank you!
Sandra says
Hi Holly. I’m not sure which small piece you’re referring to so but the small ones are cut the same way as the big ones. Both sides of the crown are either an inside corner, outside corner or a flat, termination. I also have a tutorial on cutting a “Return” here: https://sawdustgirl.com/cutting-and-installing-a-mitered-return-on-trim-molding/
Beverly Brown says
I like the look of the casing around what looks like a pantry or storage closet. I have 2-1/4′ builder grade casings in our home I would like to beef up. Would you share with me how you did this?