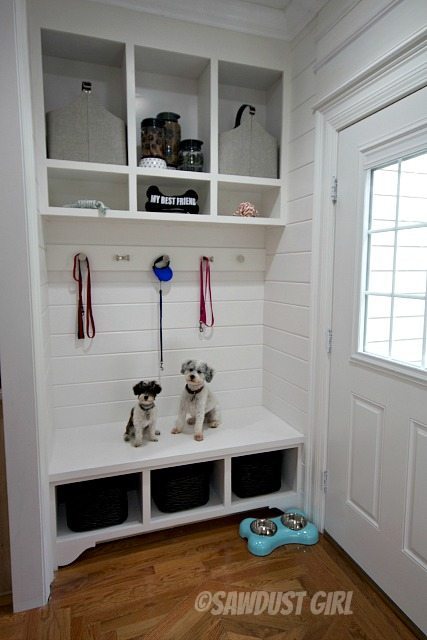
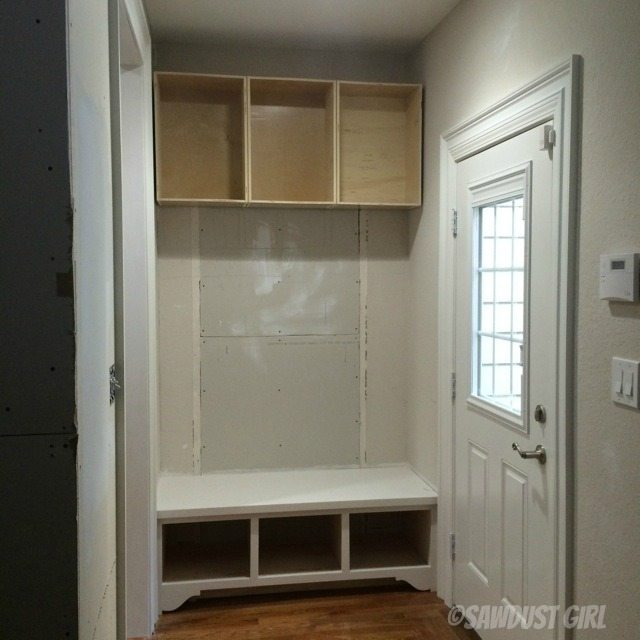
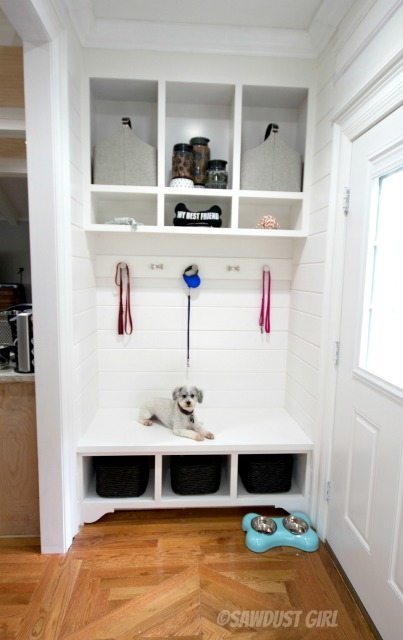
As you know, I’ve been working on getting my house ready to sell. For one of my most recent projects, I built a storage and upper cabinets in my side entry. I plan to add drawers under the bench at some point to hold shoes but, for now, baskets will do. I also plan to add doors to the upper cabinets at some point… There are just so many other things to do! Baskets are super functional, so I’ll definitely come back to this some day when I’ve got more time.
This post was sponsored by SPAX.
So, back to the mudroom…lets start from the beginning.
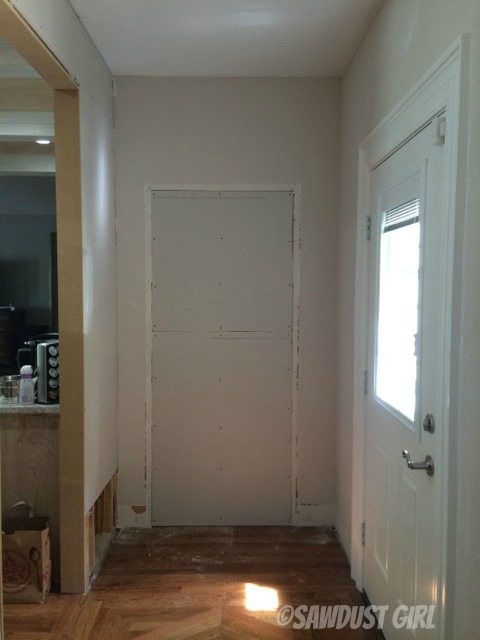
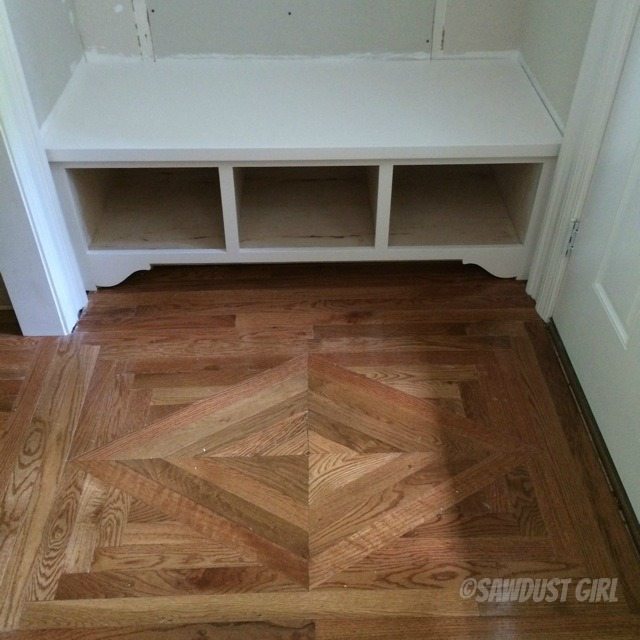
The mudroom was created from the nook that formed when we closed off the now dining room, hence the cut out that looks like a door to Narnia.
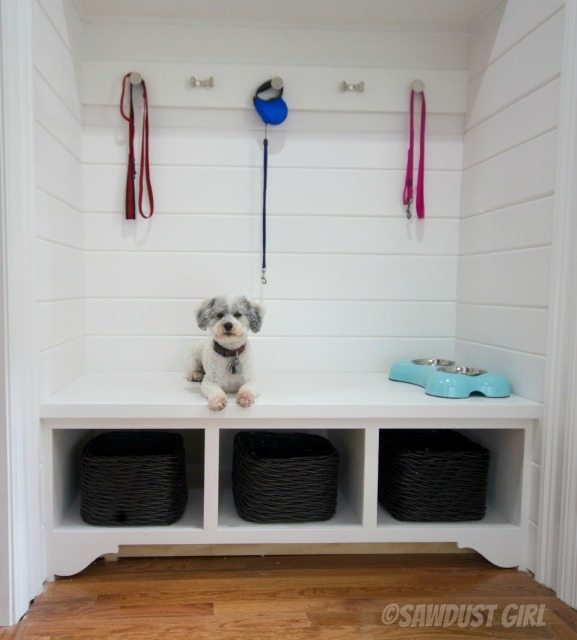
It’s actually in the perfect spot for the side entrance of our house, great for bringing in groceries, taking out the trash and when we are walking the dogs and do not want to track mud through the front door. And speaking of mud, we decided we wanted a bench where we could put on and take off shoes. It was tough deciding on a design because I had about 5 different ideas that all would have been cool.
The bench was the winner. It was the most practical with the most amount of storage while still looking aesthetically pleasing. If you’ve been following me for any amount of time, you’ll know that function and beauty need to go hand in hand with my designs. I hate wasting space.
Materials List
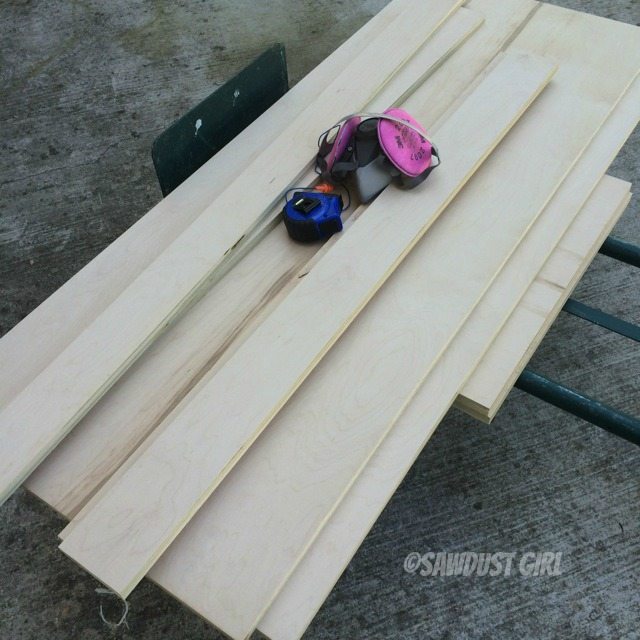
- 3/4″ and 1/2″ birch plywood
- 1 x2 maple hardwood for faceframes.
- SPAX Fasteners: 1 3/4″ hardwood/MDF screws, 1 1/4″ cabinet screws, 2 1/2″ cabinet screws
- Wood glue
- Safety gear! 3M respirator, earplugs and a tape measure.
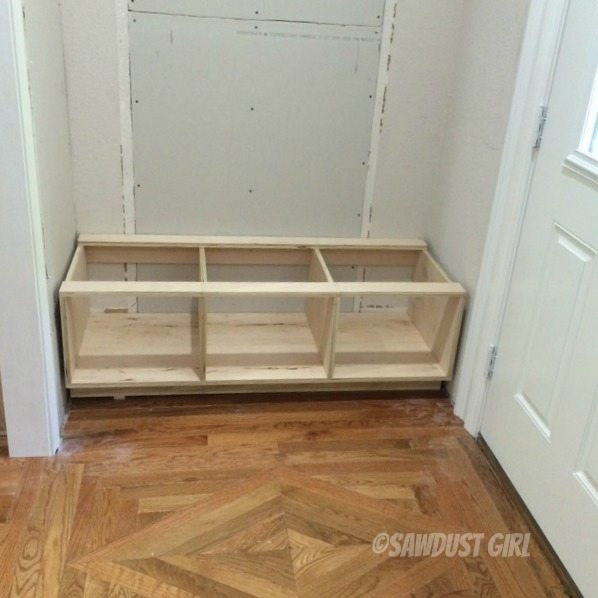
Step 1
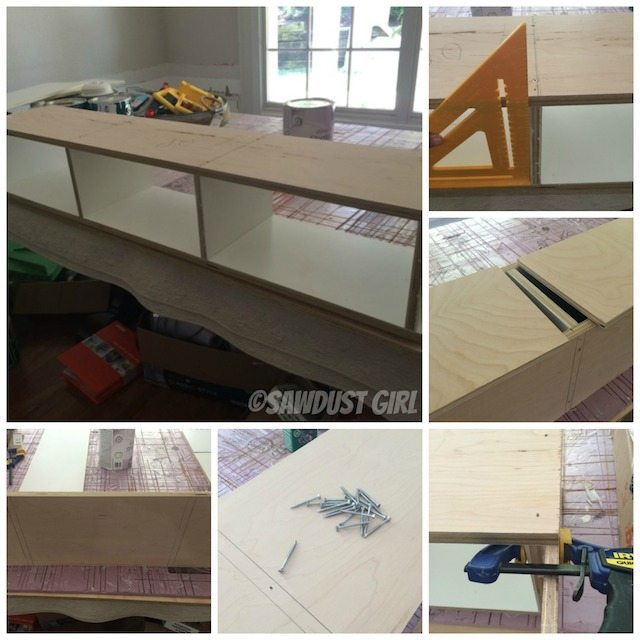
I used Titebond wood glue, clamps, and assembly square. Then, I nailed the boards together. I drove in my 1 3/4″ SPAX MDF/hardwood screws. When working ON the floor, you can’t get a second assembly square and clamps on the other side of the joint to keep the pieces lined up. It’s easier to hold things in place with one hand and shoot in a couple nails with the other, then drive in the screws.
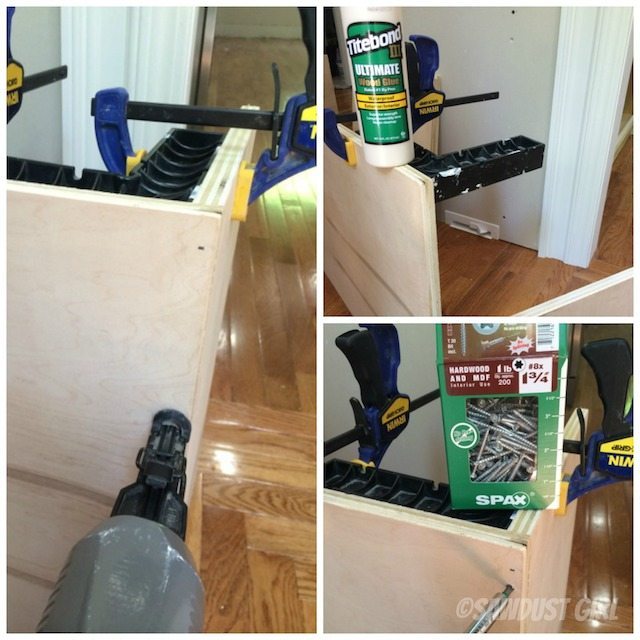
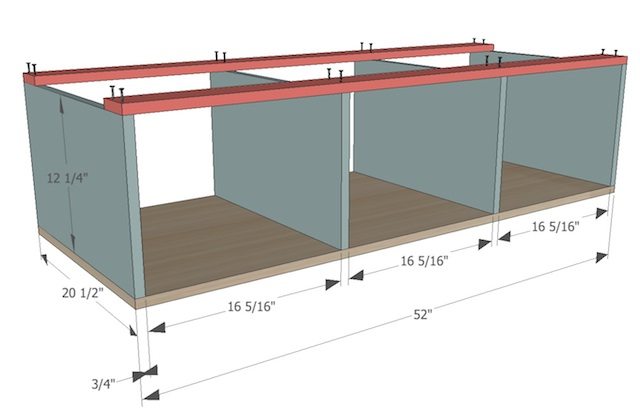
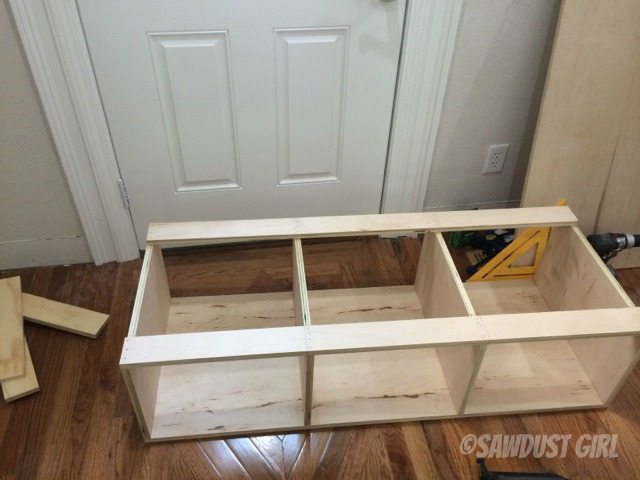
I’ll be adding a top once the bench is in place so I can make it fill the space exactly, so I’m only putting two cleats on the top for now.
Step 2
I constructed a base out of 3/4″ plywood (because I had some scrap plywood and no 2x4s), and I shimmed the heck out of it to make it level every which way. Then, I secured it to the wall with 2 1/2″ SPAX cabinet screws.
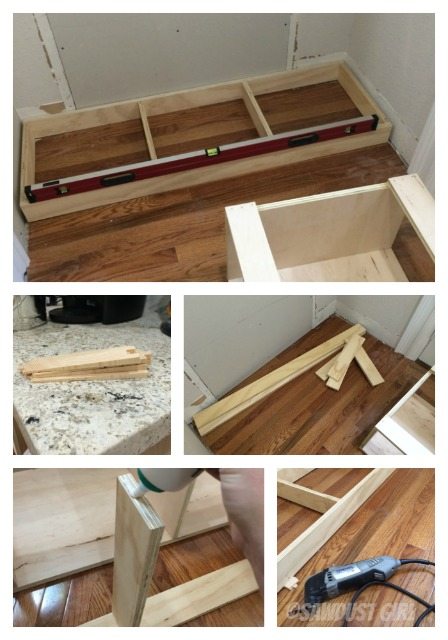
Step 3
I added some 2 1/2″ cleats to the back of my bench. I didn’t even drill pocket holes–I just drove my SPAX in at an angle. Boom!
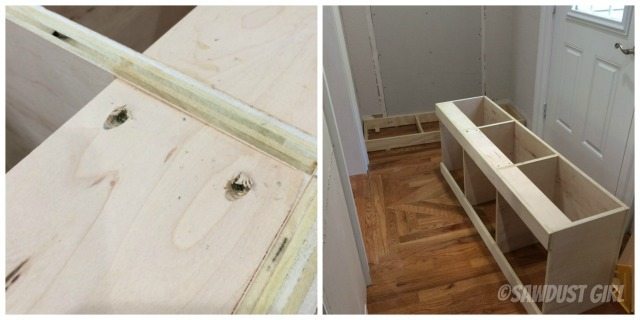
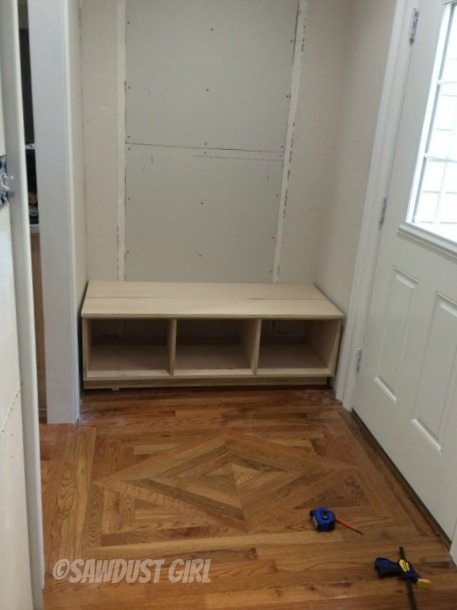
Step 4
Then, I set my bench on top of my base and secured it to the wall with more 2 1/2″ cabinet screws.
I accidentally cut my top too short. Oops–it happens! I secured it to the cleats anyway. I might as well have a super duper sturdy top!
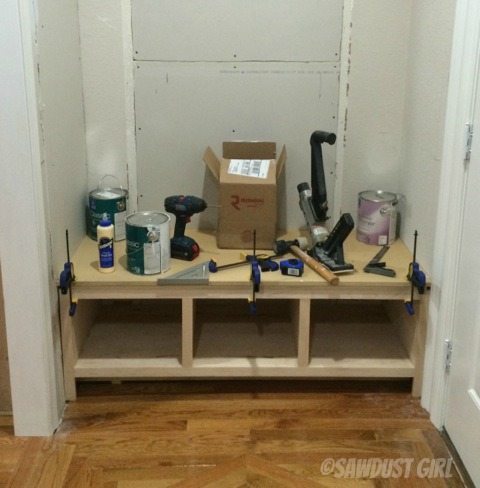
Step 5
Unfortunately, I used up all my plywood and didn’t want to go buy more, so I cut some MDF and used that for the top. I scribed it to the wall so it would fit perfectly–no gaps. Then, I glued it to the plywood. I weighed it down with as many heavy items I could find while it dried.
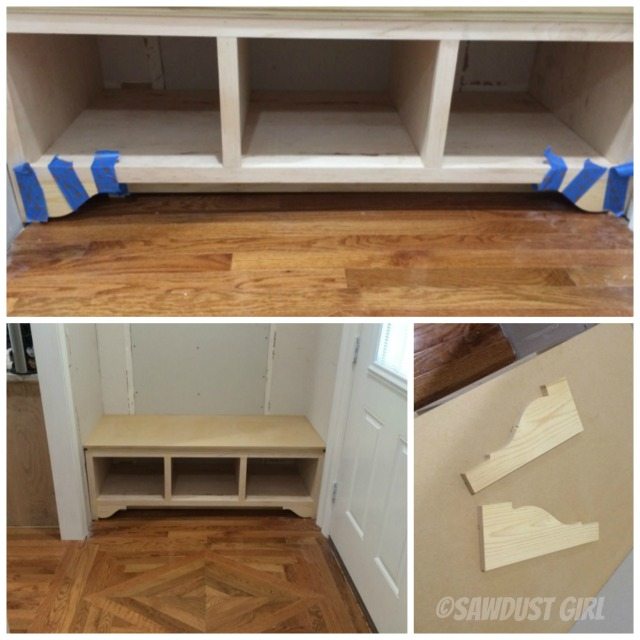
Step 6
After that, I cut, glued, and nailed my face frame in place.
I wanted a decorative toe kick like I did in my kitchen, so I cut the pieces and glued them into place.
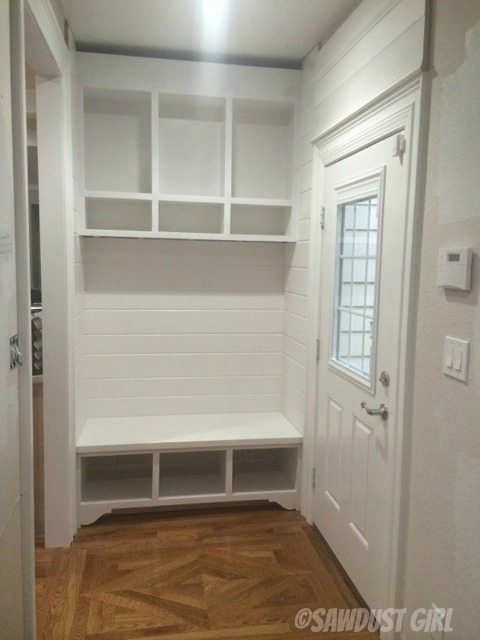
Step 7
All that was left was for me to sand, fill, prime, and paint! Look what we have now–an awesome bench!
Step 8
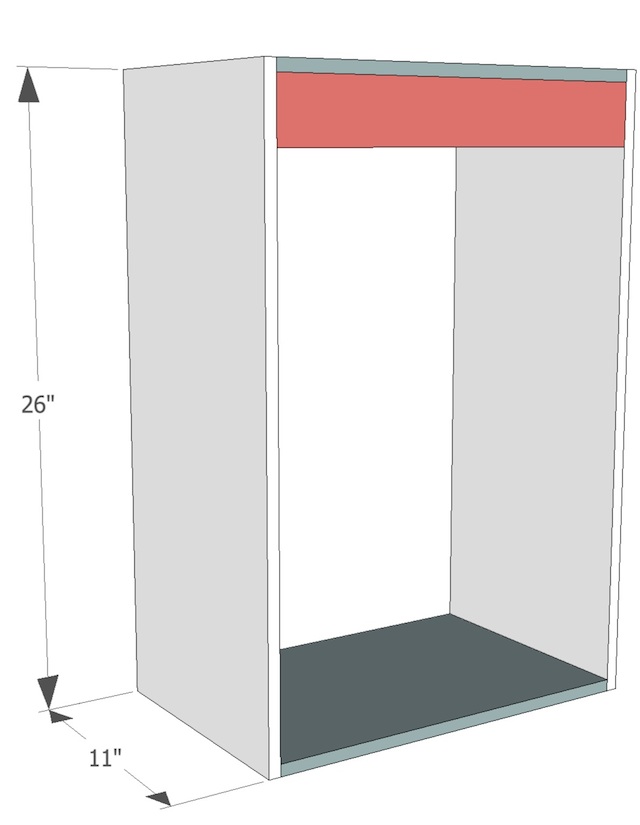
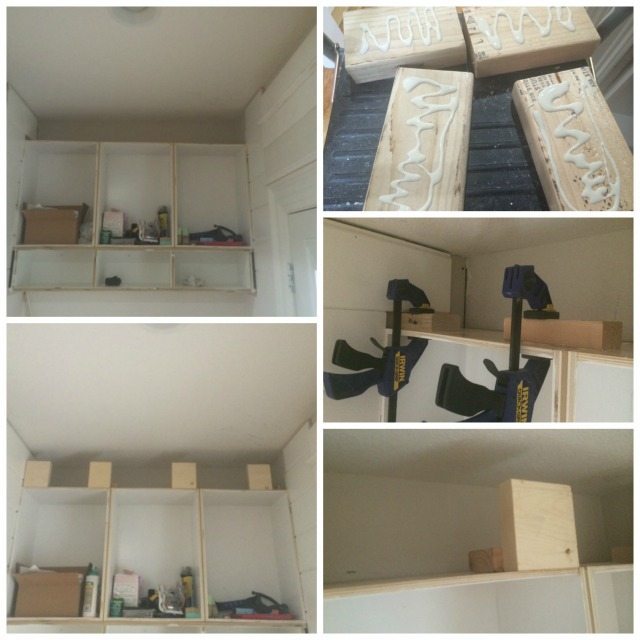
The upper cabinets I made out of 1/2″ plywood so they would be light. They are super basic, just butt joints, secured with wood glue and 1 3/4″ SPAX screws.
Step 9
I added 1/4″ blocks in between them, and then secured them to each other using 1 1/4″ cabinet screws.
Step 10
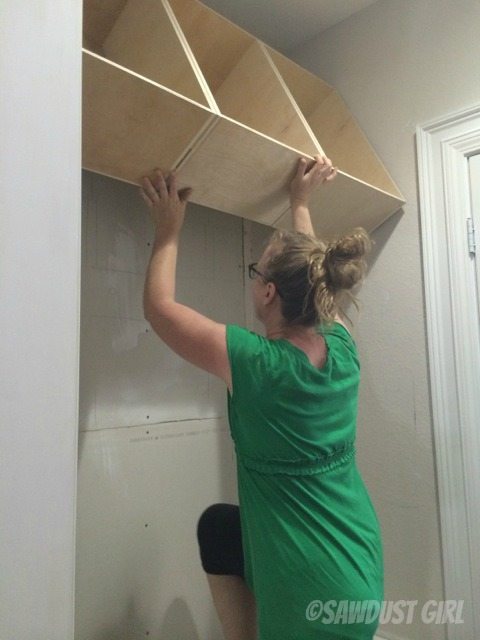
You can hang the upper cabinet with either a French cleat or secure cleats in the back like I did with the bench and use 2 1/2″-3″ cabinet screws into the studs. I decided to use a French cleat.
Ta da! You’ve done it! Just kidding, there’s more.
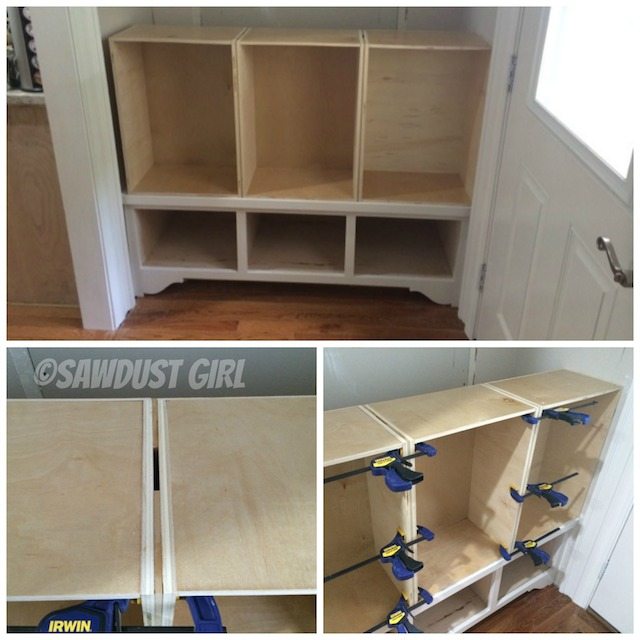
Step 11
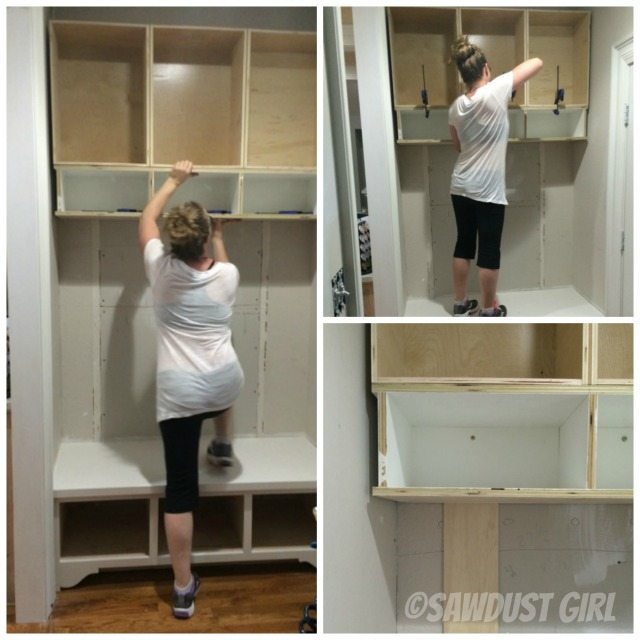
I wanted to add small cubbies at the bottom of the upper cabinet. I painted everything before I assembled because it would have been a royal pain otherwise.
I used a solid 1/2″ back for this piece.
I clamped the cubby cabinet to the uppers, and then I used my 2 1/2″ SPAX cabinet screws to secure it to the studs.
Step 12
Next, I addressed the wall. I had to cover the door patch because I did NOT want to do anymore drywall patching/skim coating.
Step 13 (Optional)
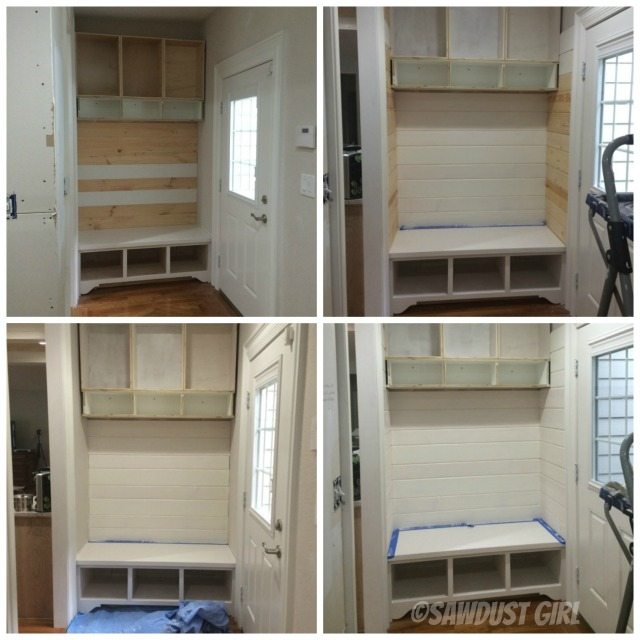
This step only really applies if you’ve got a funky door situation going on. I had to create a decorative cross header that protruded beyond the planks and went all the way up to the ceiling so I could end the planks somewhere. I didn’t want to have to decide what I’m going to do on the other side of the doors yet. I’m thinking I might have to extend the wall down the road. There’s always something…
So, I added that and then finished planking.

Step 14
I wanted my face frame to go all the way to the ceiling to back the crown molding, so I added some blocks to support that.
Then, I added my face frame. I cut, glued, and nailed everything in place, piece by piece.
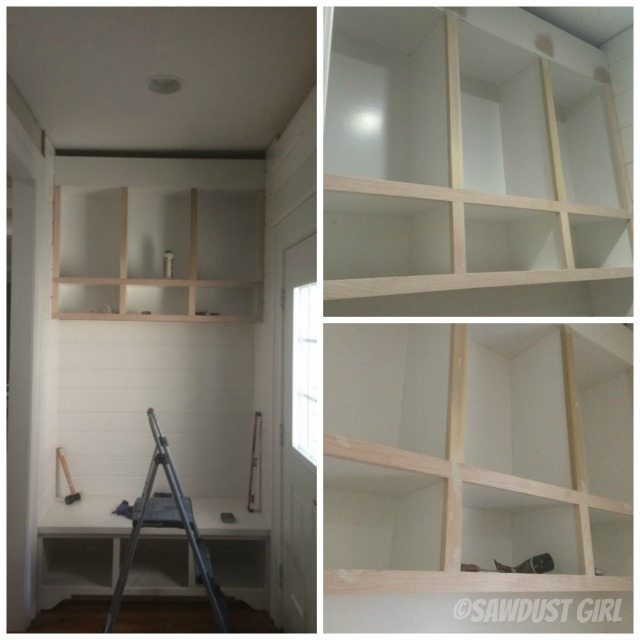
Step 15
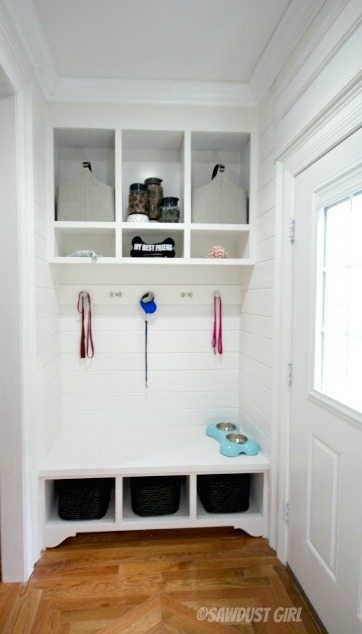
At this point, I painted everything. I’ll add the crown already painted so I only have to go back and touch up the nail holes. Now the crown and hooks are all that’s left. At least, until I decide to do something else!
Some day, I’ll probably come back and add drawers and doors, but I want them to match the style of the kitchen cabinets. I’m still not sure what I want to do for those, so until those have been decided it’s another ‘mostly finished project’. Mostly finished or not, I love it!

Disclosure: This post is Sponsored by SPAX. I received product and compensation to create a project showcasing SPAX fasteners. All opinions and ideas expressed in this post are 100% my own.
Mrs Major hoff says
You forever amaze me! Looks great! I really love that the crown molding is flush with the cabinets and not set back in the wall, and the little bone hooks are darling. Oh and the puppy too!
PJ says
Fabulous! I bet your husband never knows what new project he’ll come home to!
Sandra says
I try to give him a little warning …and then save the ones I don’t want to warn him about for when he’s out of town. LOL
kristin says
Absolutely beautiful Sandra!! Love the planks, the little space with a lot of function, and the white! And I don’t recall the dogs being so stinkin’ tiny. They look like they are toys in the first picture!
Lynn R says
Fantastic! Thanks for the explanations and photos…
Julie @ follow your heart woodworking says
Looks great! Love the planking.
Amy says
It looks fabulous! I love the extra detail on the bottom of the bench and the double cabinet/slot look. Your dogs are super cute too.
Kim R says
So beautiful and functional. I wish I had your talent, and tools!
Bonnie (BornInaZoo) says
I’m a construction manager by trade & an avid DIYer by night. (BTW … It’s so much easier managing other people’s construction projects!) My carpenters at work absolutely love SPAX.
The other day one of the guys asked BossMan to get some 3″SPAX . He said “Why do you need Spanx?” Oh yeah … we all said. You have a diva wife.
Sandra says
LOL I get that all the time too. SPANX? What? 😀
Suzanne Melton says
“…which has not yet been decided so it’s another ‘mostly finished project.'”
I’ve often heard (and can prove it around our house) that the last 10% of a project takes as much time as the first 90%.
Great job. Entry will be our last “room” and I want a bench just like yours…
JessiE G. says
What does it mean when you “scribed it to the wall” ? How did you do this?