Malisa spent most of her first two weeks installing a pocket door and demoing her mudroom. Now she’s doing the fun part where the vision starts taking shape. The first phase of her built-in lockers is complete. The mudroom bench! Catch up on part 1
Building a Mudroom Bench
2/6-7-8 Built the mudroom bench. It did not go as smoothly as hoped, but at least I have something to show!
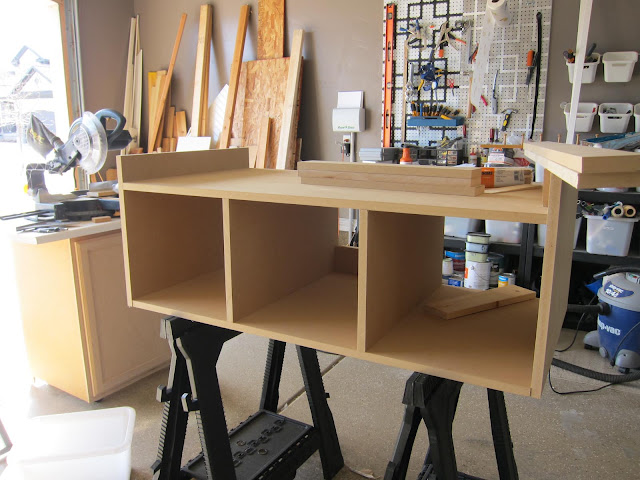
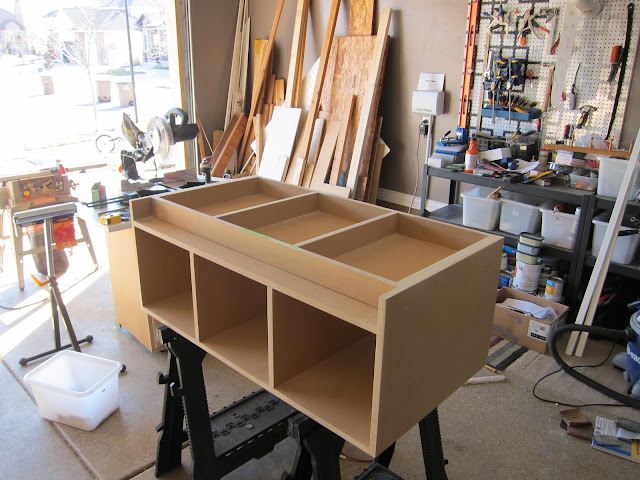
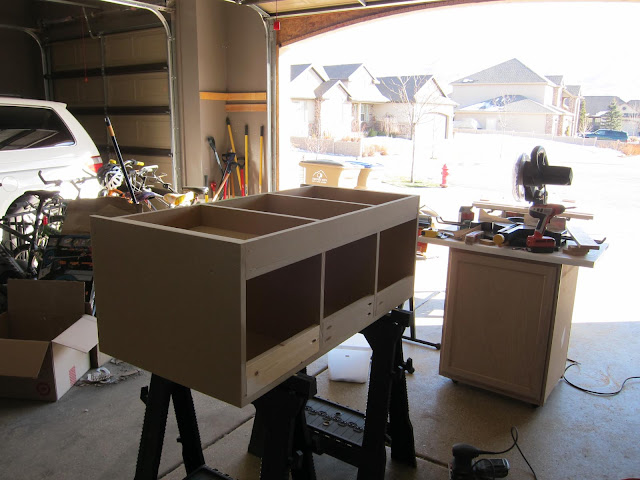
Finally, I put the braces and back on all while attempting to keep it square. The MDF makes the bench HEAVY.
As I was nearing the bench being assembled, I talked to my sister on the phone about visiting and told her that before I could come, I just needed to finish “screwing it all up”…
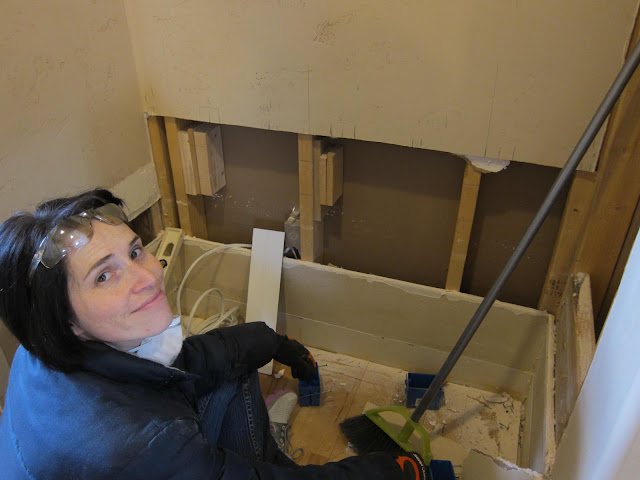
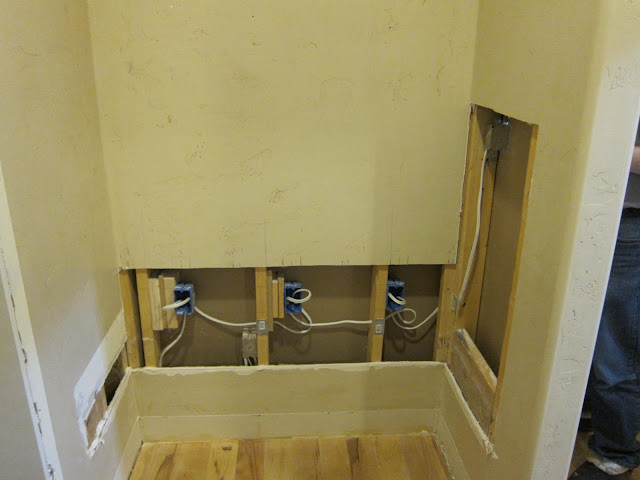
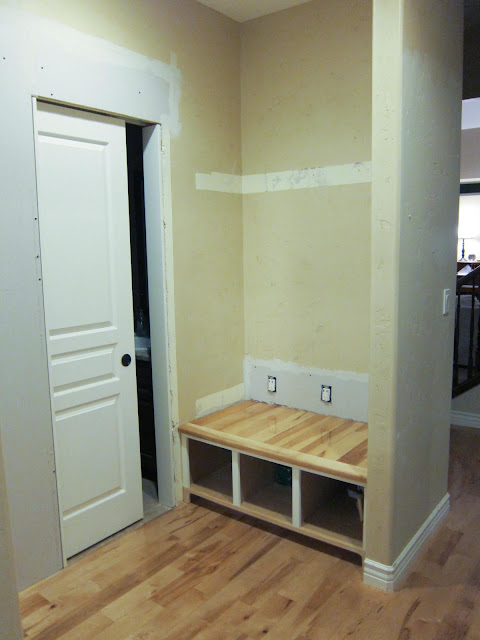
2/9 I cleaned the garage! It will be so much better working in there. Daniel is also home, so I feel like I can move forward with the electrical plans. We spent some time talking over what we really want and decided to turn the outlet in the foyer (that is directly behind the mud bench) into a switched outlet while we have access, but more importantly, we are going to put an outlet in each cubby….with USB chargers! Once we decided to just do it, it made so much sense. I’ve cut away more of the drywall to give us room to work.
It took some figuring to center the outlet boxes in the center of the cubby spaces.
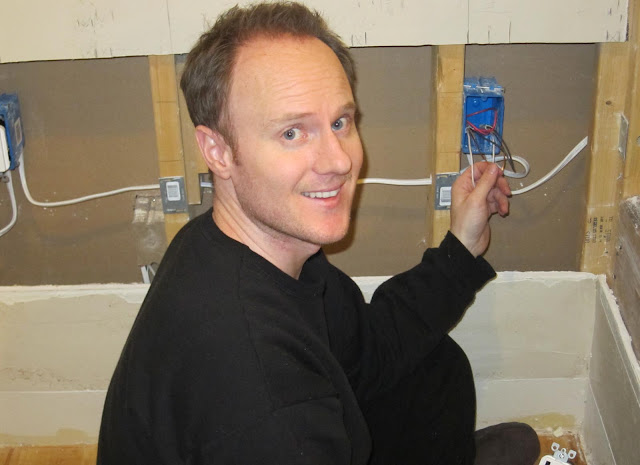
2/11 Spent the day prepping for electrical and doing every little task (like trimming out the pocket door and cutting the new drywall) I could think of while I waited for Daniel to be done working and come and help me. Lucky for me, before we were married, Daniel spent time as both an electrician’s and plumber’s apprentice. I’m sure I could have worked it all out eventually myself – even if I did fall asleep every time I read the wiring books I got from the library – but it was sooooo nice to just have my husband do it. Everything works great and I didn’t get shocked messing with electricity.
I really feel like the outlets are something we wouldn’t have thought of if we had someone else building the bench for us. Plus, it would have been expensive. In the end, it might end up being one of my favorite parts of the project.
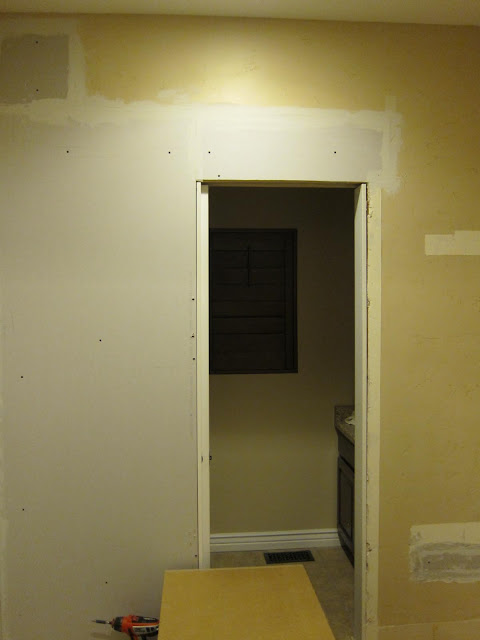
When Daniel was done I put all the drywall I had prepped up, used some ultra-thin self adhesive drywall tape and mudded all the walls. That was the easiest part since I didn’t have to make it look very pretty.

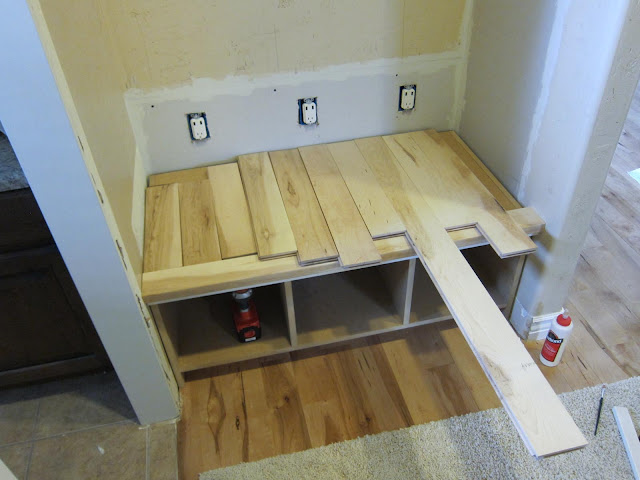
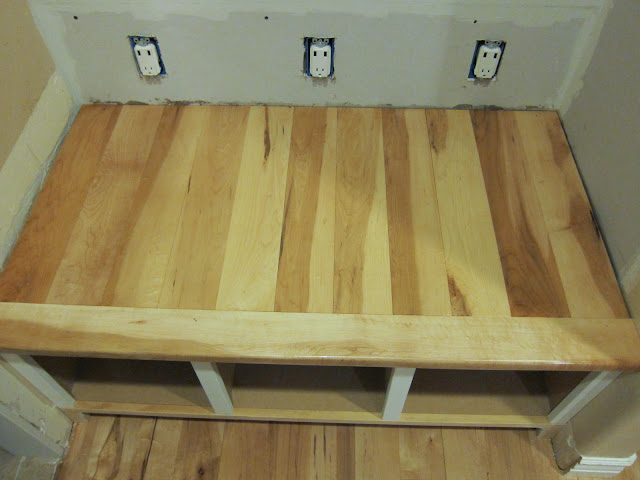
2/12 Finally it was time to put the bench in! I didn’t have to tweak the bench at all when I put the back on. It was already square and rock solid. Yay! I secured it to the wall through the cleats and then stopped to Skype with Sandra about what to do about the top. White or wood? …..I have extra rustic maple flooring, so why not use it!
The flooring in the house runs the opposite way of how I had envisioned the wood top, but after thinking hard about it, I came up with a solution. It took me a while to fit all the boards together, cut them just right, nail them, fill the holes, sand, sand, and sand some more, but it was worth it.
At first I wasn’t convinced that I needed to bulk up the edge of my front board, but Sandra said otherwise. Now I realize it would have looked much too thin if I didn’t do it. I cut a strip off of the front of the board with my table saw, flipped it sideways, then glued it and clamped it to the very front edge.
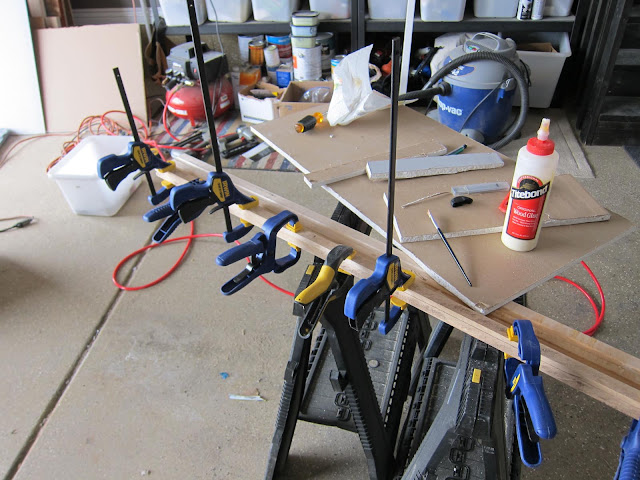
Maple is a very hard wood, so I sanded foooreeeeever to slightly round my front edges. My arm is out of commission now. Seriously, something is not quite right. I’m sure the sanding is the culprit.
I love how it turned out. A couple coats of polyurethane and I have this! (The top is still wet in the pictures, so it’s extra shiny.)
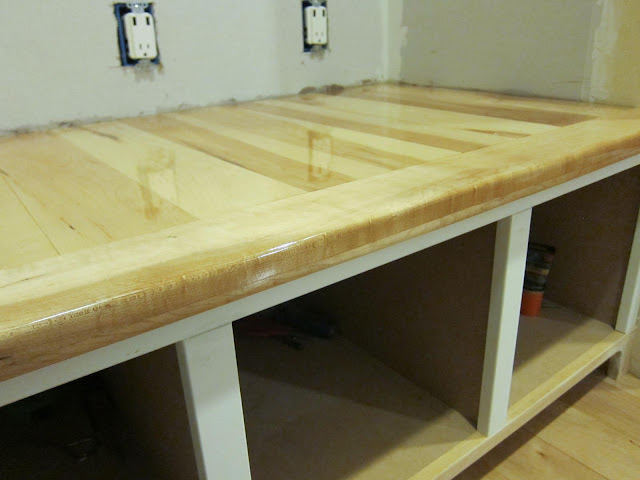
I also LOVE how that bench looks with the front strip running perpendicular to the rest. That was a great idea Malisa…and I only “suggested” that 3/4″ would look a bit thin since that was the ONLY wood showing on a 9′ tall White locker system. I’m not that bossy! (LOL Totally am!) I always leave those decisions up to the homeowner. 🙂
I’m also really happy they put in the outlets and think the USB addition is just plain cool. SUPER excited to see these projects all coming together and can’t wait to see them in use.
Keep reading: part 3
Leave a Reply