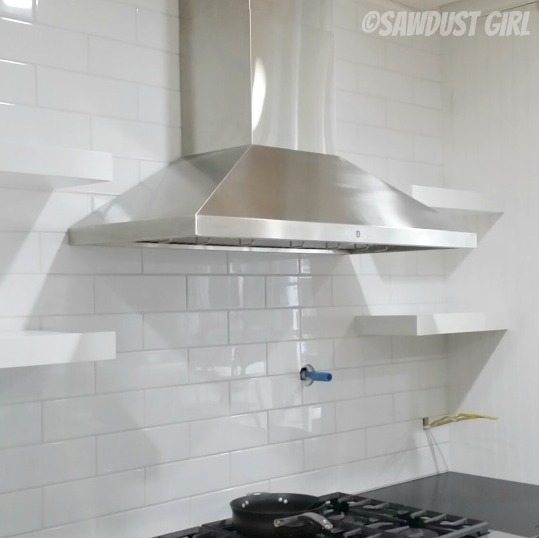
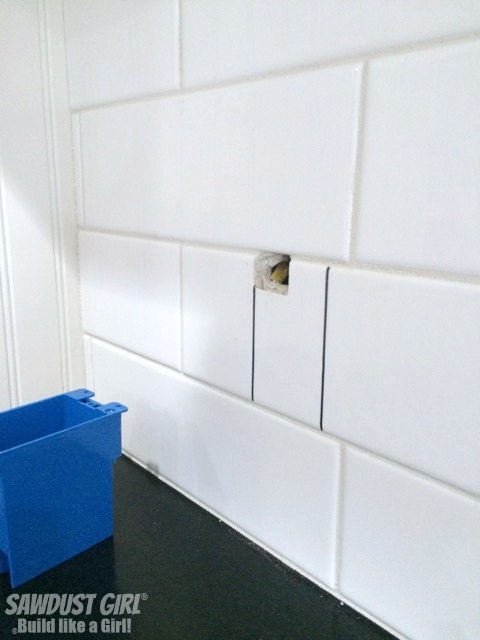
 I’m making all kinds of small progress in the kitchen. 🙂 After I installed the tile backsplash I had to cut tile out for junction boxes because I decided to install undercabinet lights. It was so long ago that I can’t remember why I didn’t install the junction boxes before I tiled. In hind sight it seems like it would have been easier to cut the tile around those — but I didn’t. Maybe I was still trying to decide which side I wanted the double gang box and which side should be single…who knows.
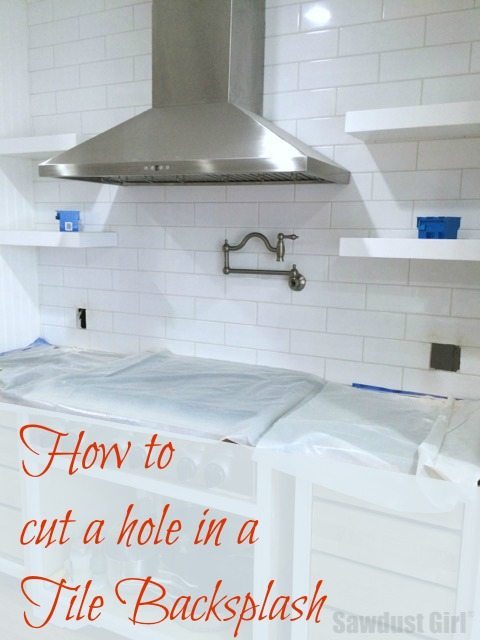
A couple weeks ago I decided it was time to have some power above that countertop. (It’s only been a year.) So that decision has finally been decided!
How to Cut Tile
I shared a post a long while back: how to cut tile around a vent but the vent was in the perimeter of the tile so it’ was done with regular wet saw. I was asked at that time how to cut a hole in the center of the tile so here’s the answer to that question. Have the right tools. I tried a few different tools with a few different blades.
Tools that Worked Great
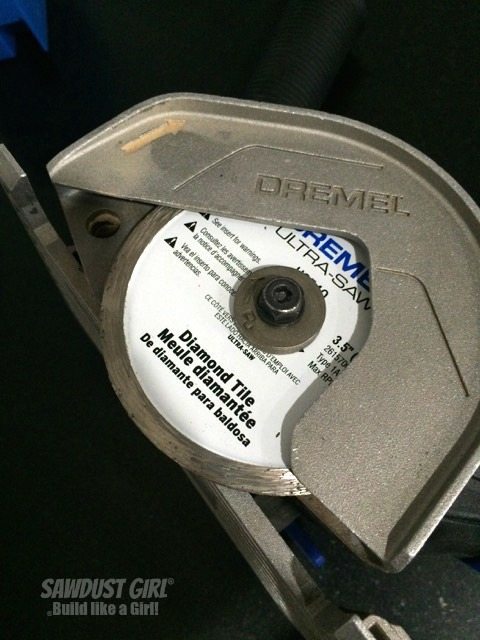
Dremel UltraSaw with a Diamond Tile blade.
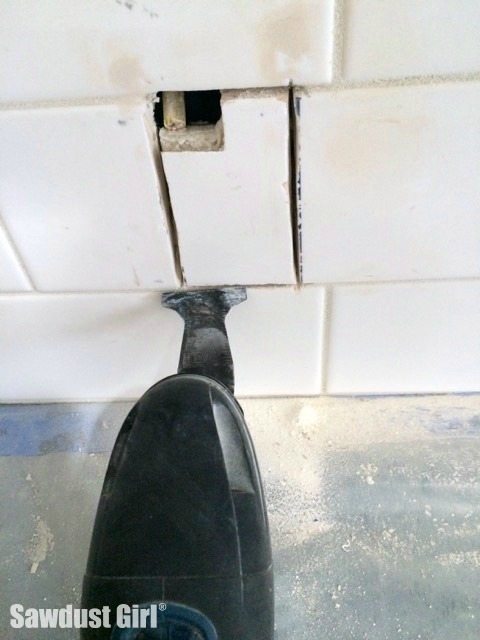
Bosch oscillating tool with a multi-material blade.
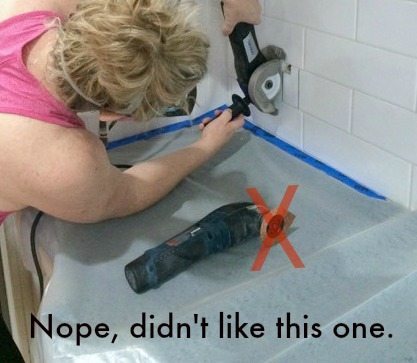
What did not work
I tried a tile/grout cutting blade on my oscillating tool and it sucked for cutting tile. It cut the grout fine, but would have taken an hour to scratch/vibrate/cut through the tile.
SO now that you have the right tools, you can get to the task.
Mark your surface
Obviously before you cut tile, you want to mark where you want to cut. I used a permanent marker because pencil or pen don’t work very well on glossy tile.
Cut the tile!
I did cover my countertop and cooktop with plastic to contain the dust as much as possible. This is dusty though so make sure to use your safety glasses and respirator while cutting. 🙂
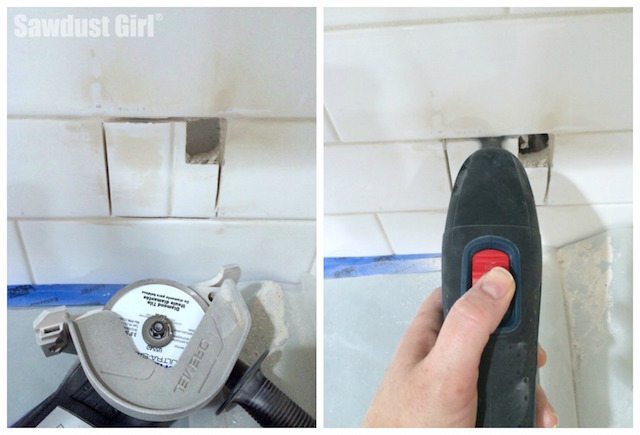
I used my Dremel UltraSaw with a Diamond Tile blade to make most of the cuts because it cut through the tile (and drywall behind the tile) like it was nothing!
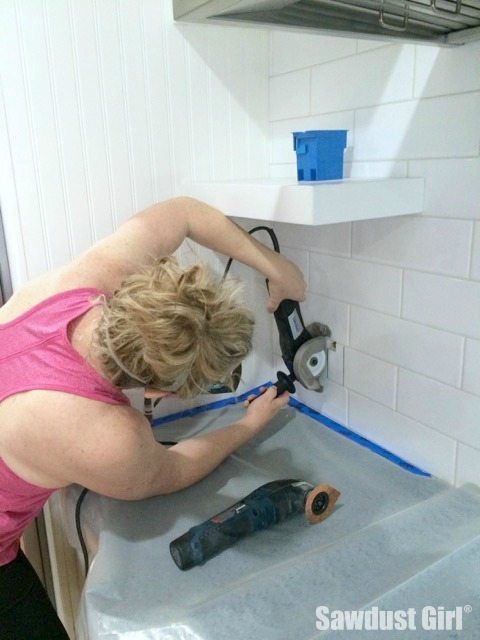
But that blade is round and I couldn’t get the corners without cutting past my “cut line” on all sides and that would look dumb so I grabbed my Bosch oscillating tool and got the corners.
The multi-material blade worked amazing on the tile and grout and I could have easily made all the cuts with just that one tool. Because it’s smaller and you have more visibility to what you’re doing, you have a little more control over what you’re doing with the oscillating tool.
After experimenting with all the tools and blades, I made fast work on the second hole.
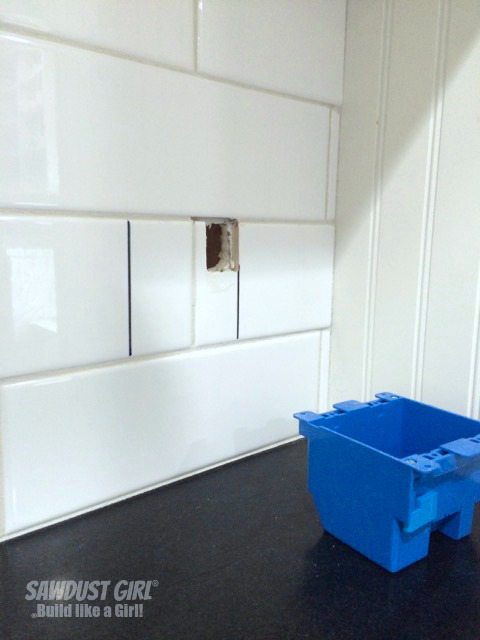
I admit I did feel nervous before I cut into my backsplash. Especially since I was basically experimenting with several different blades I hadn’t used before so I didn’t know what to expect and I wasn’t experimenting on a scrap tile. Always a good idea… But nothing broke or cracked and all said and done, it was ridiculously easy.
alderaic says
Just maybe stating the obvious, but grout blades are designed to NOT cut tiles, i.e. it’s for grout removal only.
Great post otherwise 😉
Sandra says
Well there are Grout blades and there are tile/grout blades that are supposed to cut through anything: concrete, brick,stone, tile and grout. This one cut through the grout ok but just scratched the tile. I’ve seen a lot of different hybrid blades on the market so there may be ones that work better. The multi-surface blade I tried worked really well so I’ll just stick to that. 🙂
alderaic says
the title is indeed misleading, but check on bosch website, they are just for grout (even the tear drop shaped one).
I almost bought some for my multi tool but checked the bosch website after seeing no one talking about cutting tiles with it in the comments. 😉
Jake's a Girl says
This should have been titled “How to clinch your booty cheeks and not bite your tongue off in the process while cutting BEAUTIFUL KITCHEN TILE you worked so hard on”. 😀
Scary but it turned out great! haha. Next time I build a house and do a kitchen I’m doing the receptacle strips under the cabinets. We have a tongue & groove backsplash and I hate the holes cut in it. Tile in the last house and I almost cried when they cut out the holes for the switches and receptacles. Next time! 😉
Brian says
Good to know that cutting holes into tile is possible without doing too much damage. Thanks for sharing!
Maximus McCullough says
I would like to cut holes in my tile too but I am testing the comments feature on this page. Great pictures and content, its a lot better than using a hammer! 🙂
jjpclev says
hey sandra…sorry to bother you, but I was hoping I might correspond with you via email. I am interested in a consultation, but have some questions first. is there a way you could find time to email me? I created an account for jjpclev. I assume you have access to my personal info I entered (email) or phone. I really enjoy your site and the all the work that you do. thank you!
Katherine says
What stove is that?
jim D says
We hired a so called “professional” to install our natural stone kitchen back splash and the guy screwed up the corners horrifically. I’d call him back to fix it but I might wind up on CNN. Anyone we call to fix the areas wants to rip out everything and start over. The main areas are OK, it’s the corners that have to redone. My question how can I make straight cuts on the tiles to remove a piece of the tile going into the corners so a new corner can be installed properly. I have a Roto Zip and a Dremel tool. Can either one be used with a diamond cut wheel or do you need a hand grinder ?
Sandra says
I have used an oscillating tool with a tile cutting bit to make straight cuts in installed tile for adding outlets. I probably wouldn’t use a disc or rotary cutter because it’s difficult to control in order to get a straight cut.
DIYTileGuy says
Cutting in after-the-fact is never easy but you got it done. The circular saw is definitely the way to go as opposed to the oscillating tool.
Another trick is to drill two big holes on top of each other then there will only be a little bit of in-wall cutting to do to make the lines straight. Nice work!