Kristy continues to make progress on her bedroom built-ins. Kristy’s stories make me laugh and smile every time I talk to her. She is THE happiest, bubbliest, most resilient person I have ever met (virtually or otherwise).
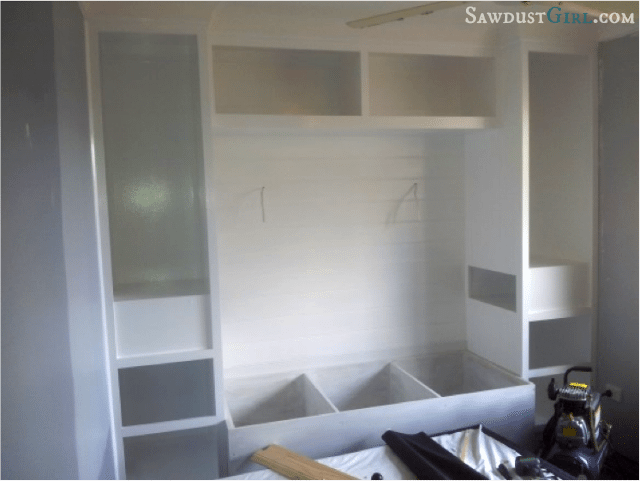
When we started her bedroom built-ins in January, she had never built anything before. She’s buying the tools she needs as we go and learning along the way and is growing in confidence and capabilities by the week. Nothing makes me prouder than watching these projects come together and become jaw dropping works of carpentry. When Kristy last updated us in part 2, she had just finished the dreaded plaster cornice.
Here’s what she’s done since then…
![]()
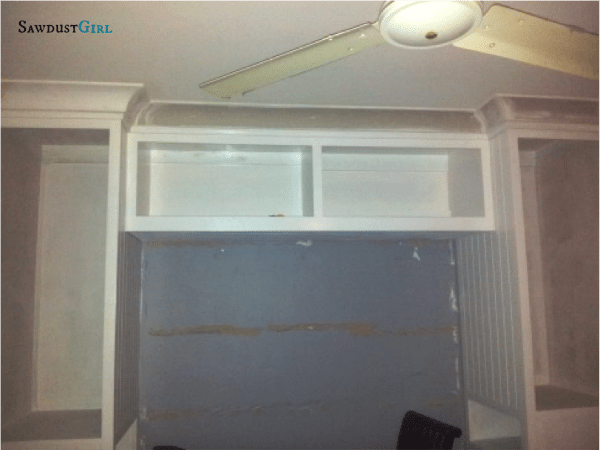
Now that the cornice is finished and I have given my cupboards their first top coat I realize that I am at another crossroad. I can either wait for another electrician to come and lay some wiring or I can do it myself……I find the thought both exciting and terrifying at the same time. Climbing through a small roof space is probably not a big deal to anyone that has done it before or does it as part of their regular job but I have not even stuck my head up there before and I think I have seen one too many movies because I am imagining lots of scary things up there.
I decided to do a reconnaissance mission first as it could be weeks before I could get a professional. Here is how it went down….
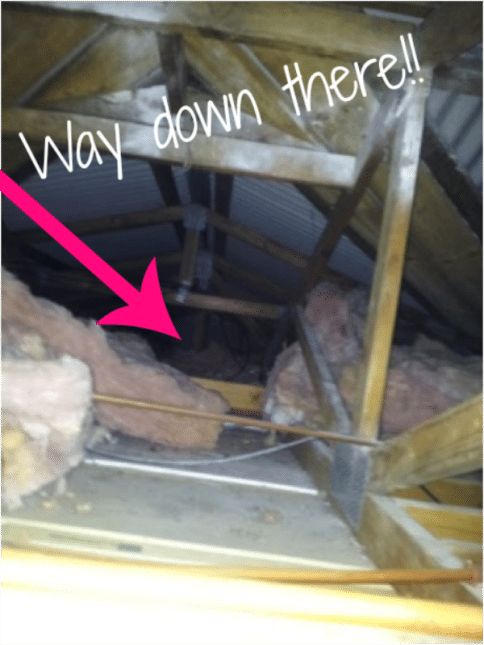
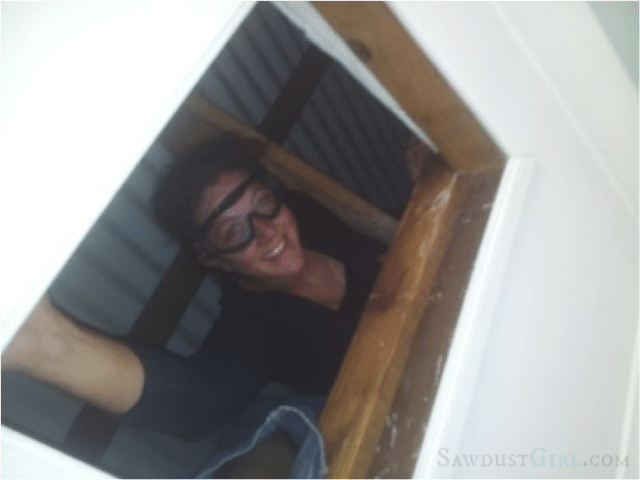
The only access to our roof is through a manhole in the en-suite at the front of the house so step one was to put a ladder up and climb up through the shower and stick my head only into the roof space. It was like another world of squeaks and creaks, insulation bats and dust mixed with various “droppings”. After shoving some insulation aside cautiously I could see the journey to the other end of the house where my bedroom is and where the cable needs to run. That was enough food for thought today.
This evening my courage was wavering and I asked Shane if he would consider doing it for me tomorrow as he had done this kind of thing before, just so that I could watch and then maybe do it myself next time. Now while Shane was not exactly happy about doing it he did agree.
Day two started with Shane asking me to make him a coffee because “I am climbing in a roof for you this morning”!!! WELL, enough said….I put my brave boots on and decided I just had to get up there myself (not to avoid making coffee), if Shane could do it then so could I.
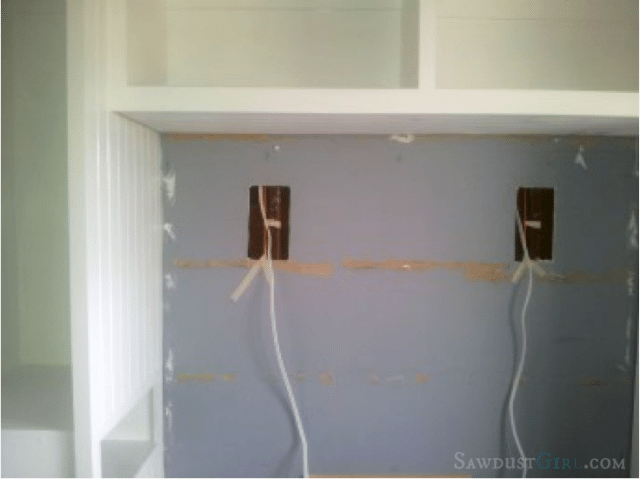
I wanted to make it a quick process and not hang around in there so I decided to make some holes in the plasterboard where the lights are to go and poke the wiring up into the roof space. This way I could just grab the cable and drag them back through the ceiling. I taped the cables to the end of two rods and pushed them up the wall space then taped them in place.
The sick feeling I had earlier returned when I realised it was time to get in the roof…..breathe just breathe. Things going through my head at this stage….worse case scenarios….snake, possum, rat, mice, homeless person (much less likely but I have a great imagination). Soooo I put on my battle gear, goggles, gloves, respirator, long pants and long sleeve shirt and up I go.
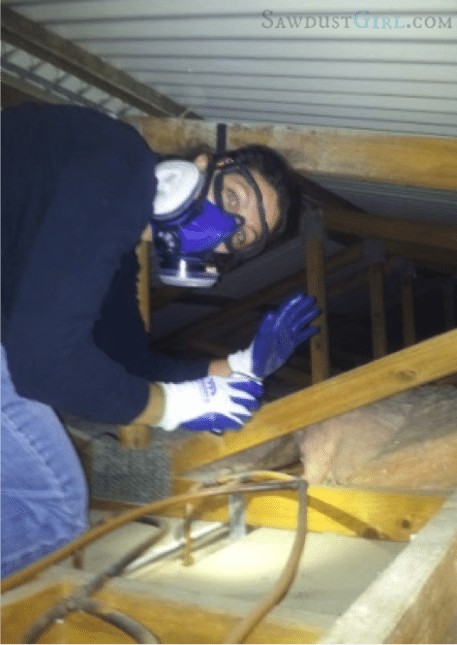
My heart is racing and once I get crawling I realize that it is a much smaller space than it looks, my first few moments were thinking about what might come out of the darkness to ambush me but then I just focused on the goal which was making it to the far wall…only crawling on the timber beams and trying to avoid putting any pressure on the ceiling itself. I was only using the flash light app on my smart phone which was doubling as a camera for me too.
Once a I get to the other end , I get on my belly and reach out for the cables and bam my phone shuts down……..silence, darkness, quiet panic…..deep breath and then carefully try and get it turned back on…phew
By this stage I am wishing that I was wearing a singlet and thongs because it was SOOO hot up there my goggles were filling with sweat.
I grabbed the cables pulled them back with me and had Shane shine a torch up the wall from the bedroom so I could see where I needed to feed them to.
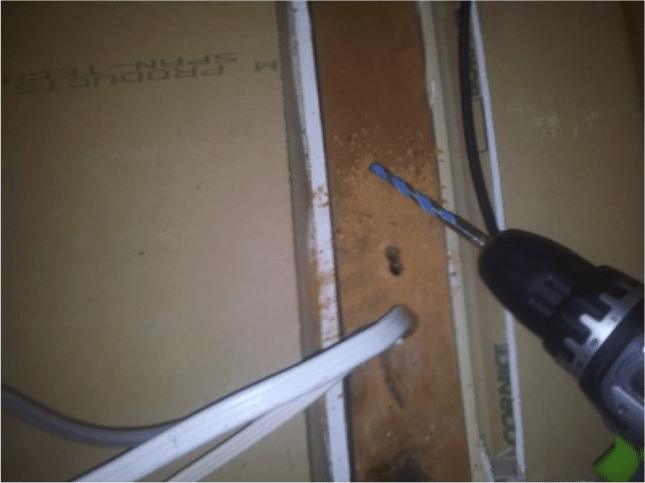
Awesome! all was going smoothly until I found the hole was too small for all the cable I needed to run down there. I managed to get one cable through but there was no getting around it – I would need to drill another hole…bugger.
I had to crawl back and get Shane to pass me a drill then crawl all the way back down for a second time, by this stage the excitement and fear had gone and I was just wanting to get it over and done with.
This part was easy, a couple of quick holes, fed the second cable through and voila!! Done.
Since the mystery of the roof space has been explored I feel like I could get up there with no worries at all now if I need to. This project is really bring some great challenges and each time I overcome one I learn something new and gain confidence in my abilities….I am pretty sure I can do anything now.
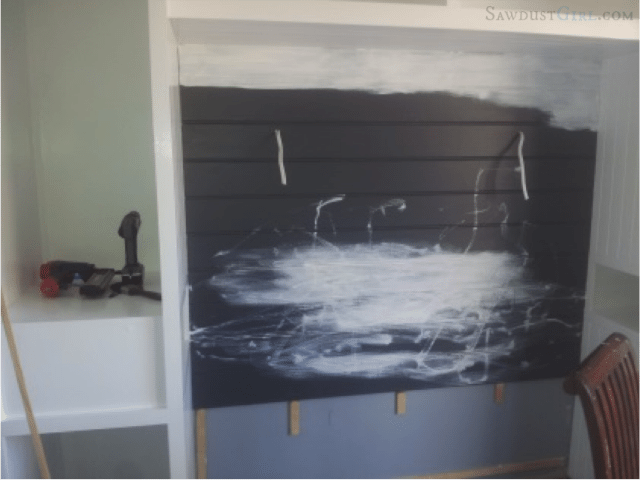
Very happy I have now been able to put but my wall panelling up and it looks great. I had an awesome idea to make it a charcoal grey colour to break up all the white but it turned out to be too dark for my liking (and Sandra’s) so back to white with some help from William.
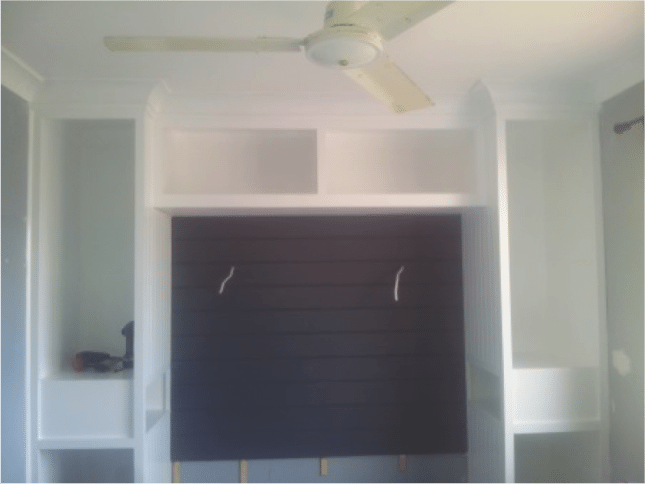
Too Dark and made the whole room look smaller.
Always nice to get some“help”.
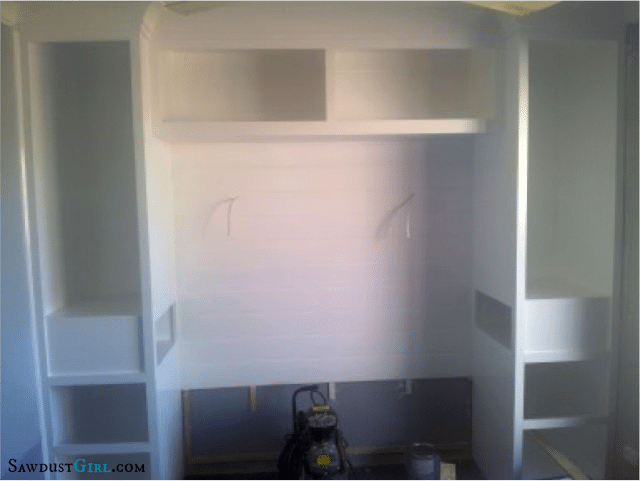
TaDa! All is right in the world again. 🙂
Now I am finished with the cabinets for the moment it is time to look at starting the bed which has a couple of components. First a storage box doubling as a day bed (should we ever want to use this room without a queen size bed.) This will form the head of the bed and is for longer term storage of seasonal clothing and doonas etc as we will need to slide the mattress off to access it.
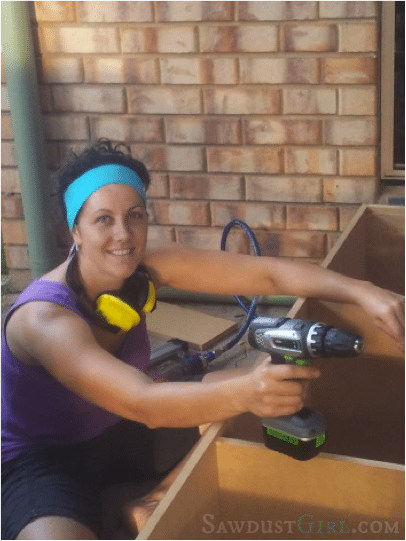
Working outdoors taking in the nice weather!
It was fairly quick and easy to put this one together and it fits like a glove.
Now for the lid and we have action, hip hip hooray daybed/storage done!!
![]()
Isn’t it becoming simply GORGEOUS? Kristy has had some real “life happens” moments in the past few months but she is plugging away, creating awesomeness!
Did you miss someting? Catch all of Kristy’s project updates here: Kristy’s Small Bedroom Design: Part 1, Part 2
Want to learn more about building Cabinets? Check out all my “Cabinet making Tips and Tricks“.
kristin says
Kristy–I was cringing the whole time! YIKES! You are so brave. I think just getting the woodworking figured out would be a triumph. NO WAY I would be going up there! Keep up the great work!
Feral Turtle says
Way to go Kristy! It looks truly amazing.
Ann Rourke says
Amazing post. I was wondering if you could give any information on part 2 of the wiring of the sconces? Did you pull the wire down to the switch already there or did you have to add a switch? BTW, I just bought a book on “wiring a house for dummies” from Amazon so maybe it will all be clear as mud soon 🙂
Thanks!
Barb Tilton says
Just came across your blog for the first time and this post was EXACTLY the kick-in-the-butt inspiration I needed to go conquer my own fears today to set up and use the Kreg jig that I requested for Christmas and which has been sitting in its original packaging since December. Thanks!