I’ve been skim coating my dining room to get smooth walls. I shared a tip that I’ve been using to control the dust and in that post I received a few comments with even more ideas to get closer to dust free drywall sanding. Or at least “less dust” drywall sanding. Wouldn’t that be great? NO dust when drywall sanding!!! Then my friend Sarah of the Ugly Duckling House told me she like this dustless sander she had used last time she had done some drywall repair. She said she hooked it up to shop vacuum hose and it worked pretty well. So I purchased one. Why not? It was inexpensive enough and although I was skeptical I wanted to give any affordable option a chance.
Dust Free Drywall Sander
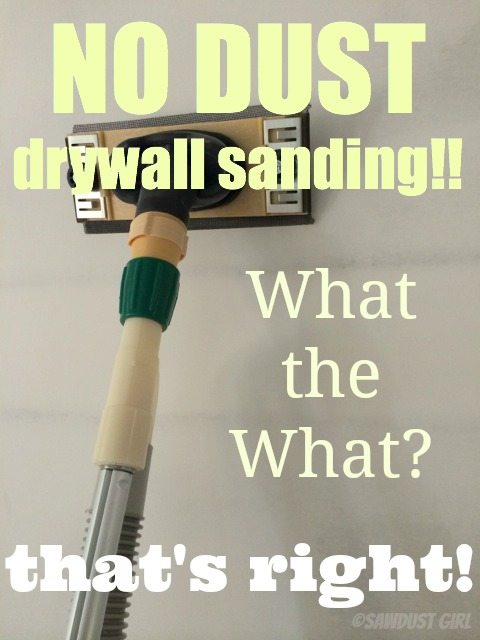
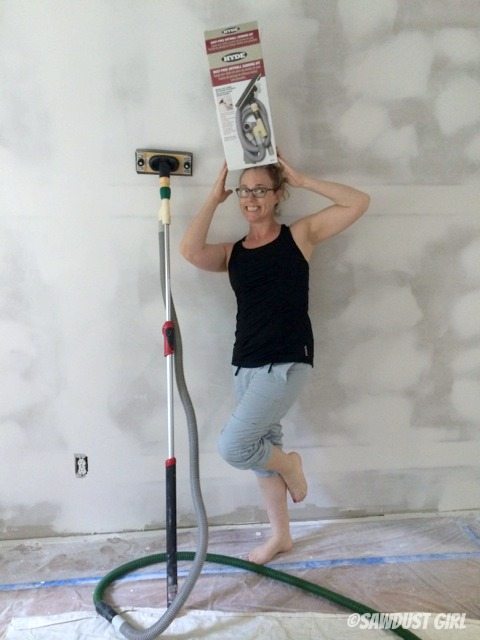
The item in question is a Hyde Tools Dust-Free Drywall Sander. You hook it up to your shop vac and if using a shop vac I would use a Cyclone to grab the super fine dust before it gets to your shop vac because that stuff clogs filters super fast!
Connect to shop vac
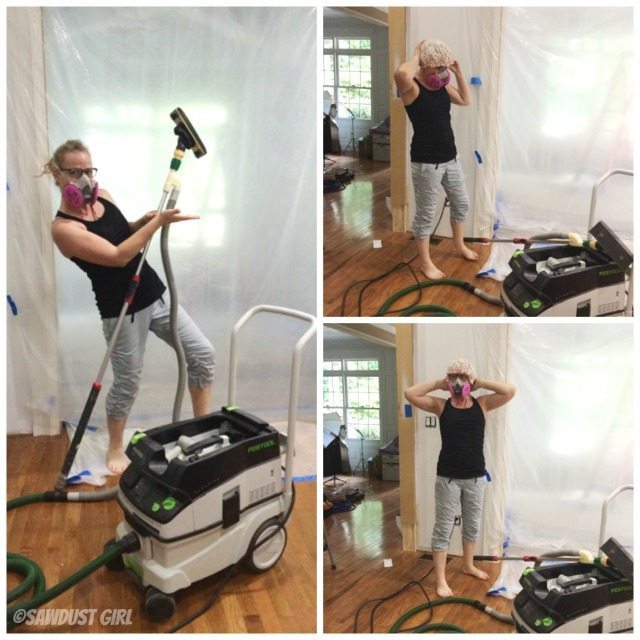
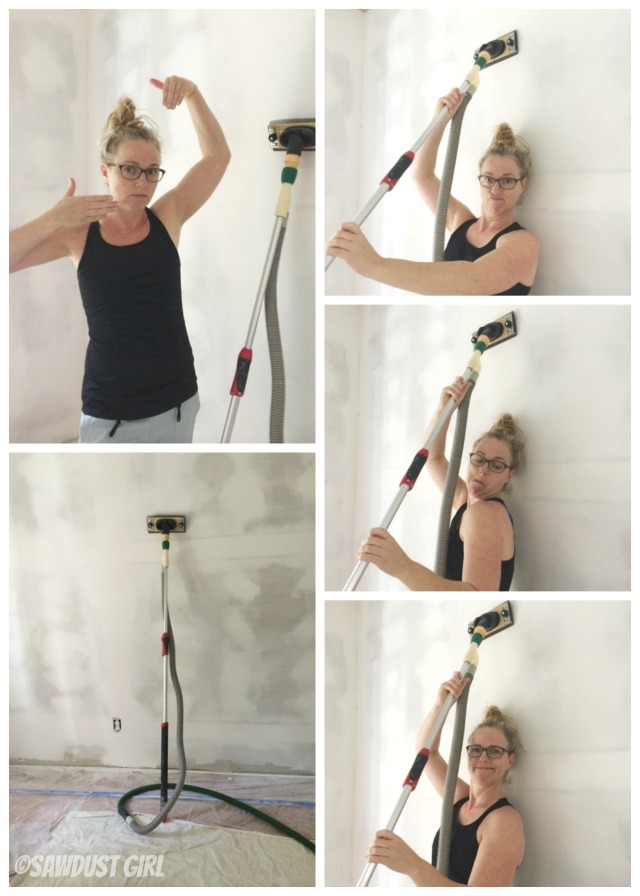
I hooked up to my Festool dust collector. It has a hepa filter and is made for this kind of work. I wore my mask and yes, that is a shower cap! I discovered that a shower cap fits over my head, big messy bun and all and keeps all the paint and dust out of it. My hair is crazy long these days and it’s unbelievably difficult to keep it contained and free from all the …stuff I work with every day. So shower cap it is! Just go with it.
I also turned on my fan and kept the plastic up so I could contain any dust that did fall within just that room
 I turned on my vac and began sanding…
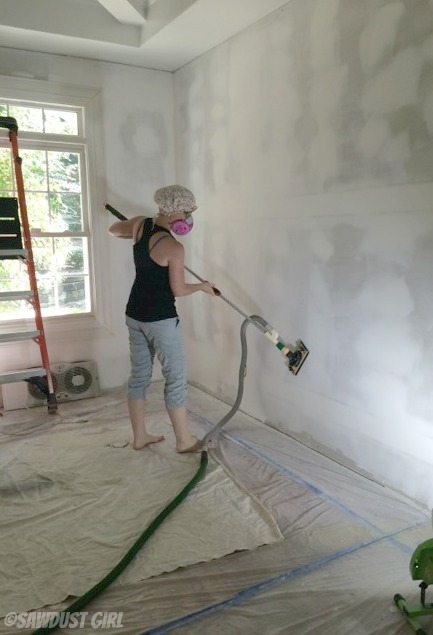
…and it flippin’ worked! Like — super well! I didn’t see ANY dust at all. I generally sand very lightly at this point so as not to leave those little grid-like marks left from the sanding screen but I wanted to test this puppy out so I gave it my all and it still didn’t drop a speck.
Ok, let me get this straight, this thing doesn’t let any dust escape? I gave it another test. Pulled down the plastic, took off my mask and “hair protector” so I could really concentrate on what was happening! No mask! No Hair Protection! And a BLACK SHIRT AND I stood against the wall underneath the sander and sanded again so my black shirt would catch the dust and it would be super duper easy to see it.
Nothing!
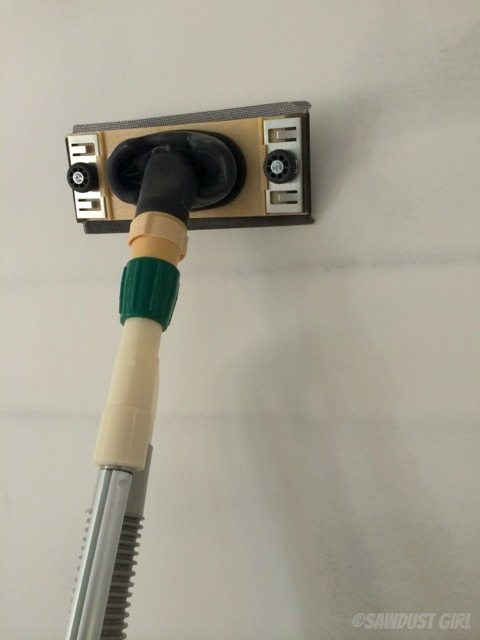
Adjustable suction is a must
If you have a shop vac with adjustable suction, it’s great! With too much suction it’s difficult to sand very lightly and avoid leaving any marks behind.
There are two small rings on the neck that allow you to release some of the suction pressure which helps a little. With the valves completely shut I can pretty much stick the sander on the wall and walk away — so there’s a lot of suction!
Not a powered sander
It’s just a regular pole sander that requires YOU to do the work (up and down, round and round, side to side–whatever your sanding preference). There are tools on the market that sand the wall for you and collect the dust. I’ve considered one of those but they are expensive and the reviews are mixed. They are heavy and cumbersome and …did I say expensive? Festool has one that is $1100. Porter Cable has one that is $500. I’m not interested in spending that kind of money because I only do this kind of work once in a while. (More often than I care to lately.)
As with all pole sanders I’ve used, this drywall sander has a tendency to flip as I’m pulling it down. This gouges the wall. I think preventing that is all in developing technique.
So this is a keeper in my book. I was pleasantly surprised by this little $29 item. It’s definitely a new Workshop Fav.
Want one? I’ve made it easy for you, click here: Hyde Tools “Dust-Free Drywall Vacuum Sander”
Sarah @ the ugly duckLing hoUse says
Told ya! 🙂
New tip: use a highly-reviewed primer (like Glidden Gripper) & it will surprisingly fill in those little annoying scratch marks. And make sure you go over the last coat with a sanding screen with high grit (mine are actually marked for first, second,
& last coats).
Tammy R. says
I learn so much from you! I never knew this tool existed. We made a mess out of our bathroom last year; I wish I knew it could have been avoided.
Jake's a Girl says
I’ll have to get me one of these! Beats the heck out of holding the sander in one hand and the vacuum in the other. I did that on my stairs and it almost killed me. And! Still did not catch all the sanding dust. Thanks!
Jennifer @housecraft says
Anything that means less drywall dust deserves a medal in my books! Your tool looks even better than the one we used (it was a handheld). It also helped control dust but it wasn’t perfect. I’m getting one for next time! Thanks so much!
Marj says
Thanks! Very helpful.
Glennie says
Wondering if anyone has tried using it with a regular shop vac ?
Not familiar with festool Vac as shown here but it looks like a beast and would suck up your cat! ?. Point being, I don’t want another gadget this is sub-standard and ends up in the trash.
Sounds like you’ve gotten great results but not sure about a regular Vac?? Appreciate your help.
Sandra says
A regular shop vac would work but the filter will get clogged quickly with the drywall dust. A cyclone attachment would fix that.
James Burke says
Yes, I have used a vacuum sanding pad with a regular shop vac. But I first run the vacuum through a water filter. This is a 5 gallon pail with water and hose attachments. Works great, the dust becomes mud at bottom of the pail.
Marti Walker says
Would this sander and sanding technique work on removing popcorn ceilings???
Sandra says
I doubt it but I have never dealt with popcorn ceilings. I think the “popcorn pieces” are too big. I generally see people wet the ceiling and then scrape off that texture.
Zach says
If you haven’t already scraped the popcorn, I have an incredibly easy solution.
Hit the garden department and grab a cheap one-gallon pump sprayer. Fill sprayer with water (I usually start with warm, but it cools and still works.) Spray the ceiling and the area that you can safely reach from your ladder and allow to sit for a few minutes. I then use a 6” joint knife and my mud pan and scrape at about a 30* angle with the pan directly beneath the leading edge of the knife blade.
When the pan is filled, I dump it into a plastic grocery sack (they’re free and the weight of the wet popcorn makes using a contractor bag too heavy). When you’re done dumping the pan, spray another section and reposition your ladder.
I’ve used this method for years. It’s the fastest and cleanest method I have found.
Hope this helps.