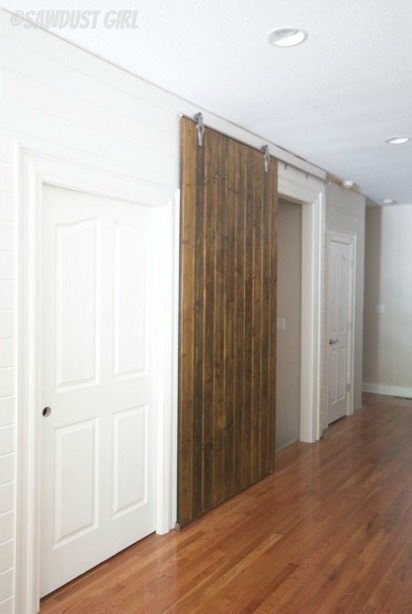
It’s finally time for Barn Door Installation! After spending months building the door…It is made up of 10 planks glued together which I glued up in sections. While glue was setting on each section I worked on other projects and we got a new puppy so the glue-up took a really long time. Then I finished one side and let the finish cure for a couple weeks. Then finished the other side… I FINALLY waxed both sides and got the thing installed this weekend.
Barn Door Installation
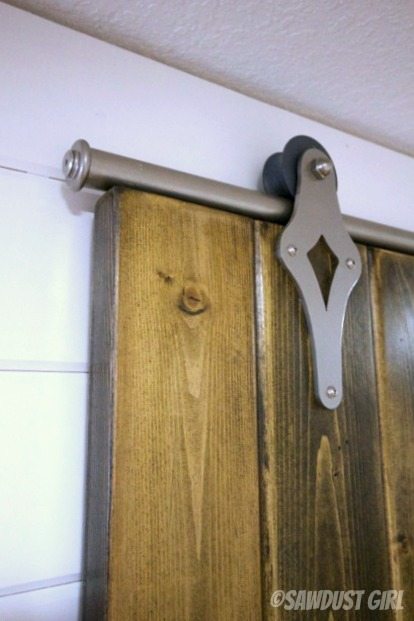
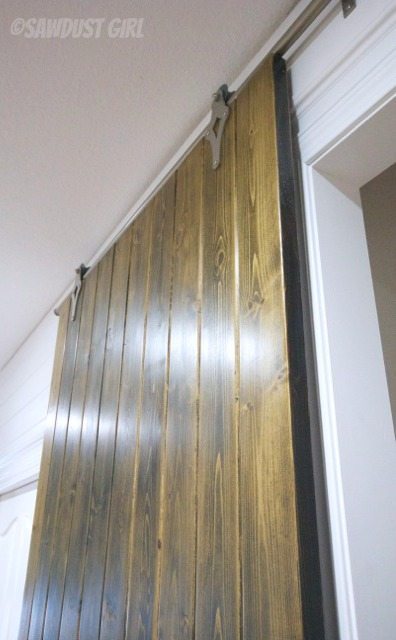
I used sliding door hardware provided by CSHardware.com. My roller straps are the Palm-Leis style if you are curious.
The Barn Door Installation was more difficult than I expected. Some of that difficulty came with the fact that my wall is shaped like an S. The portion of wall that I tore out so I could raise the doorway is plumb but the portion next to it is not so it’s not exactly flat and even across the entire span where I installed the rail.
Here’s how it went down:
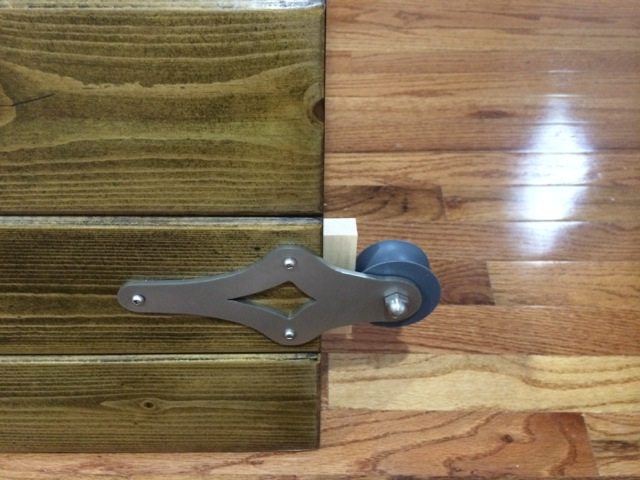
I used a block of wood — cut to the width of the required spacing from the top of the door to the bottom of the wheel (to fit over the rail). That worked like a charm! (Happily the proper spacing requirement was provided in the instructions!)
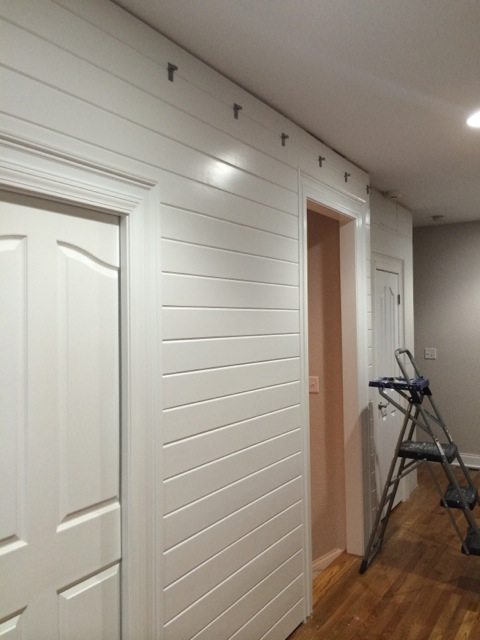
Installing the rail brackets on my Curvy wall was more tricky. It was super difficult trying to install each bracket in exactly the right spot. The end is a t shaped that slides into a t shaped slot in the rail, so they all had to be positioned level in a straight row. That was really difficult! That combined with the curve in my wall had me cussing up a storm because it DID NOT WANT TO PLAY NICE.
I tried using shims behind the brackets. I flirted with the idea of installing a cleat that I could shim out so I’d have a flat surface to install my rail brackets onto. I installed, uninstalled and relocated the brackets several times…
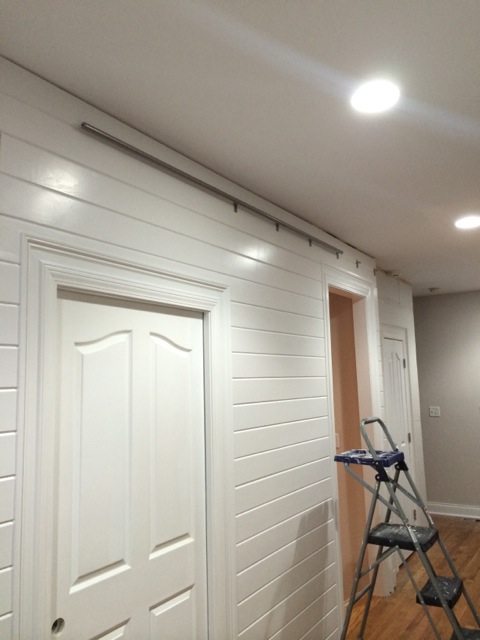
I finally removed all but one bracket, put all the other brackets IN the rail, installed the other end bracket while using a laser level so I knew those two brackets were lined up and then slid the other brackets over so they were evenly spaced and installed the bottom screw in each of them. Then I slid the rail back so I could get to the top screws and secured those. It makes sense to do it that way now that it’s done. If only I had read a helpful blog post before I started. 😉
In case you are wondering: my door is 50″ wide, I have an 8′ rail and 6 brackets. This setup will hold 250 lbs door. My door is heavy — but not that heavy.
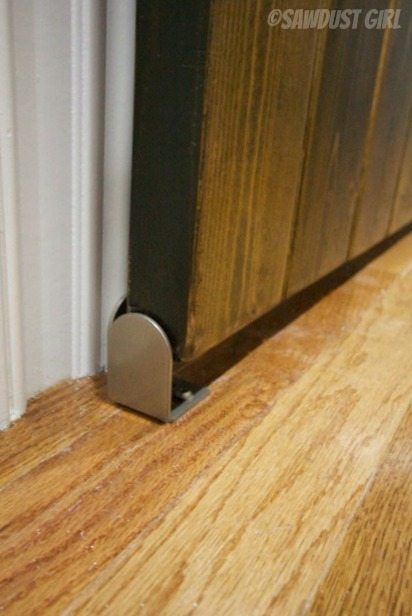
I installed two end stops on the floor to stop the door in the fully open and fully closed locations (so the door doesn’t roll right off the track).
I also installed two center guides to keep the door from hitting the wall or swinging out into the hallway if one were to pull it in that direction (or push from the other side of the doorway). The center guides are located “just so” so they guide the door when it is open, closed or midway.
Now that it’s done, I’m so happy it’s done –I love it! And it works like a charm.
CSHardware.com provided the barn door hardware used in this project. I did not receive additional compensation. The project and all stated opinions are my own.
You might also like this post with lots of cool DIY barn door ideas!


marie says
Looks auh- mazing! Will you be posting deets on building/finishing the door?
Diana K says
I agree, i would love to see how you built the door.
Patty says
Please post pictures of the puppy. Thank you!
Laura M says
I would love to see more detail on your floor stops and guides.
Ava says
LOVE, LOVE LOVE IT!
Feral Turtle says
Looks fantastic!
Kim says
Gorgeous! Good job and well cone and all that. Someday, there will be a home improvement project that goes smoothly and like clockwork. If that ever happens to you, let us know! 🙂
Jake's a Girl says
Love it! Can’t imagine how aggravating the brackets were. eek! But you didn’t give up.
It really is beautiful.
Guerrina says
That is magnificent!
[email protected] Designs says
This door looks amazing and as always you do such magnificent work!….