Surprise! I started a whole new room/project! Madison and I are building a “recording studio” up in the loft. It’s really nothing more than a closet sized room that will be quiet enough to record voice overs … or music (Madison — not me) without the dogs collars jingling or someone knocking on the door or walking into the room singing, etc. To save space, I installed a pocket door and since I’ve been asked for one quite a few times, I took all the necessary pictures to write up a tutorial and show you how to install a pocket door frame.
How to install a pocket door
I’m using a pocket door kit from Johnson Hardware for a 36″ door. These kits make installing a pocket door super easy. You just have to frame the rough opening in your wall.
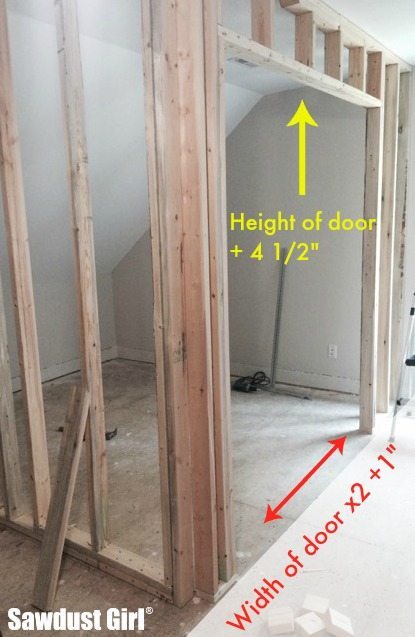
Obviously you’ll want to ready YOUR instructions for the kit you purchase! My kit called for a rough opening height to be the height of my door + 4 1/2″ with a minimum height of 84 1/2″. The width called for was the width of my door times two + 1″.
My door is 80″ so my opening height is 84 1/2″.
My door is 36″ wide so my opening width is 73″.
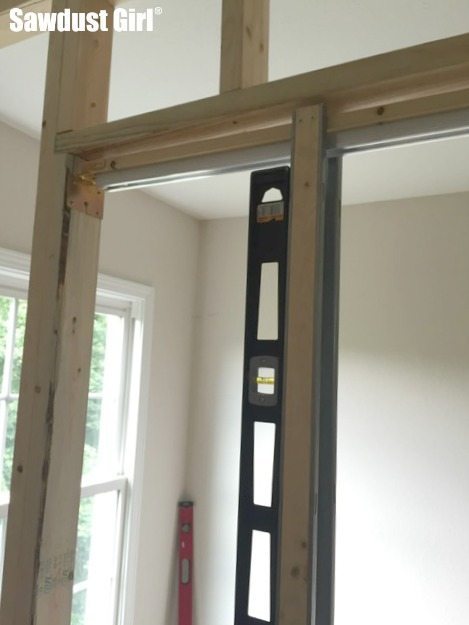
The next step is to put a nail or screw in the center of each side jamb (the studs on the side of the pocket door opening). The placement of this nail (in my case) is determined by your finished floor height .
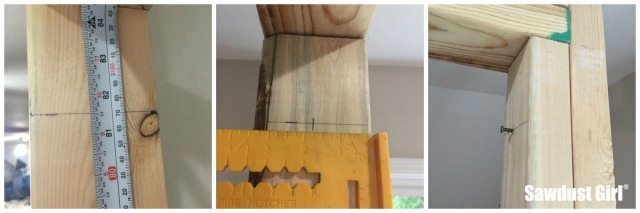
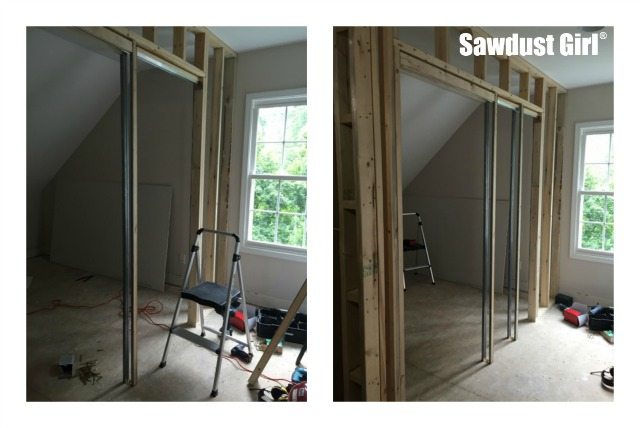
Then the pocket door frame header will rest on these nails while you make sure everything is level. Once you have determined that the header is level, secure each side with screws. The wider part of the header goes over where the actual door opening will be. You may have to trim your header. If you do, a metal blade on a reciprocal saw works great.
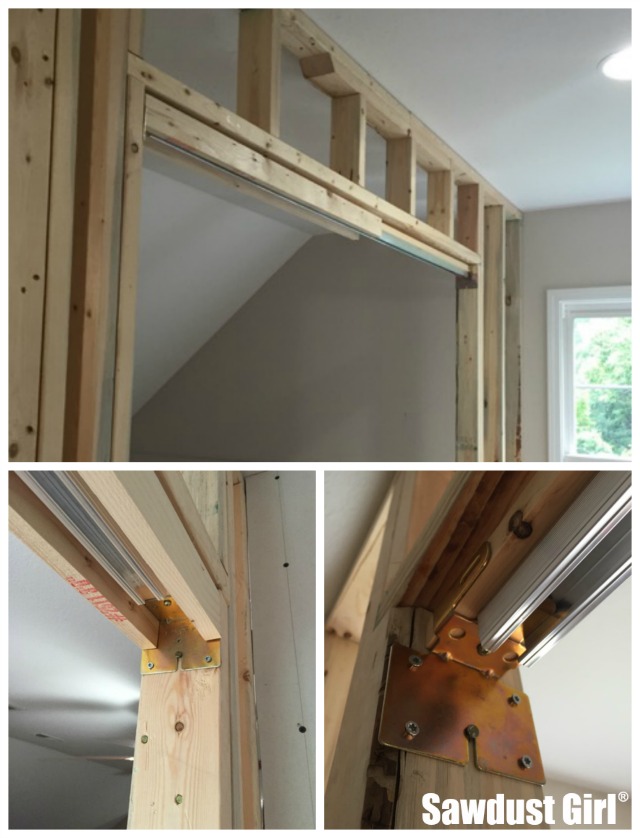
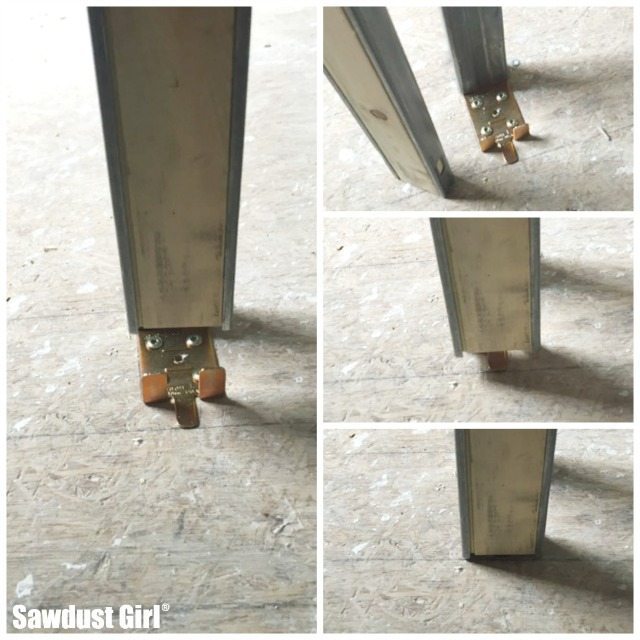
Now you have to secure the “split jambs” in place. One set of split jambs will be butted up to the header nailer. The other will be installed halfway between the first set and the side jamb.
*Note that one end of the split jambs has a set of holes on the metal side and the other end does not. The holes need to go on the top. Those allow you to secure the split jambs to the header nailer. The other end slips onto the fingers of a floor plate. 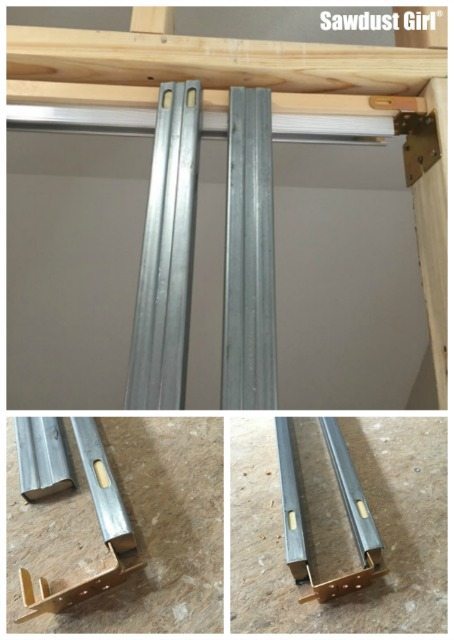
Now, to install the split jambs!
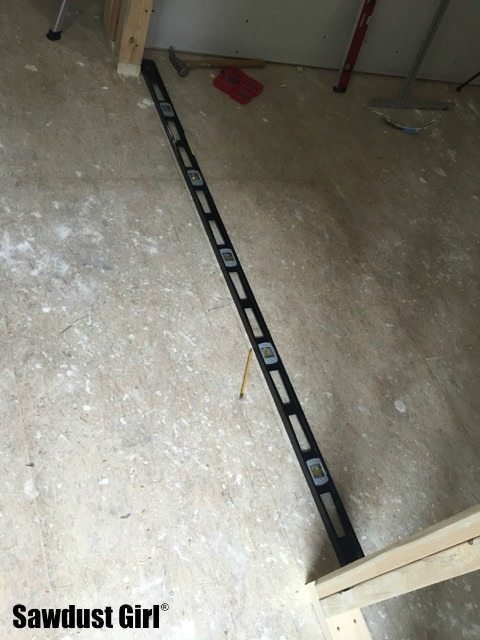
You can either snap a chalk line or use a straight edge to draw a line on the floor even with the side jambs.
I slip the split jambs into the fingers of the floor plate, center that in my lines and mark the location of the nail/screw holes.
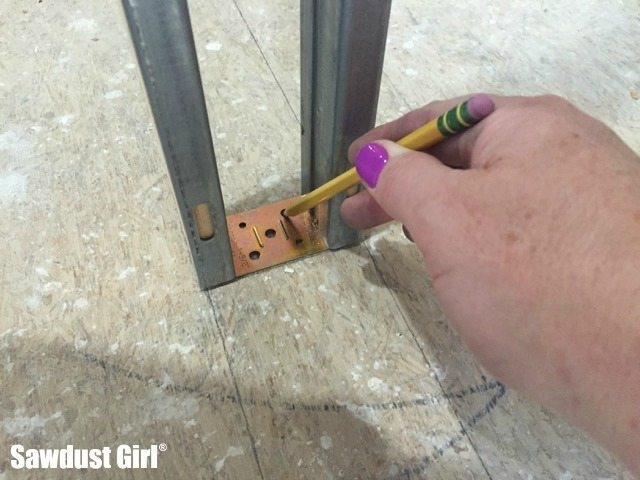
Then I secure the floor plate with screws and slip the split jambs back onto the fingers. (I find it easier to do it this way than as the instructions call for which is to try to nail or screw the floor plate with the split jambs in place. It’s not a very big space!
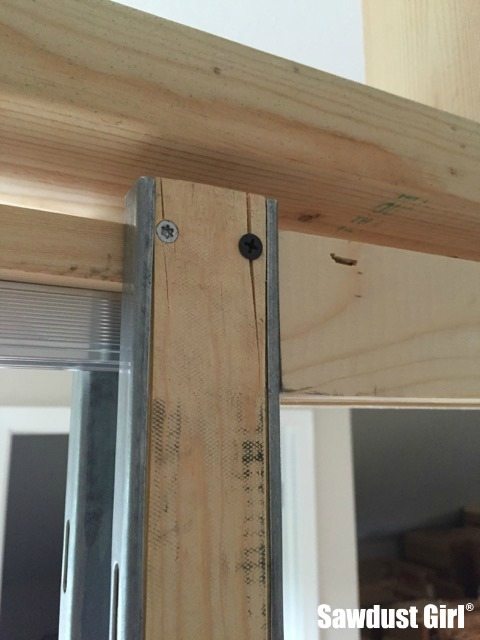
Make sure your split jambs are level and then secure with screws.
I grabbed a handful of drywall screws because there was a box sitting right there but that was a mistake! The drywall screw split my jamb. I ran down for a box of SPAX screws for the rest of the holes. Quite a difference!
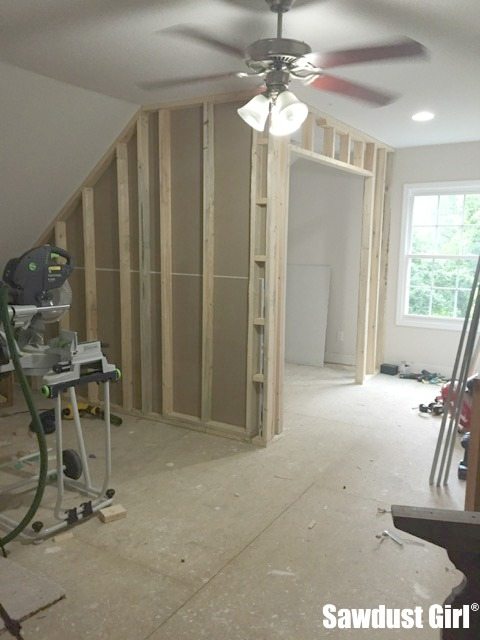
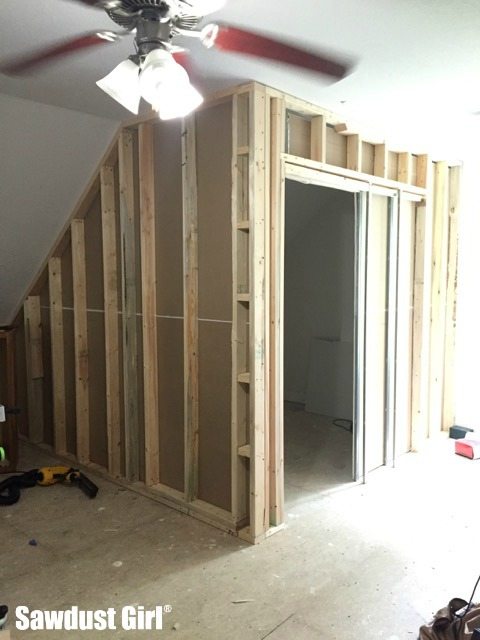
And that’s it folks! That’s the pocket door kit in a nutshell. Then you screw the wheely hangers onto the door and slide it into the track…but you have to actually HAVE a door for that.
I didn’t have a door yet so I moved forward with drywalling the inside of the new room. I’ll get some electrical outlets, a light and possibly some sound proofing in there before I drywall the outside of the walls.
Jessie says
love all this information!
I would love to attempt at installing a couple of pocket doors in my house to save on floor space (particularly around toilets). Come one builders!!! You can do better than this.
Now, question for you… My house has metal studs. what recourses do you suggest I look into to learn how to install pocket doors a house with metal studs? Is it all the same?
Sandra says
If you are wanting to install a pocket door in an existing wall you’ll have to remove some of those studs to create the rough opening for your pocket door kit. You’ll have to know if that is a load bearing wall and then frame that out appropriately … and you have metal studs so …
Sarah says
My brother is almost done re-doing his office. He put roxul (rockwool) in his walls. But he didn’t stop there, he installed an exterior door (instead of interior), bought and installed accoustic putty pads on all the outlet and switch boxes, and is even making a convoluted design lined with accoustical foam for the air return. He’s gone a little overboard, but at the same time it’s awesome! And this isn’t a recording studio, just an office.
Sandra says
WOW that is intense for an office. Actually I get it for an office. I’d like my office to be totally quiet too. hmmm…
dawn says
My husband and I own a music store, and after building what feels like a million different lesson rooms and trying to kill sound as much as possible the thing that works the best is to build a room within a room. The stuff the previous commenter mentioned (rockwool etc…) do work but they effect more of the ambient sound within the room and don’t do a whole to for what escapes the room to the rest of the house. So it depends on what kind of sound control you are going for.
Sandra says
Interesting. I mostly want to keep all the noise from the rest of the house out of that room. I’ve been reading a ton about it, watching Youtube videos, etc. I think I’m just going to treat it like a regular closet though because there won’t be any real noise being created in the loft while this room is in use. So we’ll put acoustic panels in the room and make some lovely sound and move on. LOL
Joel Montfort says
I’d suggest a disclaimer that this is applicable to non-load bearing walls only. You don’t have anything remotely looking like a header over that door. Every pocket door I have ever installed, I have had to run a sandwich 2×6 or 2×8 over the door to bear the load with a couple of jacks for support.
Ed Mister says
Good Catch! I noticed that as well, that framing is fine for a non-load bearing wall. I honestly would have at least sandwiched 2×4;s at a minimum.
Jim says
Upgrade to the Johnson Hardware 2000 series pocket door frame. It’s a 4 roller trolley on an aluminum I beam track. It will hold up to a 400 pound door. It also has a 5/8″ plywood clip kit to strengthen the walls. I have some that are 8 and 9 years old and work like new (with no lube on the rollers). I don’t install any other kit for my customers when I put one in from time to time. I’ve been in the trades over 40 years as a Carpenter/General Contractor. Once you put one of these in, you’ll never put anything else in. They are pricey, about $250.00 with the plywood kit but well worth the money! I put (2) in for a couple who remodeled their bathrooms in 2012 as he had MS. I suggested the pocket doors and she was hesitant because of the old pocket doors from the 50’s, 60’s, 70’s. I assured her with these she’ll thank me. When I was done, she couldn’t believe how nice they were and thanked me many times as they were perfect for her husband with practically no effort to open. Substantially better than the one you see here even though it’s by Johnson and is much cheaper.
Lena says
Love love your mirrored pocket choice! Gonna give it a whirl with your guidance but can’t find the one featured in your video. Could you offer advice on where to find that same mirrored pocket door?
Thanks much!
Sandra says
Any door can be used as a pocket door. Look locally and online to find one you like.
Rosebud says
How long has the project taken?
Sandra says
How long something will take depends on your experience level, the time you commit to the project and lots of unknowns that will be discovered along the way.