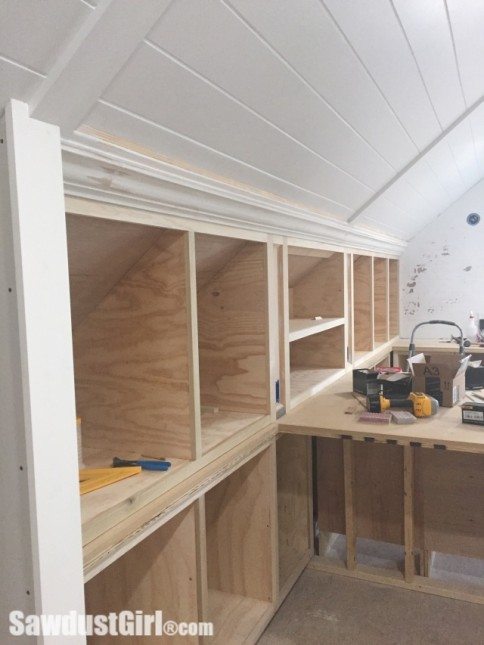
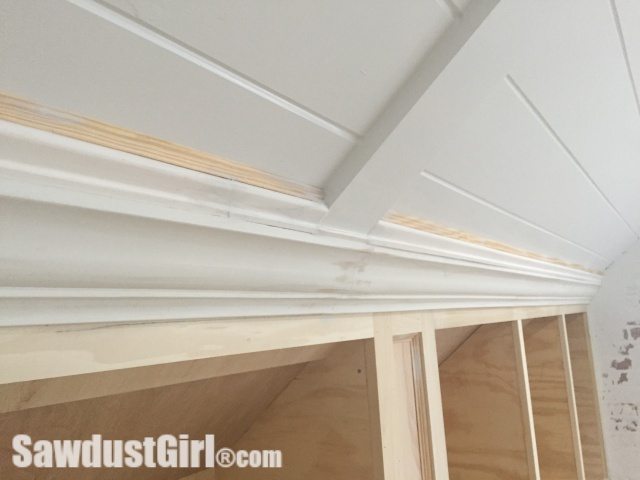
Installing Crown Moulding on Angled Ceiling in my studio was 100 times easier than I expected. Basically because I cheated. Well, I made it as easy as possible on myself anyway — and it was so easy it feels like I somehow cheated. I was all prepared to pull out my Crown Moulding Templates to get the job done but then I built a wall at the end of the cabinets so I could simply terminate the crown moulding into the wall and install the crown in a straight run. Then I installed three different pieces of moulding instead of trying to force the crown moulding to do the whole job all by itself.
Crown Moulding on Angled Ceiling
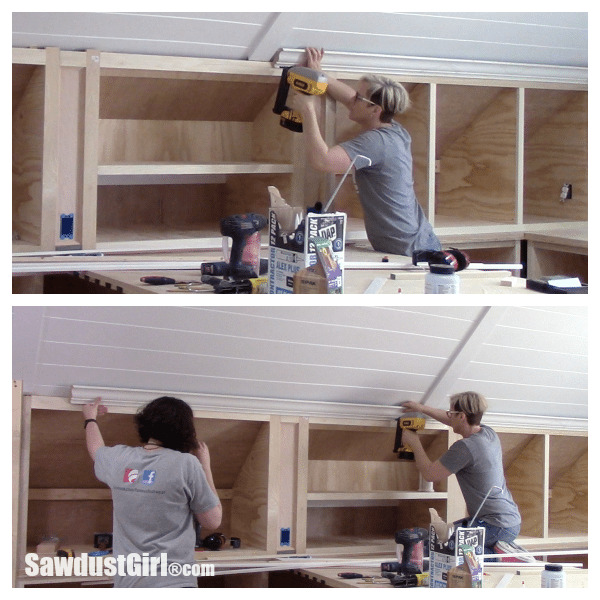
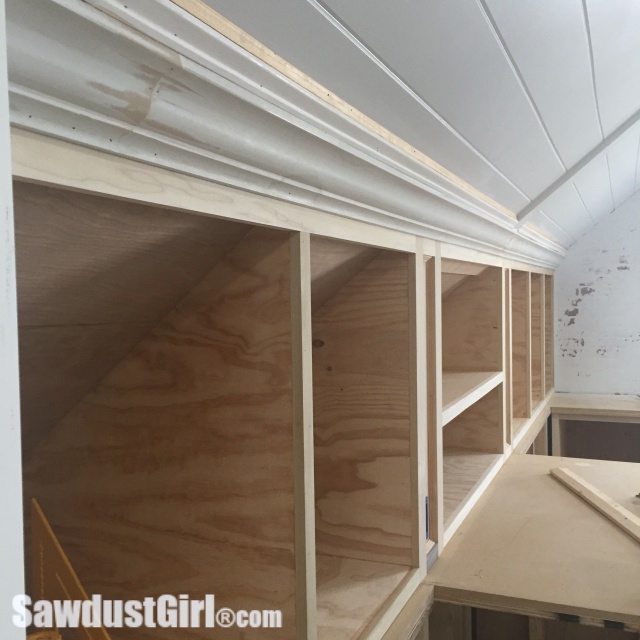
I started out securing traditional crown moulding onto my cabinets 1 1/2″ from the bottom of the top faceframe rail. This piece of moulding (the crown) ran in front of the 1×5’s on the ceiling. I cut the crown moulding into short runs so I could install it by myself but Madison (who is home for Spring Break) wandered up so recruited her for a few minutes.
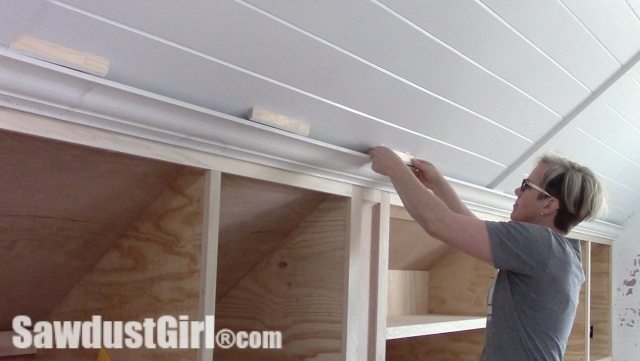
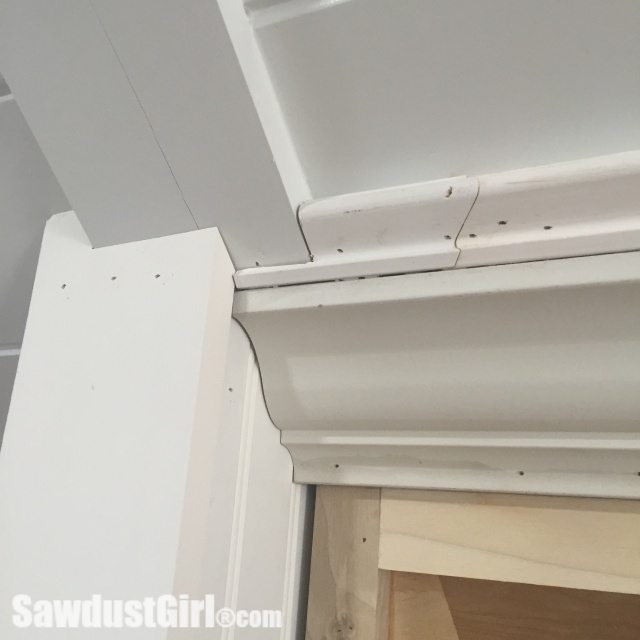
Next I installed backer blocks to support the next section of moulding. I found the perfect backer in my scrap pile. It was a piece of 3/4″ thick pine that had been beveled at 45º. The angle worked perfectly to support the second piece of moulding.
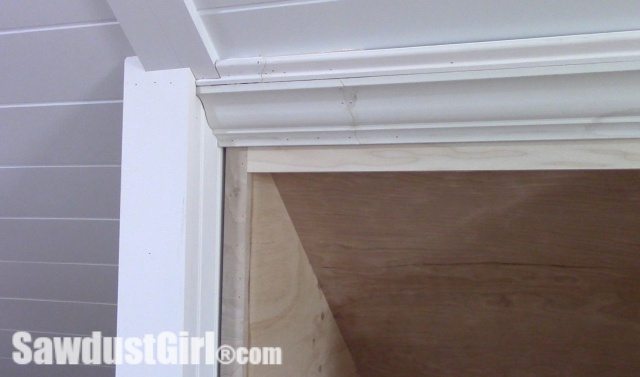
I played around with a couple different pieces of moulding to find the combination that worked. I secured the second moulding to the backer blocks I had installed. This moulding terminated into the 1×5 that was in the middle of my cabinet run.
I used smaller pieces of this moulding as well because I had to notch out around the 1×5 at the end of the cabinets. It would have been really difficult to use a long piece of moulding because I put it in place, removed it and trimmed off some more about 5 times.
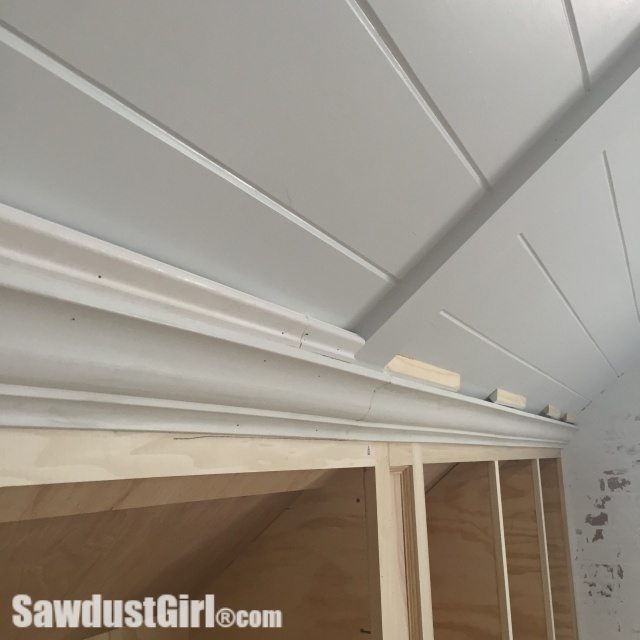
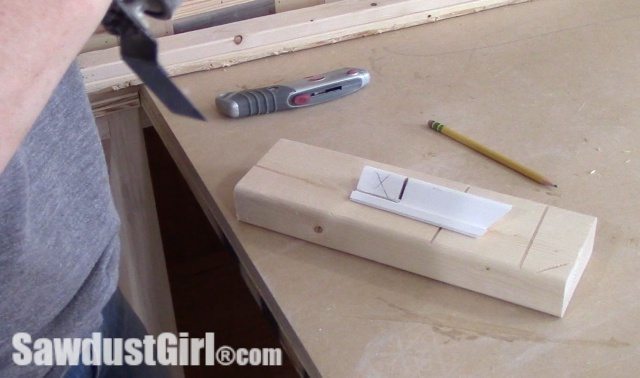
The ends of the joints are cut at identical angles, creating a scarf joint which allows you to glue the joint and nail through the two pieces further securing the joint from future movement. The joints are easy to hide after filling, sanding and painting.
Initially I was going to use just the two pieces of moulding and caulk the remaining crack between the ceiling and the moulding. Just for kicks though, I set a piece of glass bead moulding in the crack and it fit perfectly.
So I cut and installed glass bead moulding along the ceiling, finishing off my moulding trio.
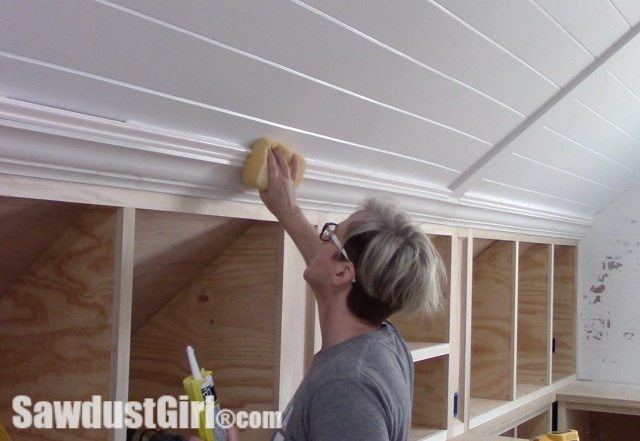
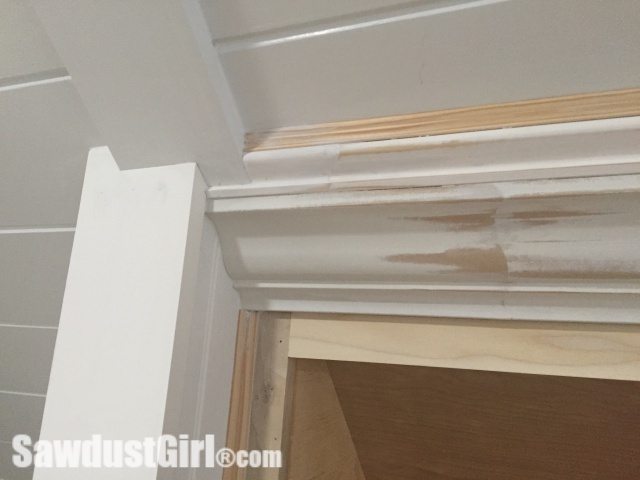
I mentioned the seams being easy to hide and I want to show you an up close look at the before and after to give confidence to those that might find themselves staring at a similar project in their own home and thinking, “THIS is going to look like crap”. If you put in the time, fill the holes and cracks with putty (or 3M prime and patch like I did) sand, caulk and then do it again if needed…
…the seams and holes will nearly disappear.
Here’s a close up of the center 1×5 where I cut off the tiny rounded section of the second moulding and caulked it onto the 1×5 to make the transition a little less abrupt.
Once it’s all painted the same color the three different moulding blend nicely into each other and it all looks very seamless. You’ll have to watch the video if you want to see that because I’m reserving any photos of the painted crown for the reveal post! Coming soon! 😉

Tom says
Wait, what happened to you loving Zar Wood Patch? Is that for something different, or have you changed products?
Sandra says
I still love ZAR but this stuff works great too for small holes and cracks. Plus, it dries faster and is already primed so it’s perfect for painted trim.
Gwen says
Looks fantastic, and excellent job with the video too. Flowed along nicely, loved the voice-over, and it was helpful watching your selection process with the mouldings. Also thank you for the closeup of all those nail holes and joints, and showing your attention to caulking and sanding those areas. Bloggers always say caulking can hide it all, but it’s nice to see how true it is with the correct attention to detail.
Sandra says
Thanks Gwen. I try to make as much of my project sharing a teaching opportunity beyond the main idea of the post. I’m a visual learning and I would want to SEE the results — so I try to share the same way I would want to learn.
Annet M says
I agree with the above poster – I really could see how you take it up that level. I often quote you to my hubby “caulk fixes everything”, but I now can see that I need to spend a bit more time being careful before painting. I always learn so much, so thanks!!
Jason says
I am new to your site. I am very interested in how you did your ceiling. Do you have a video on the wood ceiling above the trim you just installed?
Sandra says
Yes it’s here: https://sawdustgirl.com/v-groove-plywood-plank-ceiling/