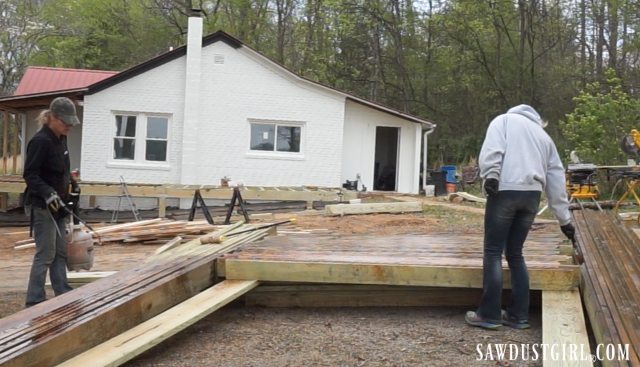
We partnered with Wood, Naturally to build a deck at Calderwood Cottage. Phase two of this project was more effort than we planned for. However, it was totally worth the effort. It makes the whole house look bigger and provides additional space for outdoor living and entertaining.
We had been working in shorts the previous days while getting to this point. Then the weather dropped by 40 degrees –in one day. It stayed wet and cold for the next several days. Very wet and very cold. But that did not stop us. It slowed us down and made everything a lot harder to do…but it did not stop us!
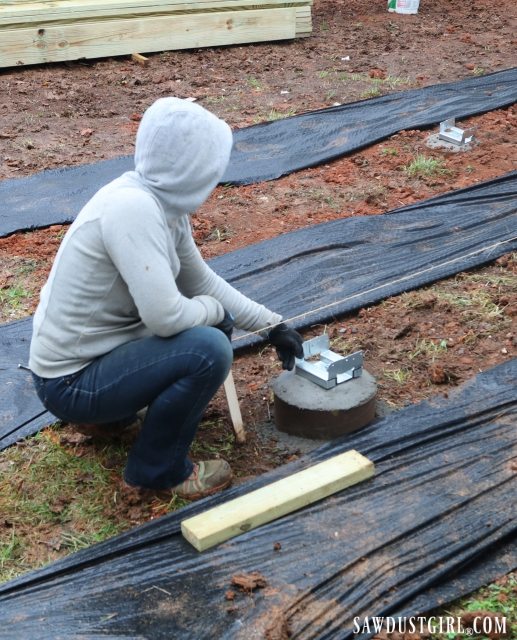
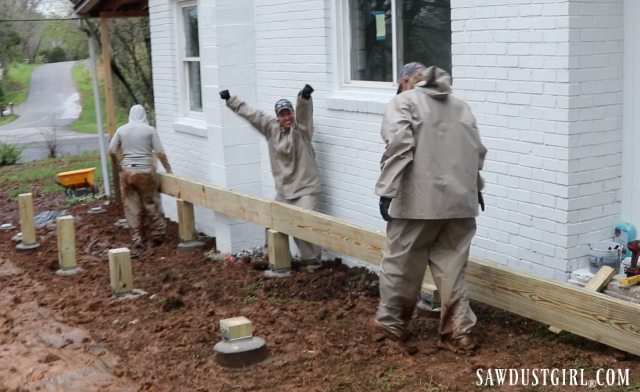
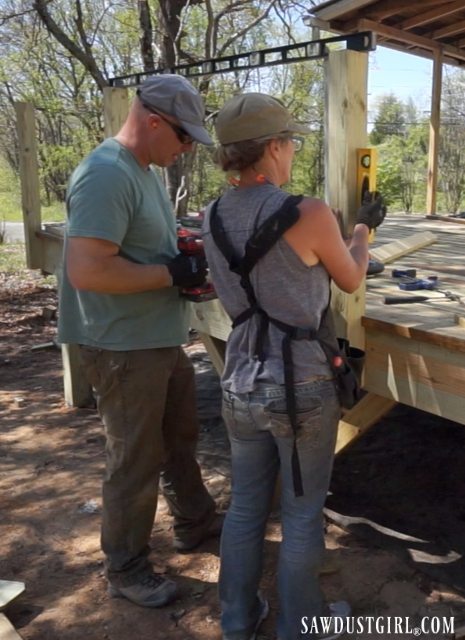
Thankfully we have some good friends and family members that are willing to pitch in when needed. Our friend Chantelle came out to help us for a couple days. She brought us all rain gear. “One size fits all” — also known as XXL! We were happy for the extra layer of protection against the cold rain and wind.
Chantelle has a way of showing up right when she’s needed. There is NO way Julie and I could have moved these 26′ long laminated double 2×10 beams into place by ourselves. We barely got them into place with three of us. Part of the difficulty was dragging an extra 20 pounds of mud on our shoes. I actually lost one of mine in the mud while carrying this beam over!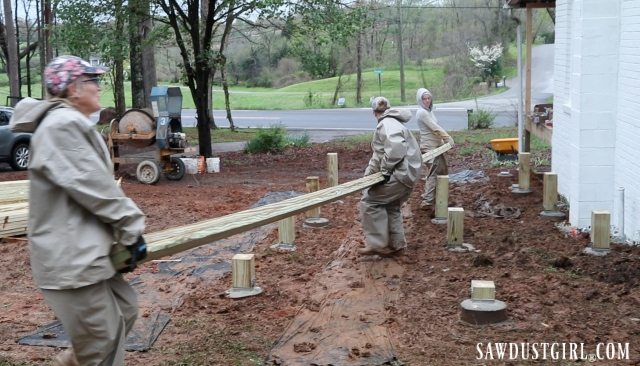
One beam down…
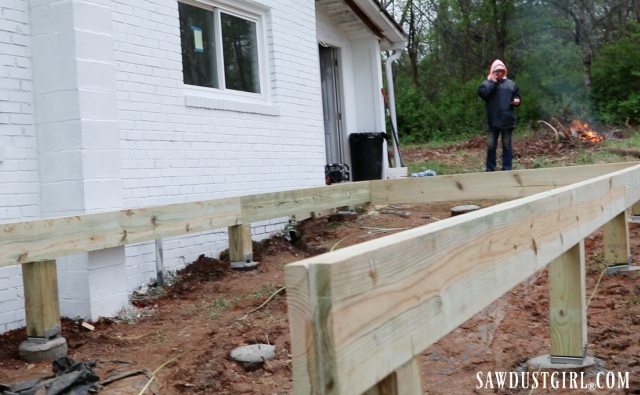
In the midst of a sleet storm, we put a second beam in place and then went inside to huddle…partly to get warm and partly to reevaluate our goals.

Change of plans
Considering our working conditions, we decided to give up some of the elaborate design elements. We wanted to finish sometime this decade — without frostbite!
We gave up the level change and the curves. This allowed us to omit the middle beam which cut in half the amount of work needed for the next phase. Being flexible with your plans and process is a necessity in construction!
We built a fire so we could warm up our hands and toes. Hearing the fire crackle was a bonus that lifted our spirits and gave us the strength to keep trudging through the deep, thick mud that literally sucked the sole off of one of Julie’s shoes!
Onward and upward. We had a fire, we ditched half of the work –and the sun came out! Once again, building an enormous deck seemed like a manageable task. We just had to cut and attach the joists, install decking and railings and stairs. Definitely a manageable task.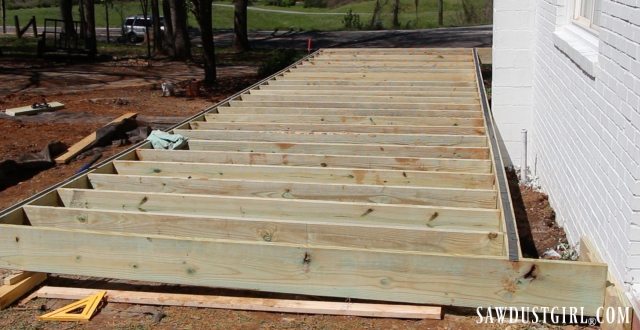
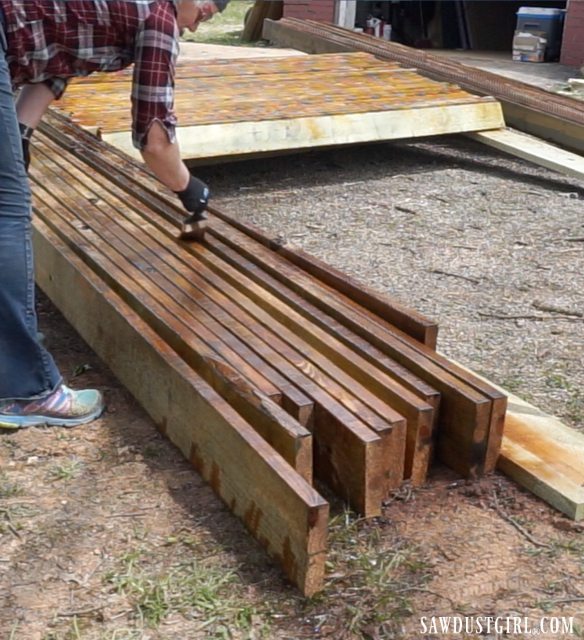
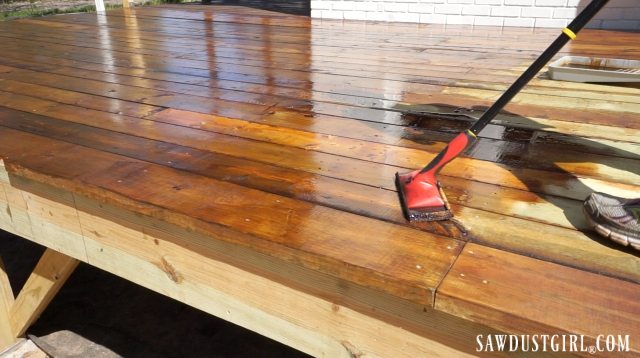
Stain/Sealer
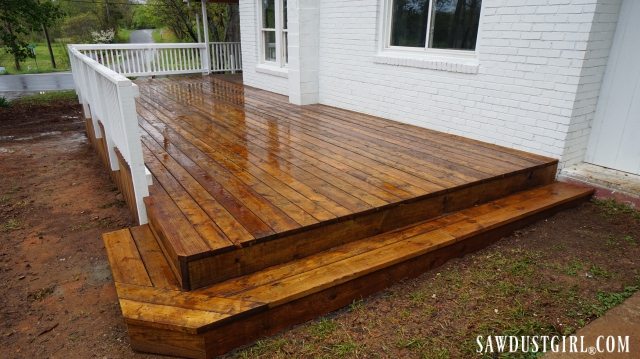
We used a penetrating sealer to stain and seal the decking boards on three sides. This helps prevent the wood from moving in ways you don’t want it to (warping, bowing, twisting) as humidity levels change. Our product of choice is Ready Seal, which you can literally mop on and it gives you an even coat. There are no temperature restrictions and it can rain one second after you apply it and it’s fine! The main challenge is making sure your lumber is dry enough before you seal it. Ready Seal recommends 12% or less. You can reapply it years down the road without stripping or removing the original coat. Keeping your wood deck sealed will help maintain it’s beauty and function for years and years and years.
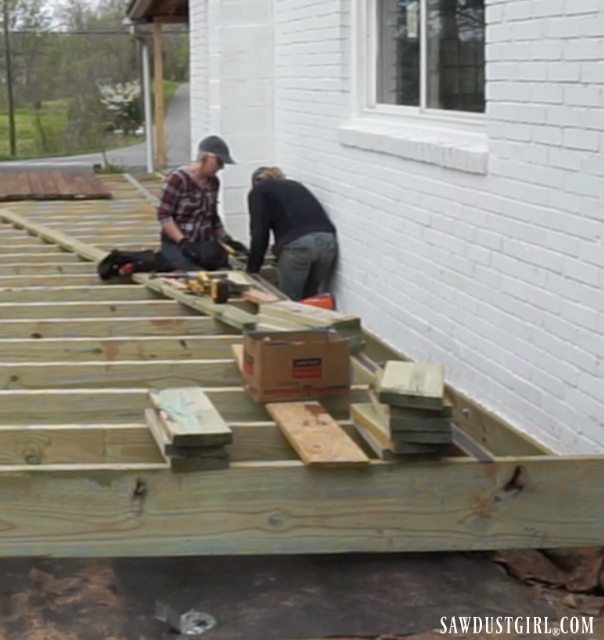
Installing Decking
After sealing three sides, we installed the decking boards. We thought once we finally got to that task, we’d knock it out in a couple hours…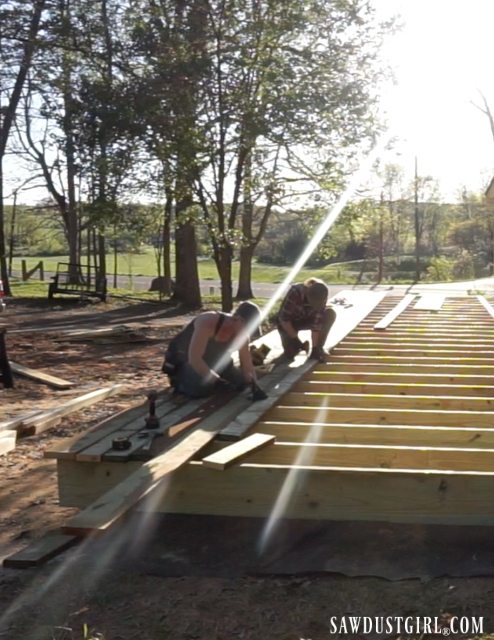
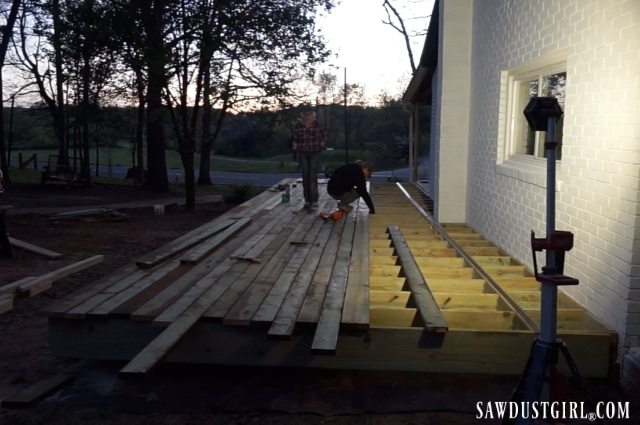
Clearly, both Julie and I overestimate how quickly we can get things done.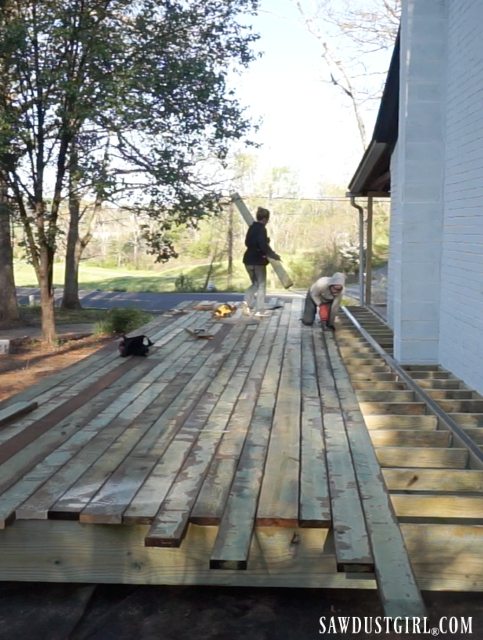
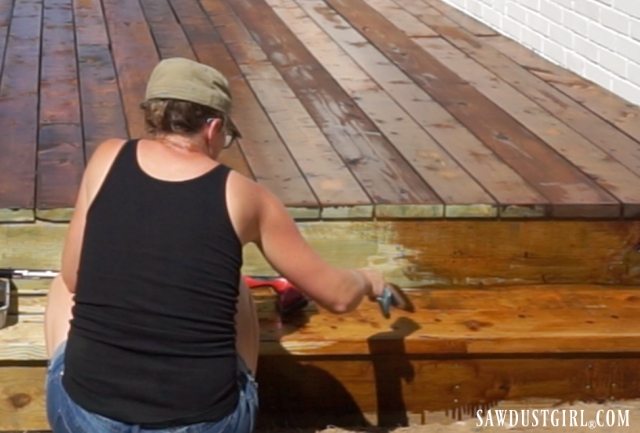
After installing all the decking, we went over the entire top with our stain/sealer. It was gorgeous and glorious…and we were just a few seconds away from finishing the deck!
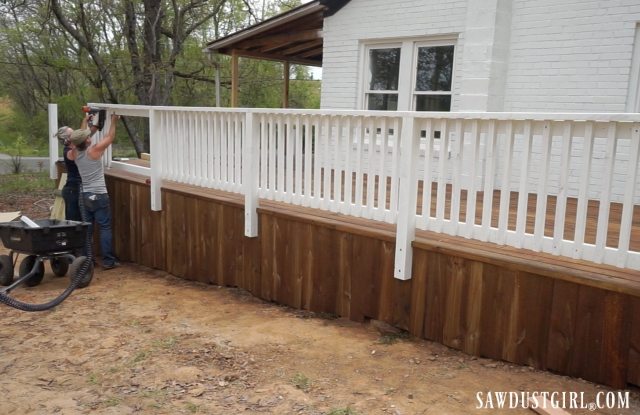
Our brother, Sid arrived to help us (for a very short 2 days but we were SO GRATEFUL for every second of his help)! We installed the skirting, built the steps, installed bracing, posts, railing and spindles.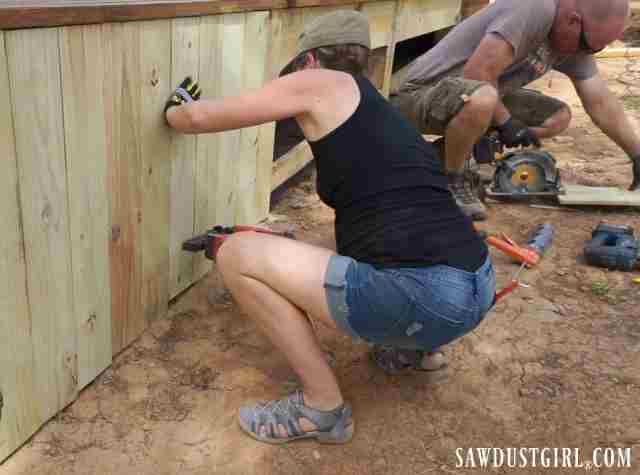
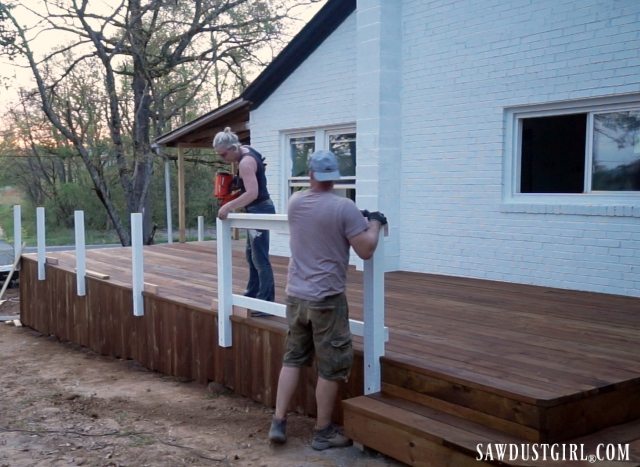
Sid had to head home before we finished the spindles so he didn’t get to see it all finished. Maybe we can talk him into another trip out here. You know, to see it finished. Definitely not to work on another project! ;-D
 It took us 10 days, start to finish to complete the deck. Not to bad for a 12’X 32′ deck that would literally support a herd of elephants. OK, maybe not a herd, but definitely a small pack.
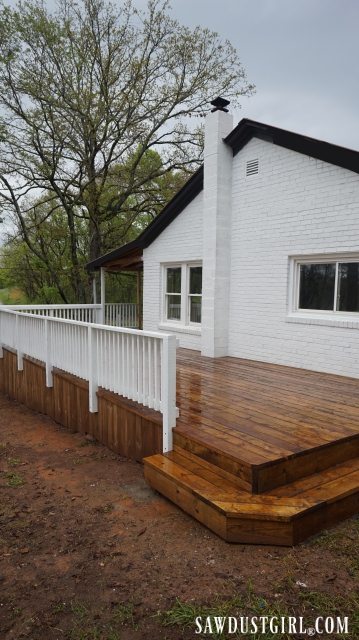
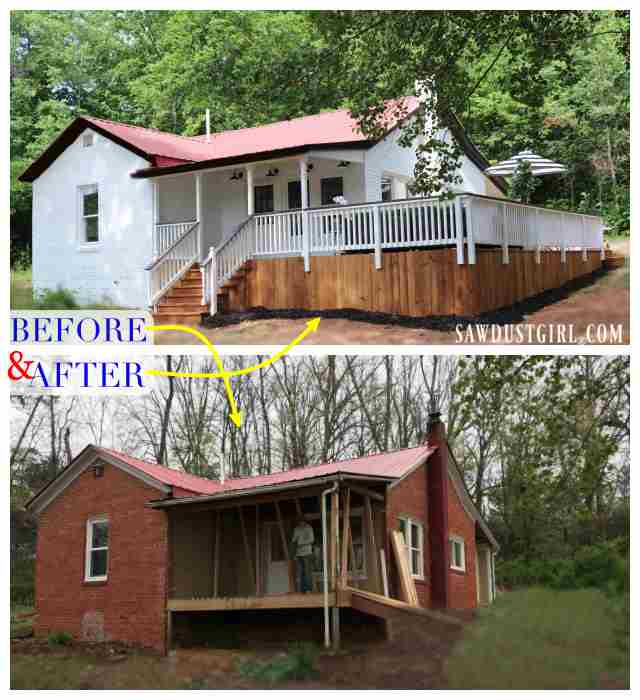
We still just have a dirt yard so I edited some grass into the photo for a little instant gratification. Grass or no grass, the addition of a deck makes a huge impact on the look of the house!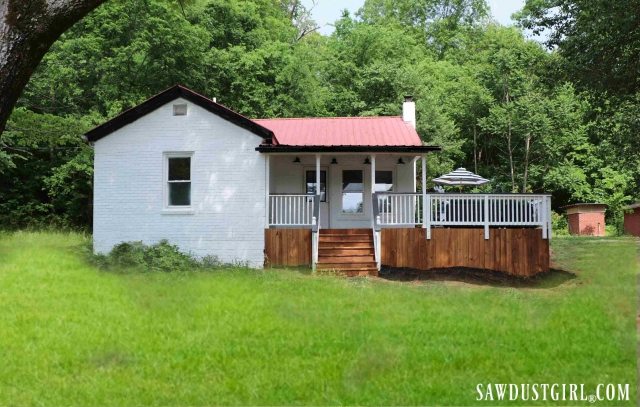
Remember what it looked like when we bought it?
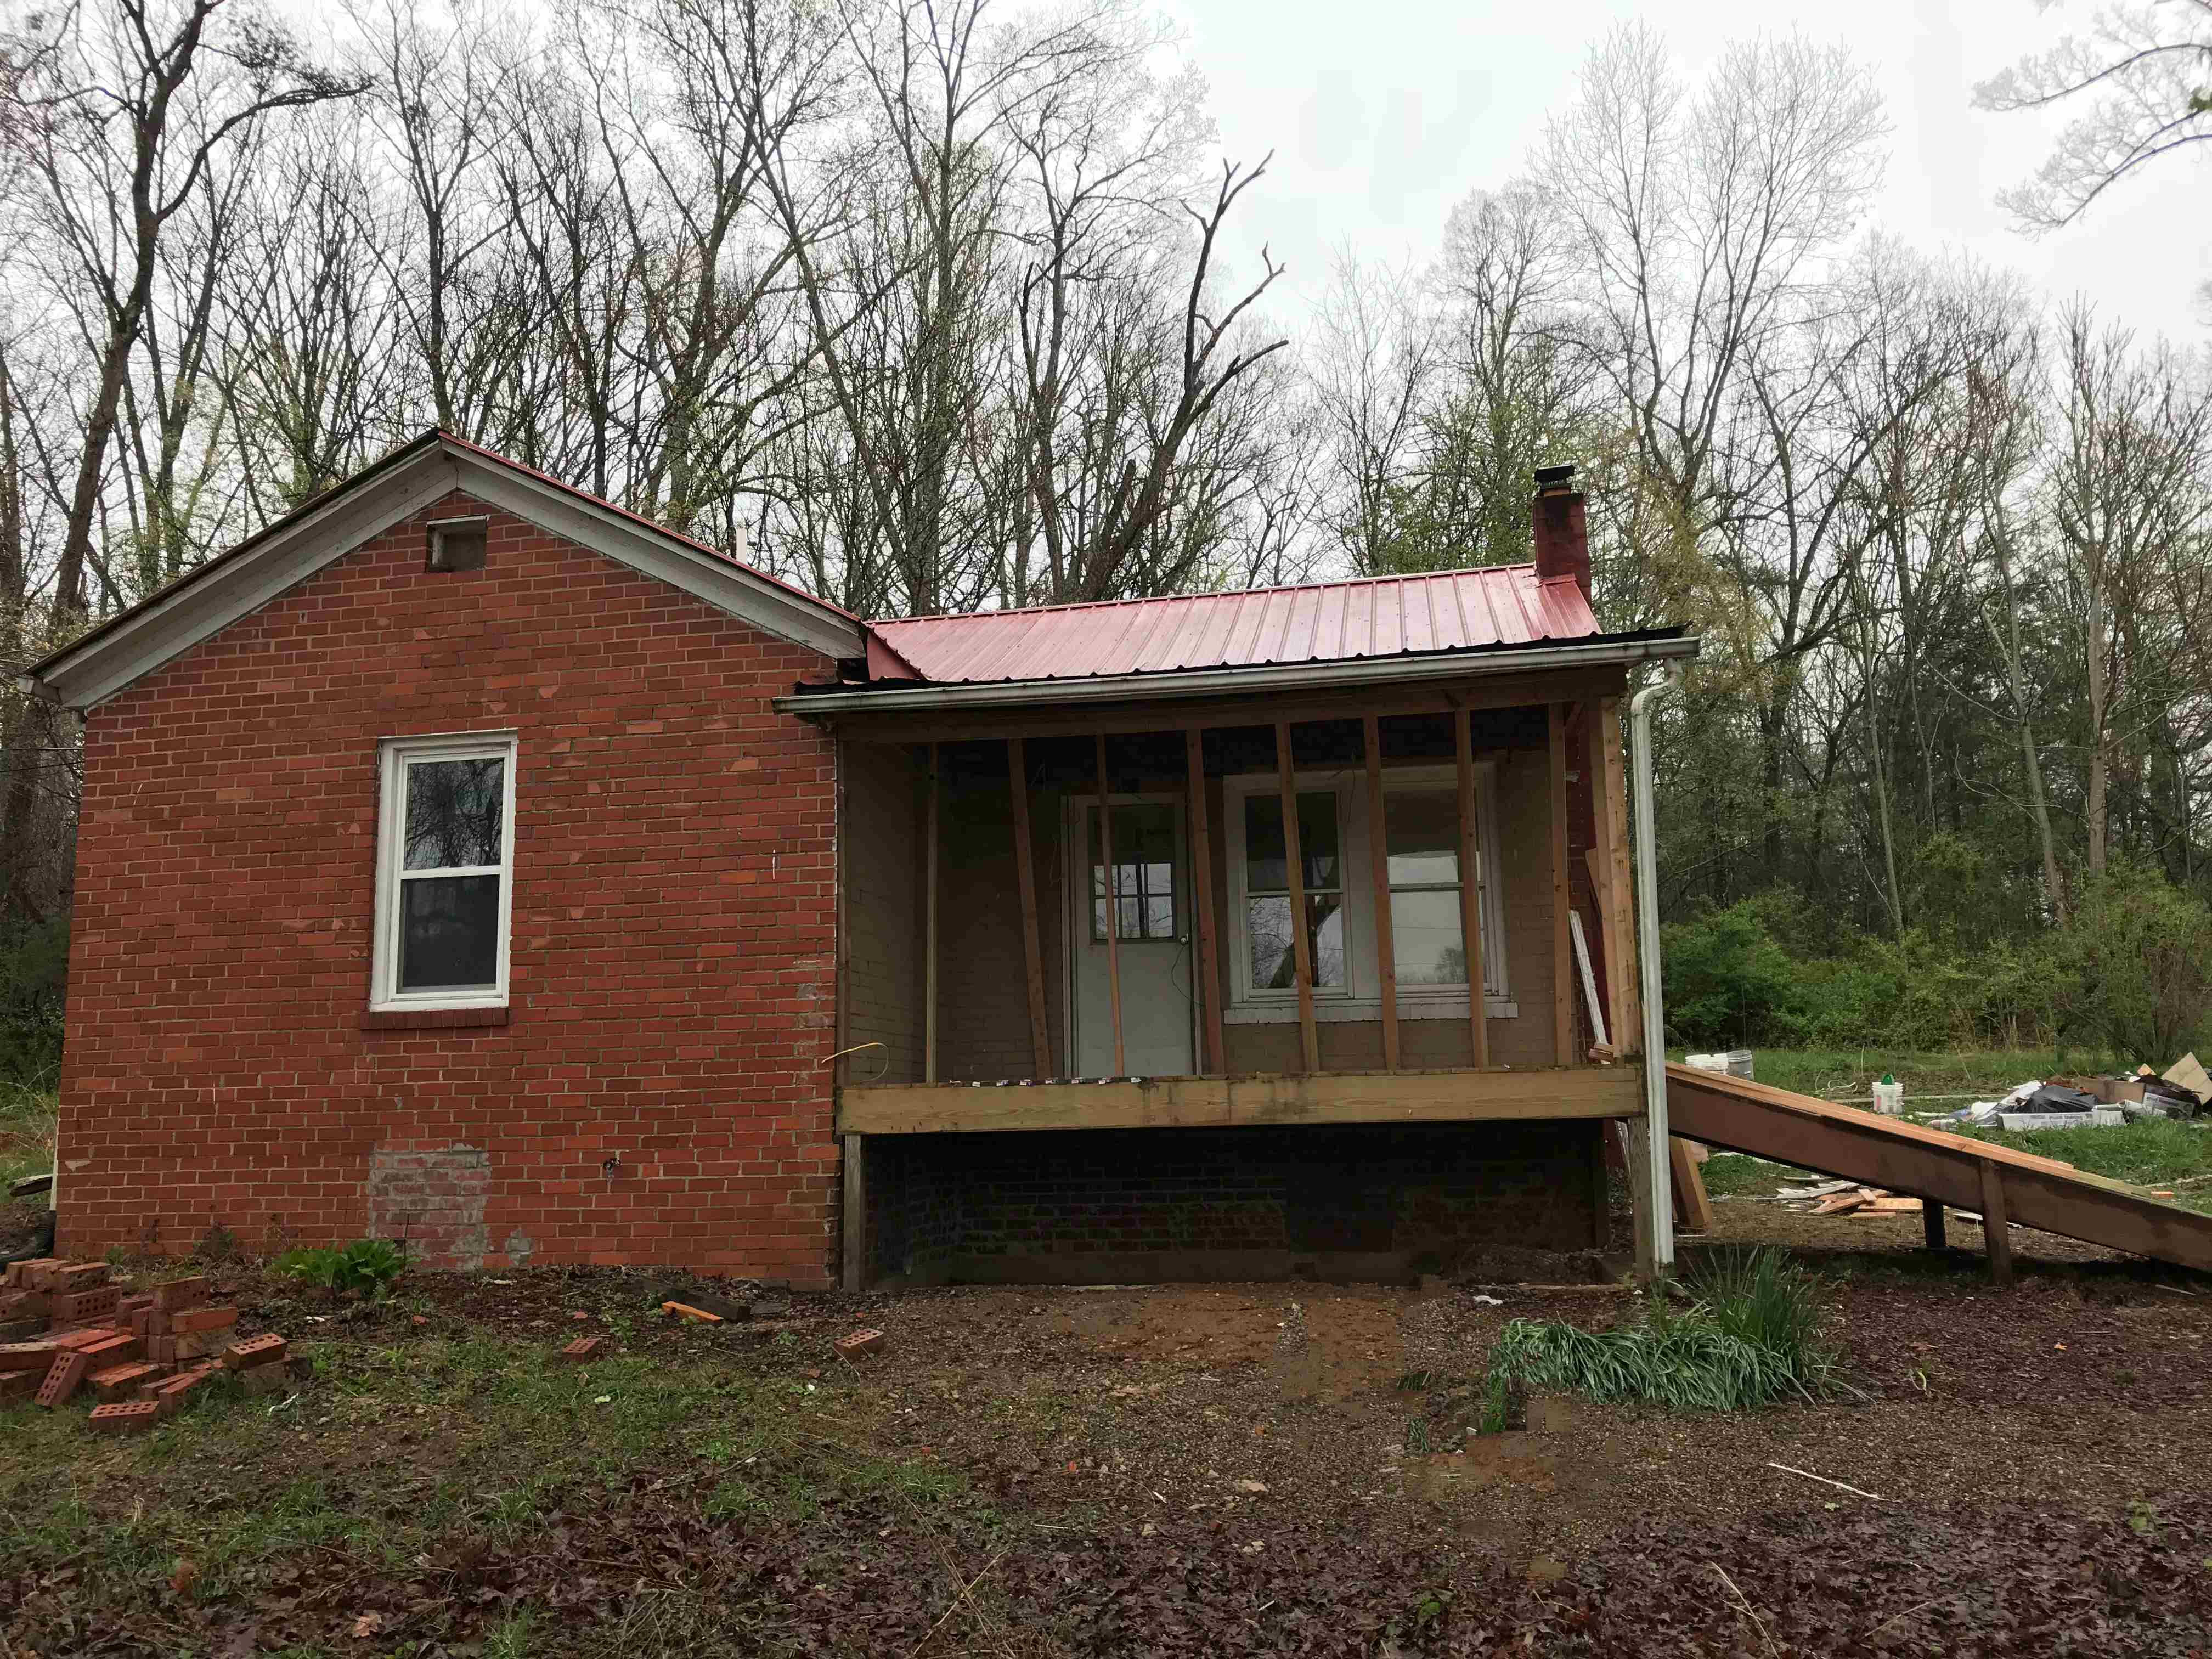
Amazing, right!!!? I hope we can grow some real grass real SOON!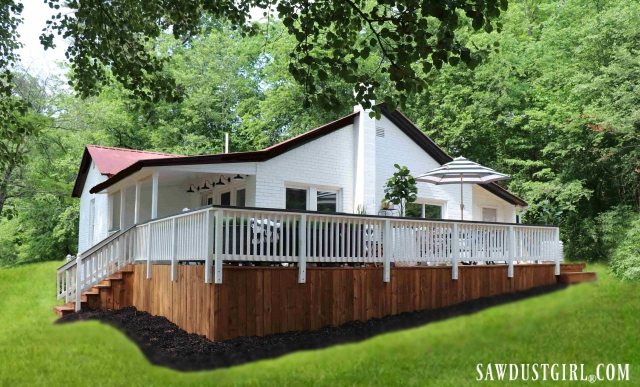
Ready to Move in!
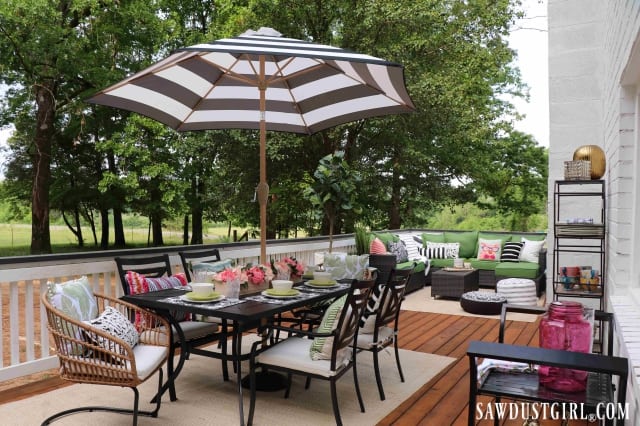
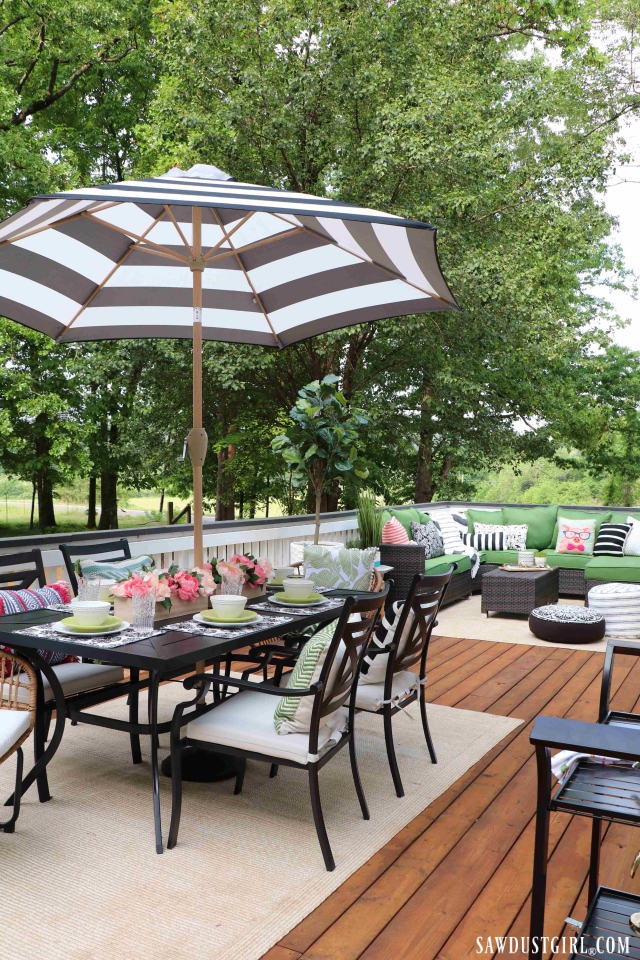
This deck is the perfect place to entertain guests and enjoy the beautiful country views! Our goad was to build the deck the full length of the house, right up to the original porch. Guests can enter the house from the deck through the front door or the side door. The host/hostess has easy access to the kitchen through the side door or can even pass items through the window!
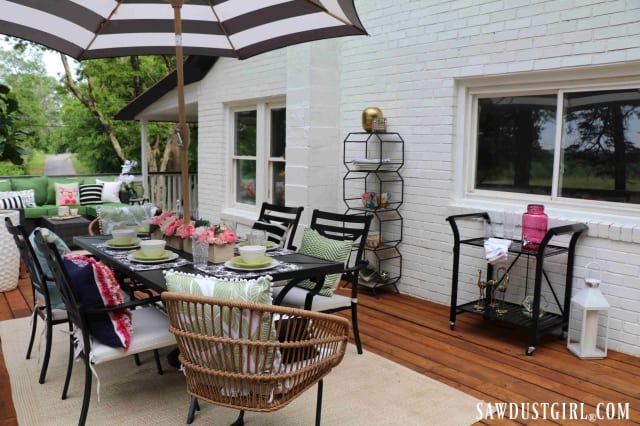
There’s plenty of room on the deck for a table for 6 as well as a sectional and additional chairs.
It’s so pretty I wish Julie would move to TN and live in this house for a while! But we need to sell it so we have money to buy our next project house. We do love helping houses reach their maximum potential!
Check out the Wood, Naturally website for more inspiration and project ideas.
Product source list: (monetized by Viglink)
- Dining table, Set of 4 Dining Chairs – Lowe’s
- 2 Wicker Chairs, black and white striped umbrella , black and white striped square pillows- square and lumbar, black and white round floor pillow, Outdoor rugs, white linen chair seat cushions– Target
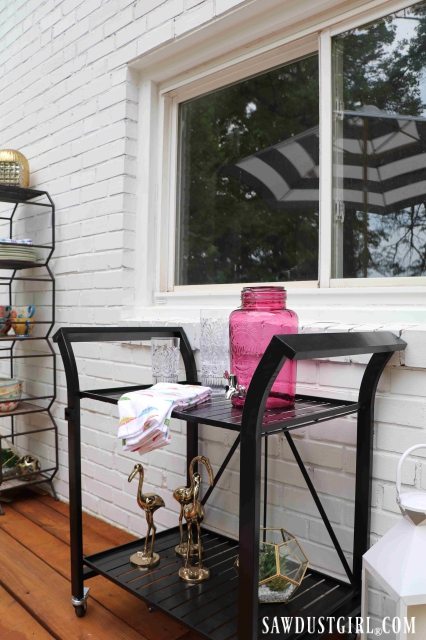
- Storage shelf, bar cart pillows and poufs and most accessories – Home Goods (Sorry no links)
Val says
Sandra and Julie, I am impressed. The house looks so much better! Looking forward to seeing it finished 🙂
Sandra says
Thanks Val. It’s coming together!
Barbara H. says
The deck is beautiful. I think, aside from the weather conditions, changing it to one level and losing the curves was an improvement. The theory was good but I worried about that level change being kind of a pain in real life. Anyway, here’s to a job well done. Congratulations.
Sandra says
It all turned out for the best. It would have been cool the original way too…but yeah, lots more work! LOL
Peg says
What an amazing transformation !! It’s true, girls rule.
Sandra says
LOL (Well we did have a little help from a couple guys.) But thanks so much!
Cyril Robinson says
Hey Guys, you are both absolute Stars. Magnificent project. To be able to carry on in the wet and cold must take enormous strength and courage. I really take my hat off to you both. If it gets a little cold here in South Africa, I don’t want to work inside, never mind outside, sounds too much like torture.
Sandra says
Thanks so much! It was nice and sunny when we started out. The weather just tricked us and we couldn’t stop in the middle of the project so we had to keep going! LOL
Liz says
Wow! Incredible! Amazing! And thanks to Sid — who can build like a girl too! It must run in the family. . . . and oh, yes, — you’ve been pinned.
Sandra says
Thanks! Sid was so amazing to come out and help. He literally took a red-eye flight to Charlotte and drove a rental car 4 hours to Knoxville – right to Calderwood. Stopped and brought us lunch on his way. Worked for 2 1/2 days straight, then left the same way. What a brother!
Leslie says
I remember that day. We left the house in shirt sleeves, and by the time we got to preschool, I had to dig around in the back of the car for my kid’s mittens and hat.
East Tennessee weather has been extra stupid this year.
Sandra says
Extra stupid weather is the BEST way I’ve heard it explained. Perfect!
Diann says
That is absolutely stunning and makes the house look much nicer. You and your sister are amazing!
Sandra says
Thanks so much. Every day as we’re slogging away on the inside, it’s fun to look out and see the pretty, finished deck!
Katherine says
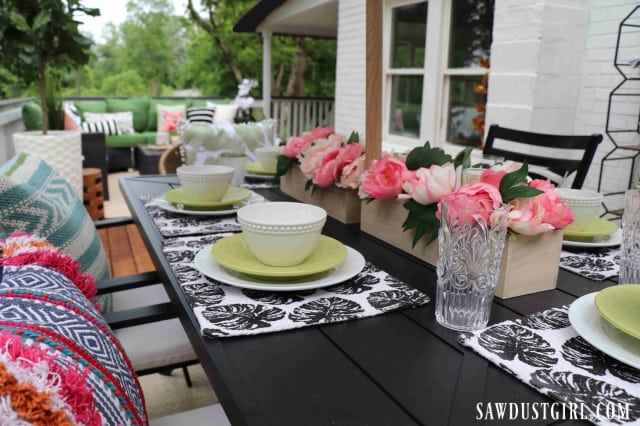
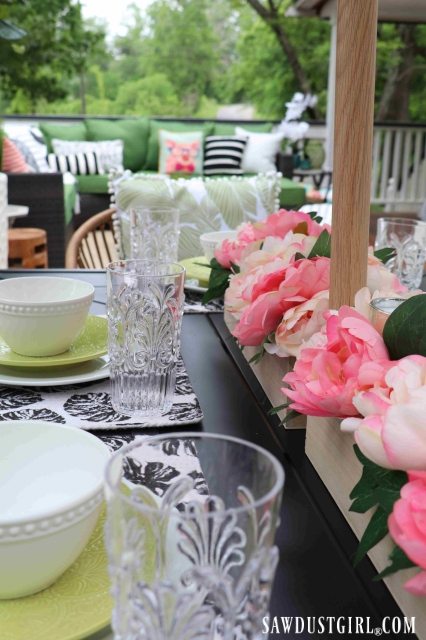
After all that work building the deck you still had energy to stage the deck in the most glorious way! Wow!
Sandra says
Thanks so much! Putting all the fun stuff out there was the most fun we’ve had on this whole house project!
Karen says
You two are awesome yea a little shout out for your brother too. Great job hope you make a profit
Sandra says
Thanks Karen. We hope so too!
maureen says
the deck looks awesome and really makes the house so inviting. You are both enormously gifted at design/construction. So you’ve staged the deck and we can see the very cool looking porch lighting.. are you teasing us… and the inside is done and staged as well….please. please. we want to see!!
Sandra says
Thanks so much! No, the inside is not done yet. We’ve pushed Julie’s flight home back by 2 weeks, twice! LOL One more week…is what we’re saying now.
Molly says
I had to get a permit for my deck and have the city come and inspect the holes for the footings. You’re lucky you could be so flexible!
I agree that the single level deck is more versatile than the tiered deck. My parents have a tiered deck, and it really limits their furniture options.
Sandra says
We had to get a permit and have our footing holes inspected too. We just didn’t end up utilizing the center row of footings.
Caitlin says
This is AMAZING! Love seeing things like that!
Ayisha says
You two are AMAZING. Such a talented family. You inspire me more than you know.
3 questions.
1.How did you attach your beams to your posts? I can’t tell from the photos. Did you use post caps or did you notch the 6×6.
2. Did you toenail your joists to the beams or did you use hurricane clips?
3. I noticed you did not attach to the house. Was this because of the brick exterior?
I’m in the design phase of my own deck and I’m reading like crazy. So all of these little details are extremely important to me. I’m about to drive my local inspectors crazy with all of my diy questions.
wendy says
Ladies you are amazing. I really enjoy seeing your progress. Working with family is fun. I’m sure you’ve had plenty of laughs and a few disagreements. Nothing has stopped you 2, you just keep on going. I wish I was still able too do the things you ladies are doing. Now I stand on the side lines and do what I can. My oxygen hose gets in the way or not long enough. I can’t wait to see the cottage when everything is complete.