• Home
  • About
    • Personal Posts
  • Privacy
  • Shop
    • My Account
    • Checkout
    • Email
    • Facebook
    • Instagram
    • Pinterest
    • Twitter
    • YouTube
Sawdust Girl®

Sawdust Girl®

Renovation, cabinet building and woodworking plans and tutorials. Build like a Girl®

  • My Home
    • Clinton TN House
      • Clinton TN House in Progress
    • Maryville TN House
      • Maryville TN House Tour – Completed Rooms
      • Maryville TN House in Progress
        • Basement
        • Basement Storage Closet
        • Bedroom Office
        • Craft Room
        • Dining Room
        • Entry
        • Garage
        • Guest Bedroom
        • Hallway
        • Jack and Jill Bathroom
        • Kitchen
        • Kitchen Entry
        • Laundry Room
        • Library
        • Living Room
        • Loft
        • Madison’s Room
        • Master Bedroom
        • Master Closet
        • Pantry
        • Porch
        • Powder Room
        • Wes’ Office
    • Illinois House
    • Calderwood Cottage
  • My Workshop
    • Clinton Workshop
  • Build & Breakfast
  • Cabinet Making 101
    • Cabinets
    • Doors
    • Drawers
  • Projects and Plans
    • Countertops
    • Beds
    • Benches
    • Bookshelves
    • Desks
    • Gift Ideas
    • Holiday
      • Christmas
      • Halloween
    • Home Accessories
    • Kids
    • Kitchen Cabinets
    • Lockers
    • Nightstands
    • Organization accessories
    • Recipes
    • Sewing
    • Tables
    • Vanities
    • Wardrobes
    • Woodworking
      • Wood Finishing
    • Workshop
    • Workshop Storage and Organization
  • Remodeling 101
    • Baseboard and Trim
    • crown molding
    • Demolition
    • Door and Window Casings
    • Door Installation
    • Drywall
    • Electrical work
    • Flooring
    • Home Maintenance
    • Painting
    • Plumbing
    • Resources
    • Safety
    • Tile
    • Wall and Ceiling Treatments
  • Sawdust Squad
  • The Sawdust Diaries
    • Andrea
    • Ava D.
    • Beckie F.
    • Cara C.
    • Courtney B
    • Fawn T.
    • Jenn D.
    • Kelly C.
    • Kristy K.
    • Lara T.
    • Malisa B.
    • Marnie D.
    • Robin C.
    • Val F.
  • Tools
    • Products
    • Tool Reviews & Overviews
    • Inspiration & Ideas

Calderwood Cottage – Round 3 – part 2 (Floors)

All Posts, Calderwood Cottage

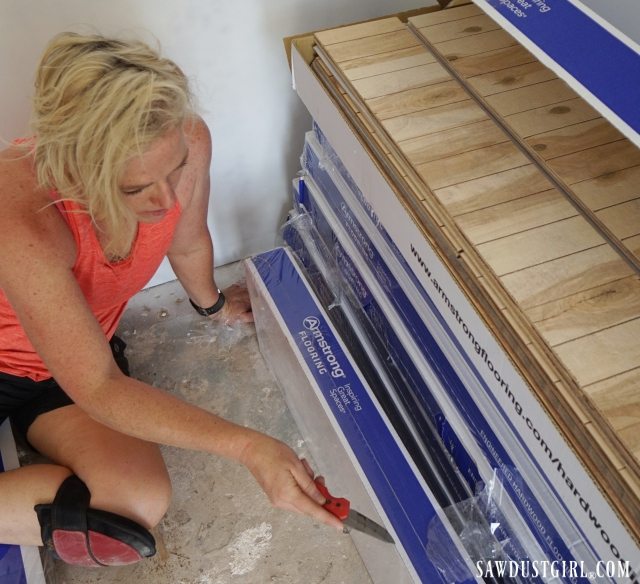
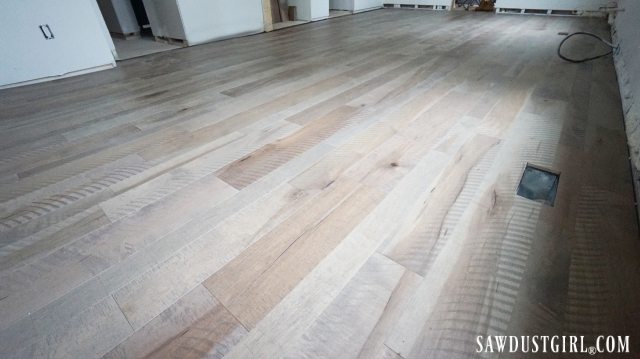
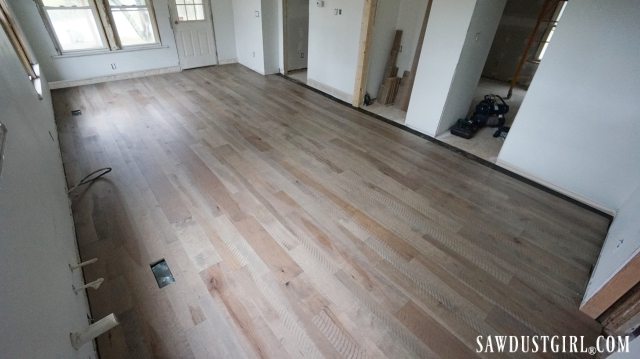
Hallelujah, the drywall is hung, mudded AND we stayed up late and got up early to get it painted. Now it’s time to get some floors installed! (At least ONE room before Sid get’s here!) We received product from Armstrong Flooring, and were so excited to open that first box of Maple Engineered Hardwood. The color we chose was Gray Timber and we LOVE it for our little Calderwood Cottage!

Floors from Armstrong Flooring

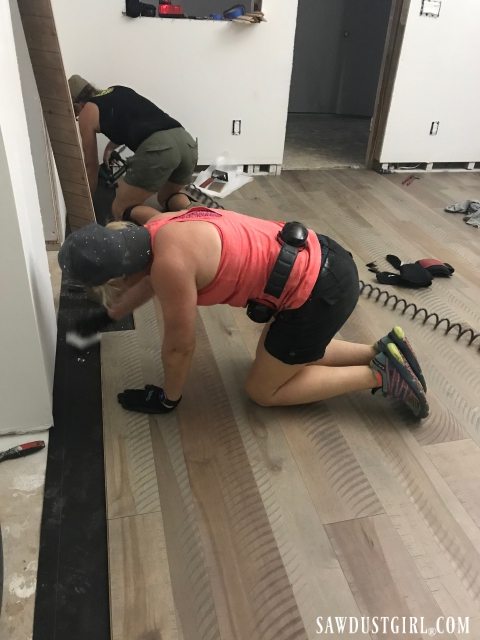
We started by snapping a chalk line square with our most visually prominent wall. We laid our first row of floor on this line then scribed the row against the exterior wall. This took a bit of finesse and patience as the wall was more wavy than linear. Once we got through that outside row, the flooring installed quick and easy. We alternated rows of the various widths and pulled pieces from multiple  boxes at a time. This insured that we created a random feel and had no noticeable color changes due to lot variability.

Installing engineered floors

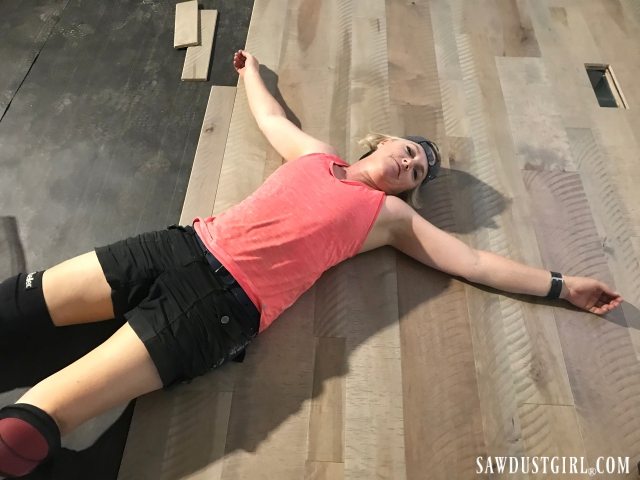
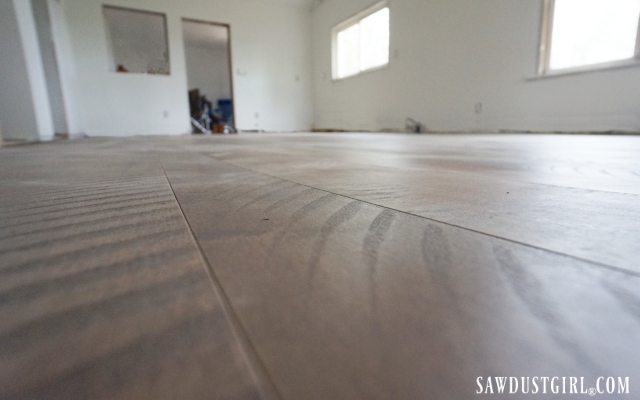
After all of the digging, sawing, sanding, scraping, prying, and back breaking work that we have done on this old house, I cannot tell you how rewarding it was to finally be doing something pretty–and these floors are so pretty! They are a perfect medium tone with lots of variation and distress marks. They are going to hide dirt and wear beautifully.

Varying width, plank floors

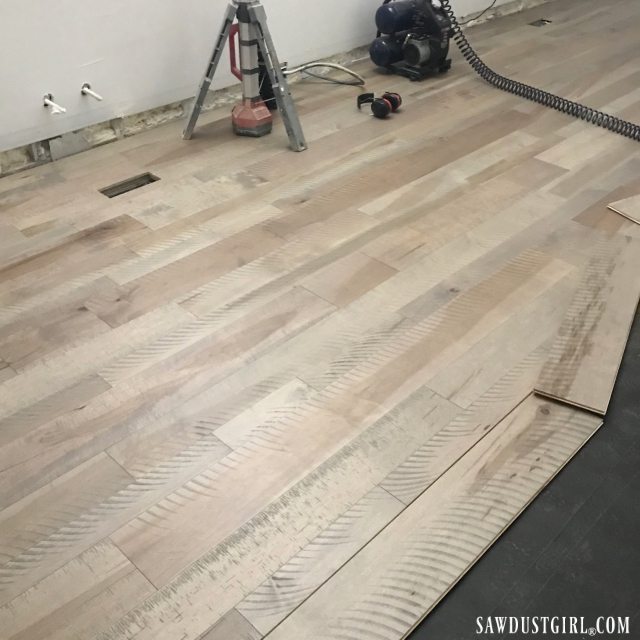
Installation was fast and easy–the tongue and grooves are precision milled. Every piece fit easily and only needed a gentle tap to slide into place.

Engineered hardwood flooring

Flooring installation

Yup, even the last piece next to the wall slid in like butter–no wedge and sledge hammer needed.

Maple Engineered Hardwood - Gray Timber

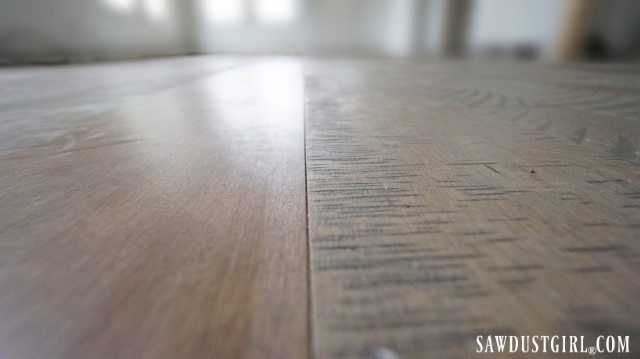
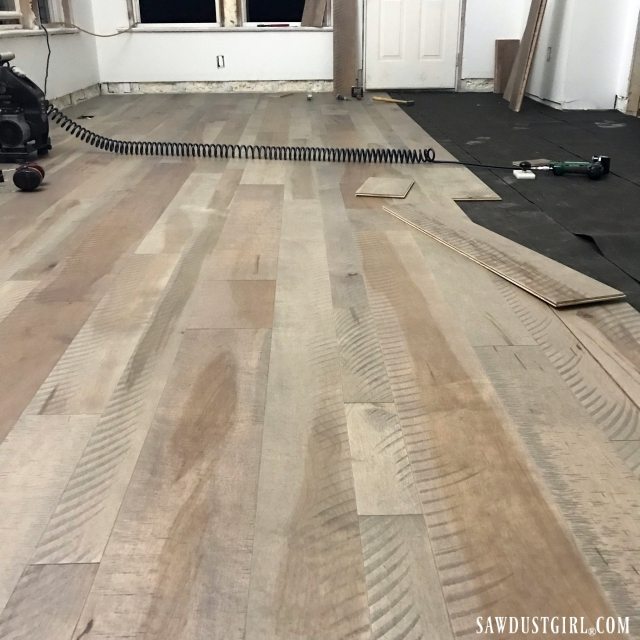
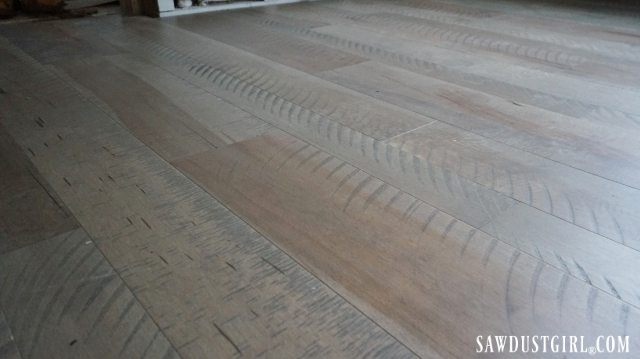
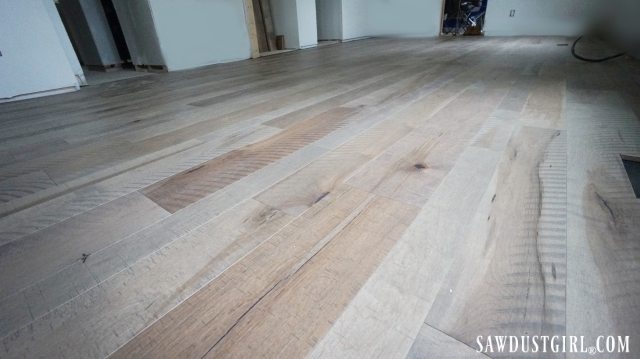
I love how the varied widths add to the cottage charm of the house. The saw marks and distressing add depth and character that will relate to the existing wood beams and trim. So even though the floor is brand spanking new, it looks like it could be original to the house.

Rough sawn looking floors

Armstrong Maple Engineered Hardwood in Gray Timber Calderwood Cottage floors Floors are IN Engineered floors from Armstrong flooring

I am so so happy that these floors went in likely-split, because it will impress our brother Sid who is coming soon. He is gonna love this floor and never know how far into the weeds we have been. wink, wink.

April 18, 2018 · 18 Comments

« Calderwood Cottage – Round 3, part 1 – Over Budget and Behind Schedule
Building a Deck »

Comments

  1. Guerrina says

    April 18, 2018 at 7:51 am

    You guys did a great job and it is gorgeous. Happy for you the ditch digging is over … it is over, right?!

    Reply
    • Sandra says

      April 19, 2018 at 8:26 am

      OH my goodness! We are so sick of digging. Every so often we have to dig something and we groan! We’ll see if it’s over. We still plan to do French drains but we’ll rent a trencher (if we can afford it).

      Reply
  2. Charisse Andrews says

    April 18, 2018 at 8:37 am

    You both should be very proud of yourselves. The cottage is already looking wonderful! Brother Sid will be impressed big time. I hope he has read your posts so he can see how hard you two worked and that this is an amazing transformation.

    Reply
    • Sandra says

      April 19, 2018 at 8:28 am

      Periodically, when we take time to look around, we are proud! LOL Sid texted and said the video had him laughing so hard! He’s awesome. Julie is putting more pressure on herself than needed. Sid is always impressed with us…just sometimes he us cut out work that isn’t needed. LOL

      Reply
  3. Tammara says

    April 18, 2018 at 9:45 am

    Beautiful, dang you did lots of work in a few days. Floors look gorgeous. Curious, what is the belt you are wearing with the round adjuster on the back and sides?

    Reply
    • Julie says

      April 18, 2018 at 4:05 pm

      Tammara, looks like noisy cancelling ear protection. Scroll up and you can see them on the floor.

      Reply
  4. Vickie H. says

    April 18, 2018 at 9:47 am

    Spectacular! Great job!

    Reply
    • Sandra says

      April 19, 2018 at 8:28 am

      Thank you Vickie!

      Reply
  5. kenneth soule says

    April 18, 2018 at 6:39 pm

    Are the saw cuts in the wood supposed to be there? Look like a lot of sanding to remove. .?

    Reply
    • Sandra says

      April 19, 2018 at 8:24 am

      Yes, the style of these floors are to look like rough sawn timber. They are prefinished so all we had to do was nail them in.

      Reply
  6. Karen says

    April 18, 2018 at 8:17 pm

    you two rock would have loved to do something like that when I was younger but wasn’t in the cards so am enjoying your project

    Reply
    • Sandra says

      April 19, 2018 at 8:26 am

      Thanks for following along Karen!

      Reply
  7. Linda says

    April 19, 2018 at 12:40 am

    LOVE the choice on the flooring! Perfect choice for a cottage vibe…both in color and in confirmation. The varied widths a saw marks are perfection! Now breathe! Sis will be impressed!

    Reply
    • Linda says

      April 19, 2018 at 12:41 am

      Errrrr…..that was SUPPOSED to read SID will be impressed! ?

      Reply
      • Sandra says

        April 19, 2018 at 8:21 am

        LOL I got that!

        Reply
  8. HowtoBuildit says

    April 23, 2018 at 11:11 am

    I am loving how your floors are looking! They are beautiful! I can’t wait to see the finished product with furniture!

    Reply
  9. Peter Nuttycombe says

    May 2, 2018 at 12:16 pm

    Any pre prep to floor before laying hardwood. ie levelling , dips, nail-heads etc.??????? Love all that you are doing. Pete.

    Reply
  10. Dennis Hawkins says

    May 11, 2018 at 1:45 pm

    Nice job ladies! When I helped do a couple of my friends floors. I had to make wooden floor air vents out 3/4 hard wood.

    Reply

Leave a Reply Cancel reply

Your email address will not be published. Required fields are marked *

Categories

New Post email notification signup

You Subscribed!

Legal Stuff

Terms of Use

Privacy Policy

Disclosure

Recent Posts

  • Lodge Update – Floors, Cabinets, Countertops, and Appliances
  • Lodge Kitchen Cabinet Progress
  • Halloween Mad Gab – Halloween Party Ideas
  • Concrete Backsplash or Vertical Wall Treatment
  • Building and Installing a Giant Faux Beam on the Ceiling

Disclaimer:

Although it is my intention to provide accurate plans and clear instructions, not all plans have been tried and tested. Using plans or information found on SawdustGirl.com indicates that you agree with the Terms of Use policy and will accept full responsibility for the process and outcome of any project you attempt. All plans are for private use only. Plans and information published on SawdustGirl.com may not be reproduced, republished or distributed in any manner without written permission from Sandra Powell, Sawdust Girl. Actual projects built using Sawdust Girl plans may be published on your own site without instructions or "tutorial" as long as you provide a link to my original post with full post title or "SawdustGirl.com" as link title.

Copyright © 2022 · anchored theme by <a target="_blank"