My dining room ceiling is DONE and I’m so excited about it! I’ve been sharing lots of updates as this ceiling has come together and a lot of you have asked for instructions on how to build a box-beam ceiling. This is the same technique used on all three of my box-beam ceilings (if you remember the kitchen and living room updates too).

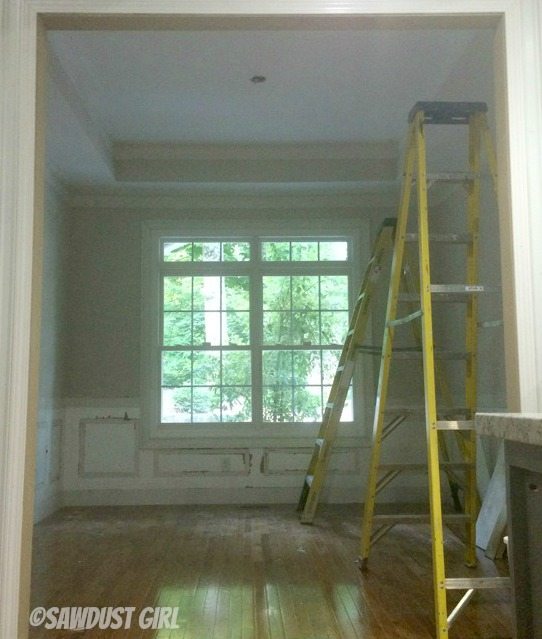
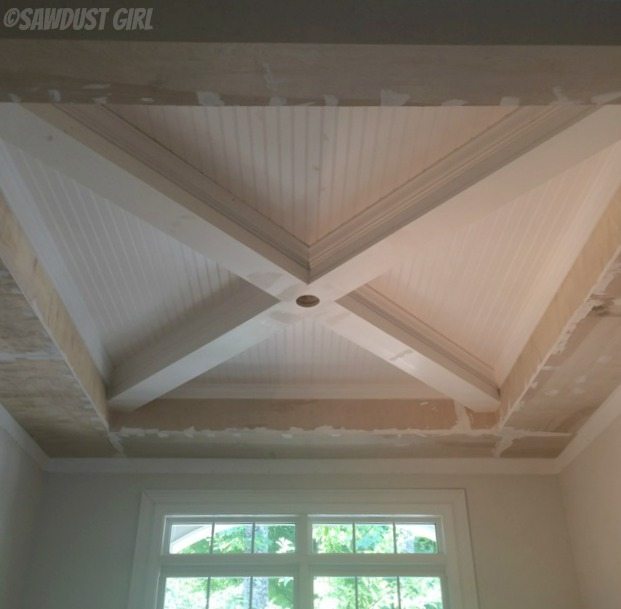
This room had a coffered ceiling that I had to work with. We have 9′ ceilings on the main floor and the recesses area in this ceiling extends above that 9′ so we had a lot to work with here. Since this room is small and separate from the other rooms I thought it would be the perfect place to do something a little different. I wanted an X in the center of the existing “frame”.
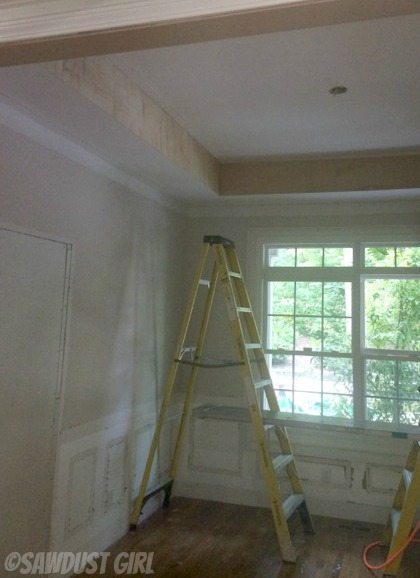
Of course you know me and my luuuuurve of the texture in my house so I purchased a few sheets of 1/4″ plywood to cover up the coffer so it would appear to be a beam, similar to what we were adding. The coffer is wider and deeper than the new beams which is ok, it will just look like a frame to my X. It will look intentional in the end. The 1/4″ plywood went up with construction adhesive and nails.
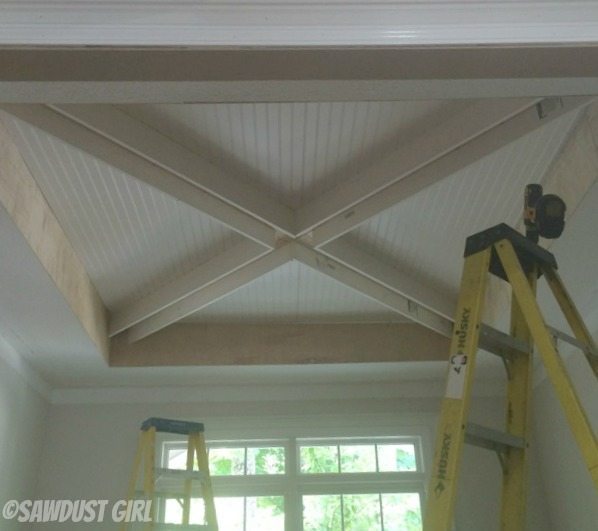
Next, I had the guys cover the rest of the ceiling with beadboard to hide the rest of the ugly texture —which I loatheth! I don’t want to skim coat ceilings and I love decorative ceilings so it’s a great excuse for me to use a whole bunch of creative juice!
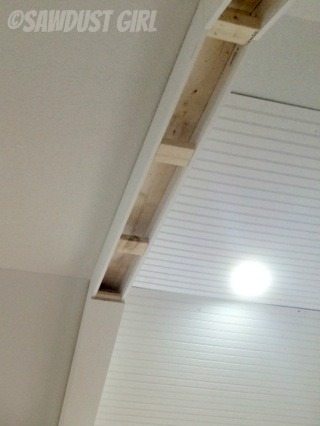
Now, to create the faux beams, 2×6 were installed as a base. Then 1×6 were nailed to the 2×6 to create the “beam” sides.

After all the sides are in the “beams” get blocked with pieces of 2×6. The blocks are located at the bottom of the beam (flush with the bottom of the sides). They are nailed in place and spaced about 16″ apart.
*Put a small pencil mark on the sides to mark the location of these blocks for future use.
The purpose of the blocks are to keep the sides square with the base (since it is the same thickness as the base) and to provide something to secure the bottom of the beam to. The bottom is a 1×8. It is nailed to the 2×6 blocks. Those pencil marks will come in handy now! The 1×8 should be 1/2″ wider than the box so overhang 1/4″ on each side.
All the nail holes, seams and dings are filled. My guys used the patch and paint spackly stuff. After I sanded everything, I went back over the areas that needed special attention and used wood filler on those.
Then I primed with a shellac primer. I primed with a roller because I do not like to use anything but water based paints in a paint sprayer. Just my personal preference. Then I painted the box beam and coffer white (with my paint sprayer).
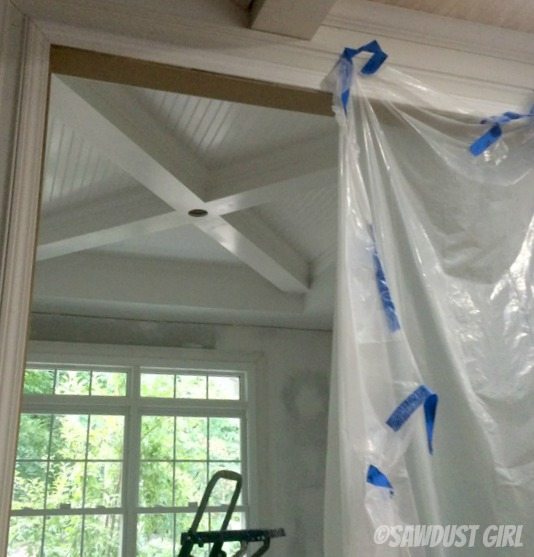
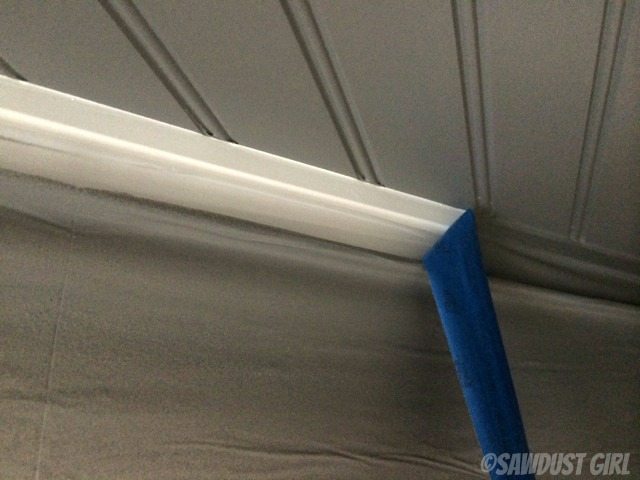
I wanted two paint colors in this room — because remember this is my “go crazy and throw caution to the wind” room. I carefully taped off the area I wanted to remain white.
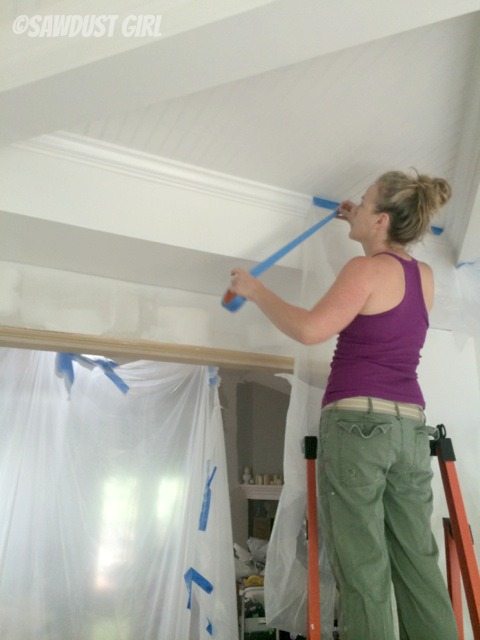
It was a bit of work. Just a tiny bit. Seriously, not too bad. Promise…
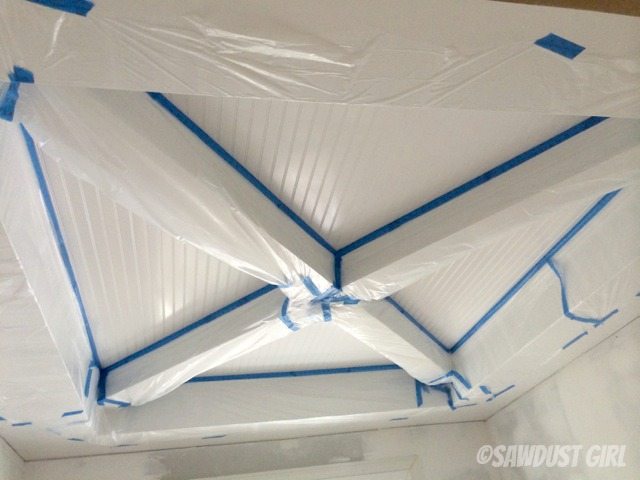
Then I painted my second color. After that was all dry I took off my tape and plastic. I had some trepidation because I was SURE I was going to find areas where the sprayer got through my barricade but I was wrong. I used the Scotch edge seal painters tape and it worked awesome!
Look at that line! What can I say? I’m easy to entertain.
And there you have it. Every time I walk by that room I sneak a look and it makes me smile…really big!
Cindy says
It looks fantastic. If i were doing that myself I think I would freak out about all of the angles. Maybe it’s easier than it looks. Great job!!! Oh, and I love the two colors.
P.S. thanks for giving me the balls to tackle some projects I wouldn’t have taken on (built in bookcases next to my fireplace) but I figured if you can do it, so can I!!!
Mark says
That is a cool ceiling 🙂 we just remodeled our den and also raised floor and bead board on ceiling and shiplap on walls I believe it will look great I plan on going to B M and get them to do me some samples y’all enjoy , I’m gonna try n load pic on here
JaCkie says
This may be my favorite thing you’ve done so far! I think it’s the perfect look for that space!
Elizabeth says
Very beautiful!
Laura M says
Gorgeous. The angles are intimidating!
Aine says
This is beautiful! I wish I had tall ceilings to work with so I could do this!
Lisa E says
Looks fabulous! You are so talented and continue to amaze! Thanx for this tut as when we re-do our kitchen I want box beam in there. Question. With the actual measurements of the dimensional lumber, wouldn’t you have an extra .5″ on each side on that bottom board? It’s hard to tell by the picture. As I said it looks fabulous either way; my thought was going to dust collection. I can’t help it. I always looks at something and how I have to clean/maintain it is always in the equation of whether I want to do/buy it. 🙂
Sandra says
Lisa you are so right. I mentioned that in my video version but forgot to include it here. Edited to fix. It may collect dust but I actually like the 1/4″ overhang on each side. It gives the beam more detail. 🙂
Guerrina says
Now that is just plain awesome! I am running out of descriptive words to use for your projects!
kim massa says
You are too amazing Sandra! If the idea exists in your head you do it. Thanks for being out there for all of us to be encouraged by.
Ashley says
Wow! I love, love, love this. Amazing job!
Liz VanKirk says
It looks absolutely stunning. I also love how you incorporated the dark gray on the beadboard. BTW what color is that gray?
nicole says
My living room has 14 ft ceilings it has a coffered ceiling like yours with the x already there created with wood and dry wall. My whole house is texture and rounded edges. I want to do something like this, but i really dont want to jet paint the ceiling and beans and say its done. Im wondering if i cut 4 pieces of bead board and put crown molding like yours if it would come out ok with the coffered ceilings being rounded and the x being rounded edges as well.
eRich strong says
Totally fake looking and awesome for our fake people. This is not how to make a faux beam and why it is running in the wrong direction.
Diego says
I loved what you did, truly looks great. Maybe I won’t try this in the area I’ve got adjoining the kitchen because I have even less but you gave me an idea nonetheles. You are quite the craftsman there girl, and you are really helping me .