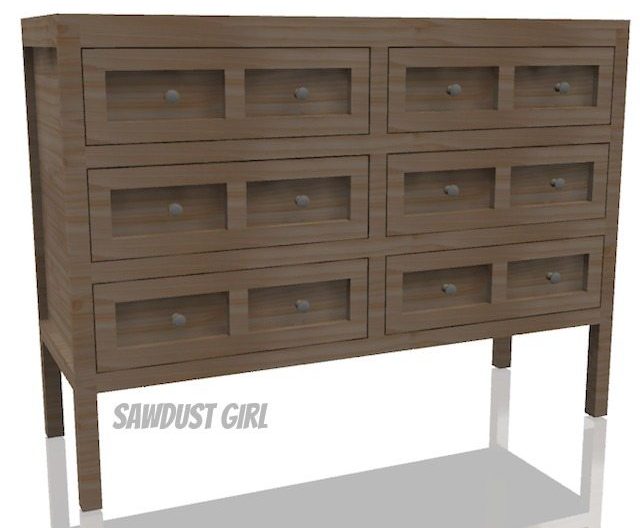
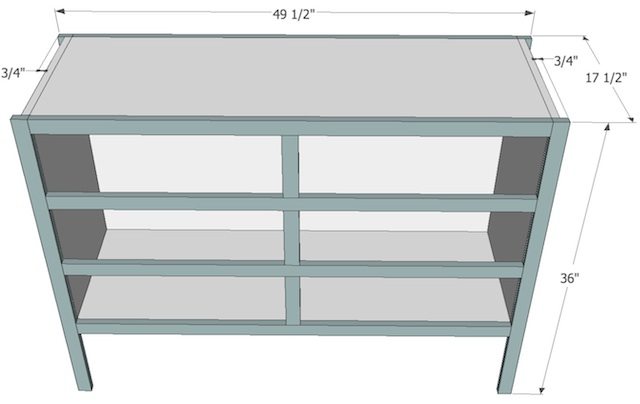
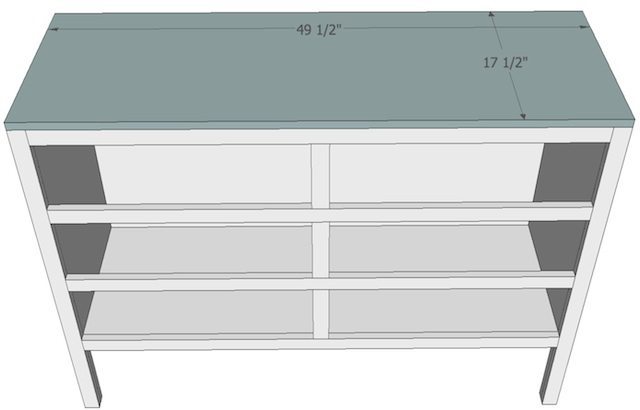
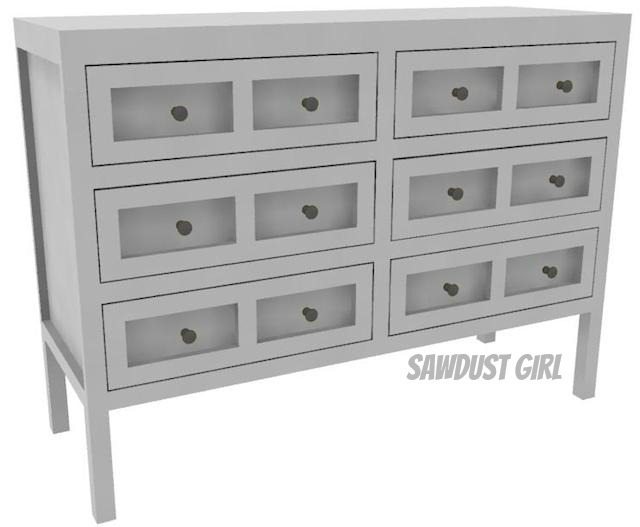
This console table looks good from all angles. It’s 48″ wide and only 17″ deep so it would be perfect for a TV console, an entry table or a sofa table. It could be used in a bedroom for clothes if you have a shallow area and need to optimize storage. Or, modify the woodworking plans to make it deeper, taller, wider or whatever your heart desires.
Apothecary Console Table
Materials:
- Pocket hole jig and 1 1/4″ pocket hole screws
- 1 3/4″ wood screws
- wood glue
- 1×2 wood for face frame (I like poplar for painted pieces if you plan on staining your table you’ll want to match your plywood.)
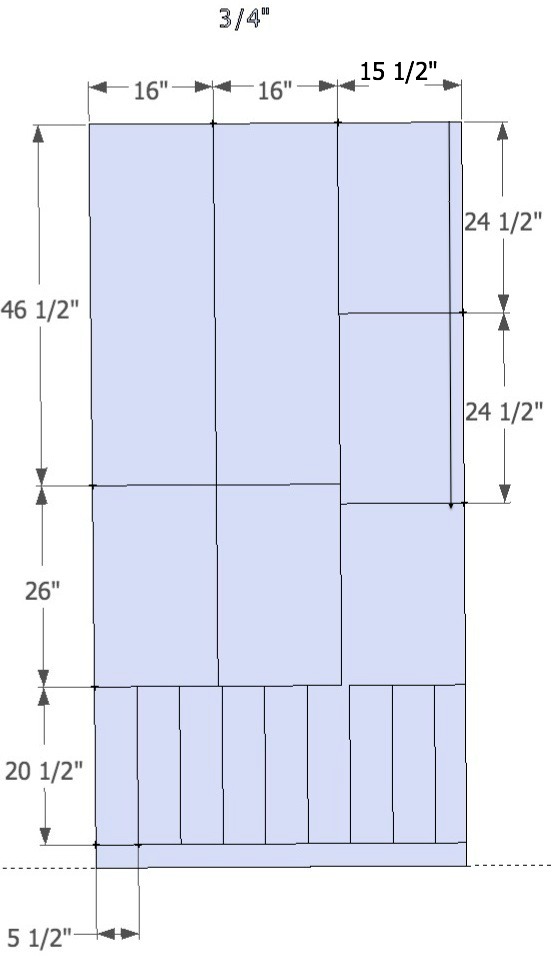
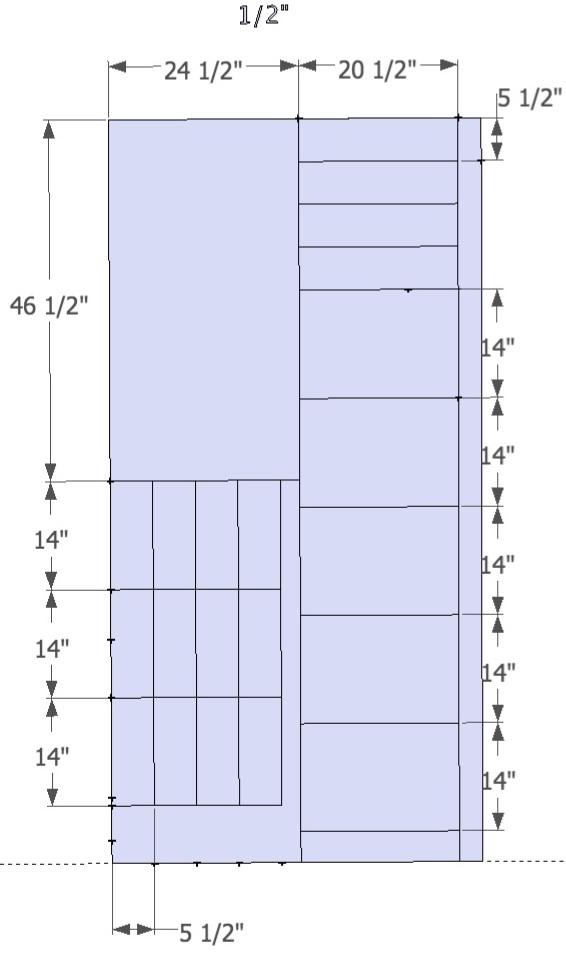
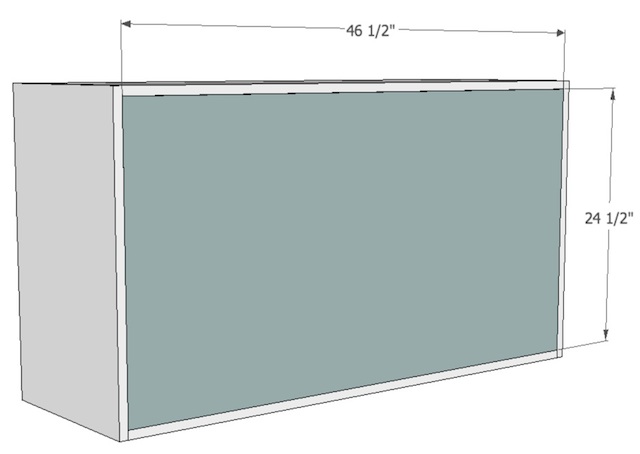
- 1 sheet each of 1/2″ and 3/4″ plywood cut as shown below
- Additional wood for top (optional)
Step 1: Attach Sides
- Attach top and bottom INSIDE the sides.
- Use wood glue and 1 3/4″ wood screws. (see tutorial)
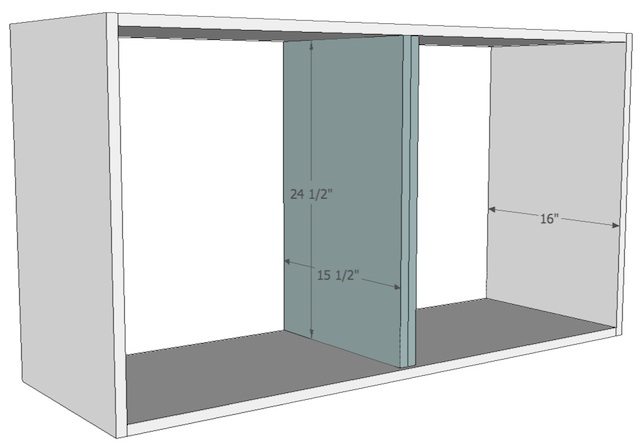
Step 2: Attach Center Dividers
- Use glue and pocket hole screws and secure from inside cabinet or drive wood screws through top and bottom.
- Center dividers are flush with cabinet on front and recessed 1/2″ from back.
Step 3: Attach Back (1/2″ plywood)
- Use wood glue and screws to secure back inside “box”.
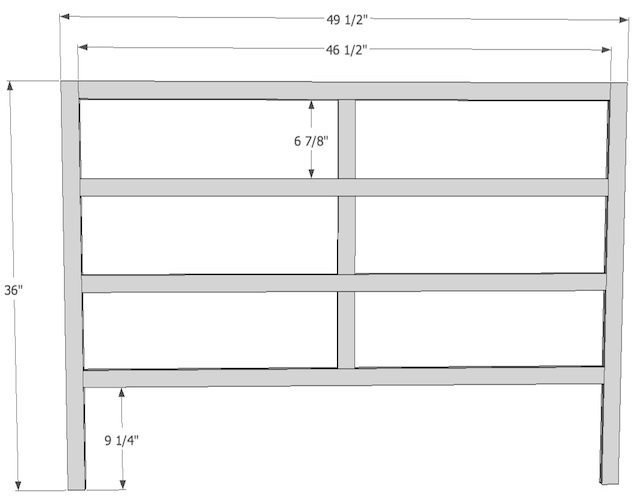
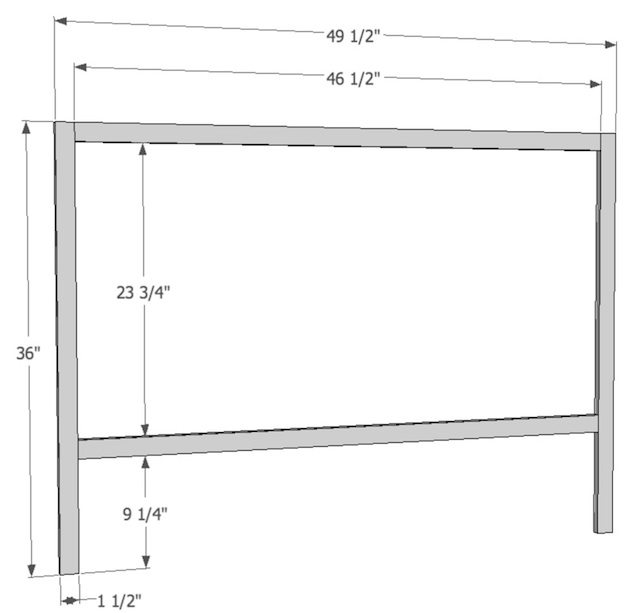
Step 4: Build Faceframes
- Pocket hole construction (see tutorial)
Front Faceframe
Back Face frame
Step 5: Attach Faceframes
- Pocket hole construction (see tutorial)
- Faceframes should extend beyond “box” by 3/4″ on each side
Step 6: Add 1×2 bottom brace
- use pocket screws on ends of brace – screw into legs
Step 7: Add side frames
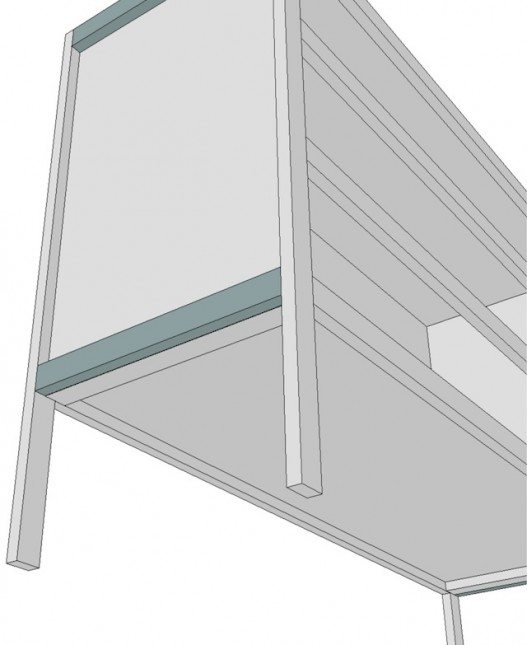
- Use glue and brad nails to attach 1×2 flush with top and bottom between front and back face frames.
Step 8: Add Leg Support
- Use glue and brad nails to attach additional 1×2 to the “inside” of legs. Should match up in width.
Step 9: Top
- If painting, edges and fasteners and be filled, sanded, primed and painted. OR
- Top piece with additional plywood and edge with decorative moulding
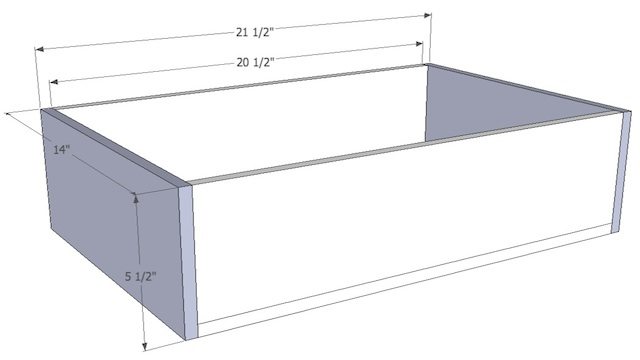
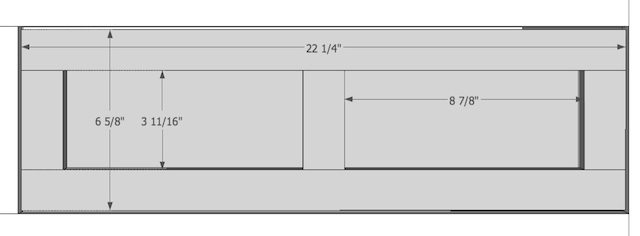
Step 10: Drawers and Drawer Fronts
Depending on the material you made it out of, this table could look great with a coat of poly, stain, wax or painted!
Refer to other tutorials in Cabinet Making 101 for reference and additional help. Check out my other free woodworking plans for tables.




Leave a Reply